This super cool and easy experiment can be used as a fun and educational air pressure demonstration, or a funny prank on your friends! It’s time to have some fun with this Water Bottle With Holes Experiment.
Get more fun and easy Plastic Bottle Experiments here!
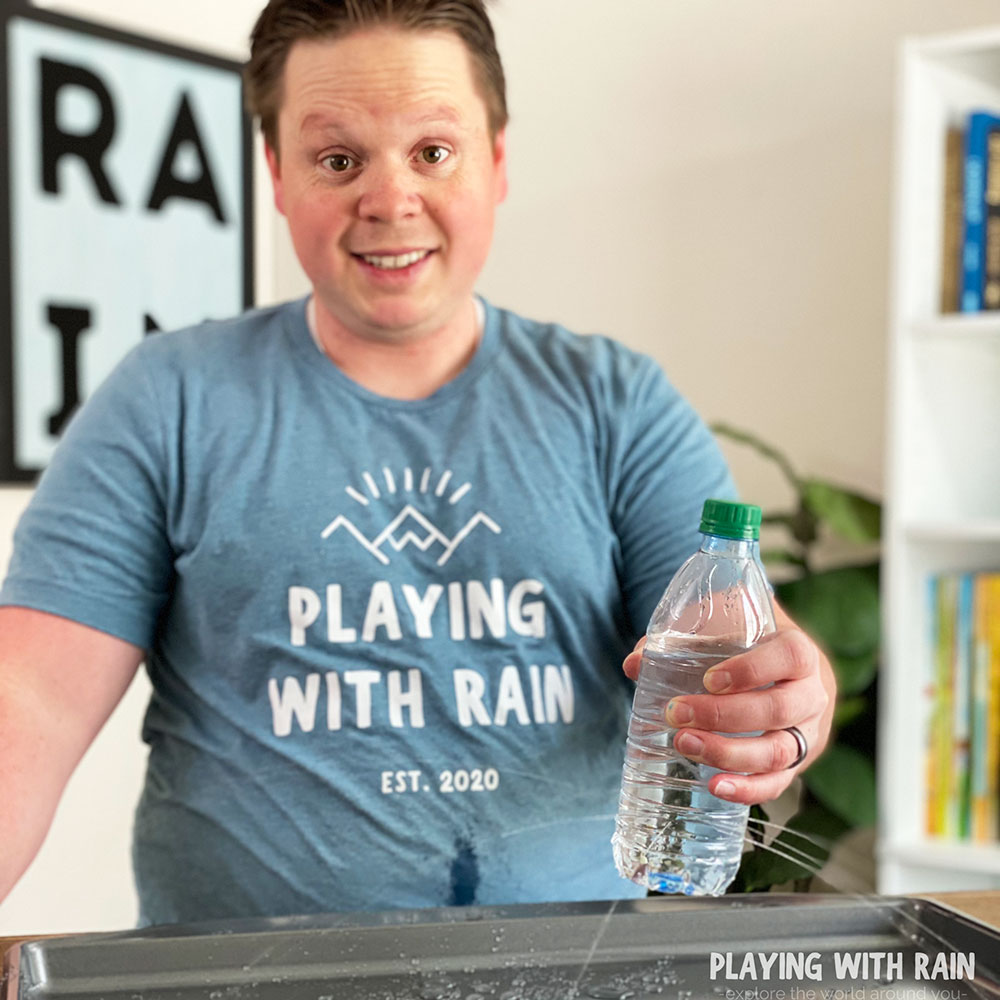
Amaze your kids with this simple experiment when holes are poked into a bottle full of water and the water doesn’t leak out!
Water Bottle With Holes Experiment
This post may contain affiliate links. As an Amazon Associate, I earn from qualifying purchases.
Supplies Needed:
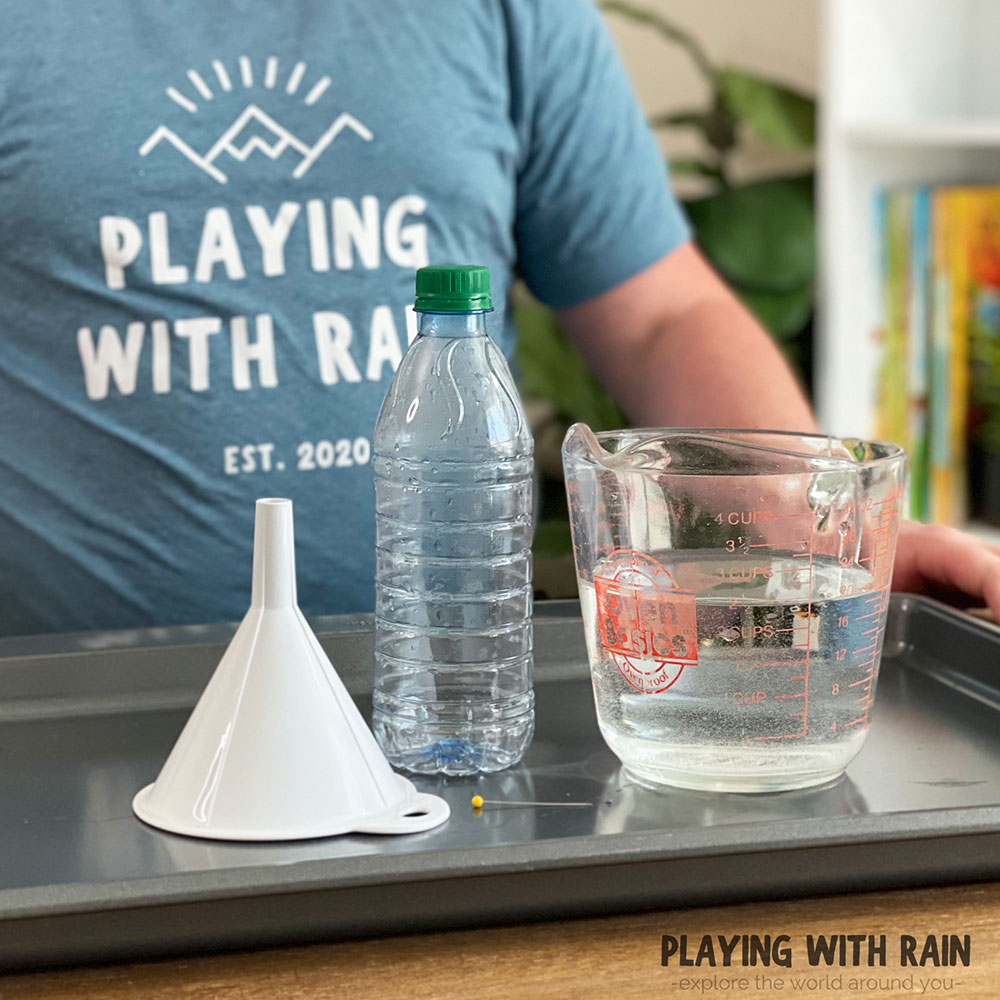
How to Make an Air Pressure Water Dispenser
- Fill a plastic bottle with water and screw the cap on.
- Carefully poke about 5 holes around the bottle about an inch or two from the bottom.
- Set the bottle down and observe that the water is not leaking even though there are holes in the bottle.
- Unscrew the cap from the bottle and watch the water begin shooting out of the holes.
Step 1: Fill a Plastic Bottle With Water
Most types of plastic bottles will work for this experiment, as long as they have a cap or lid that you can screw on tightly. I like to use a standard water bottle, but you can also use a larger 2-liter bottle as well.
You can use a sealed water bottle if you want, or you can fill an empty bottle all the way up with water.
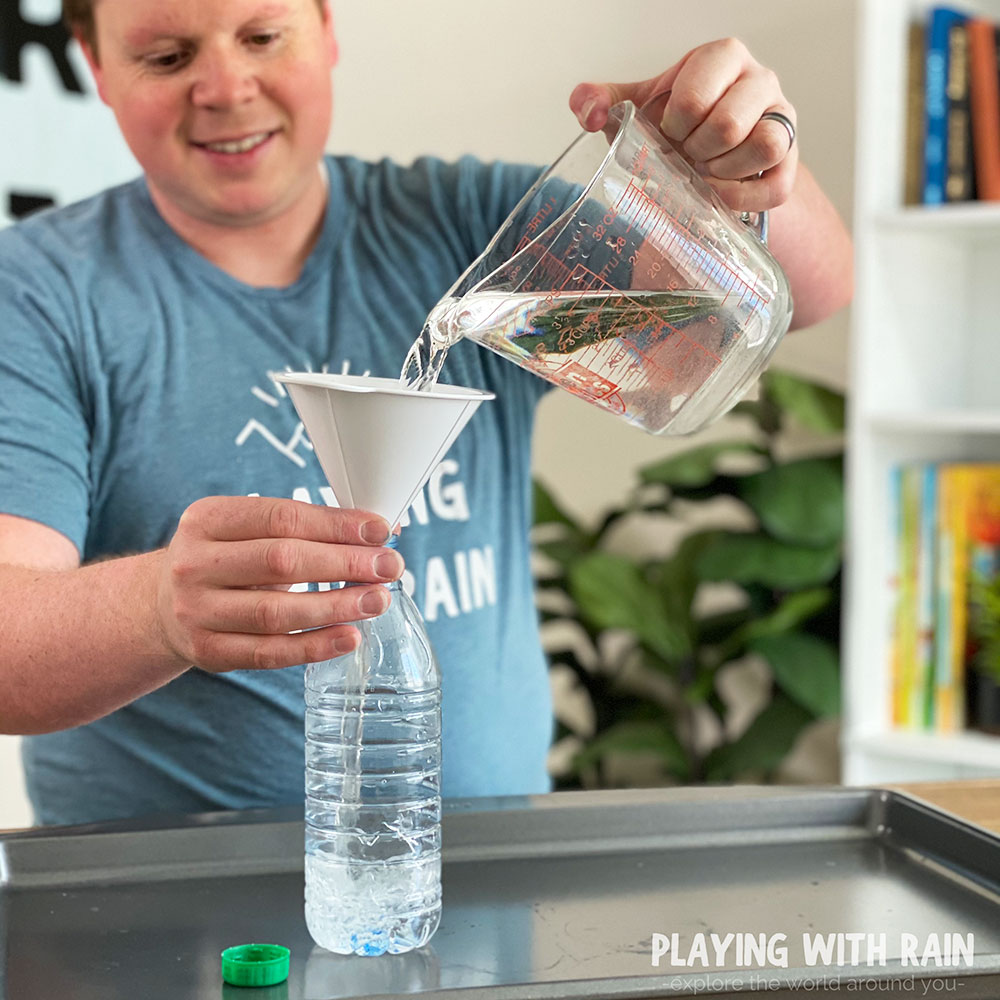
You can add food coloring to make the water more visual, but be warned that water will spray out of the bottle later and the mess will be easier to clean up if you don’t use food coloring.
Once the bottle is full of water, make sure the cap is on tight so that it makes a good seal.
Step 2: Poke Some Holes in The Bottle
It might sound crazy to poke holes in a bottle that is full of water, but believe it or not you won’t get very wet…at least not yet that is!
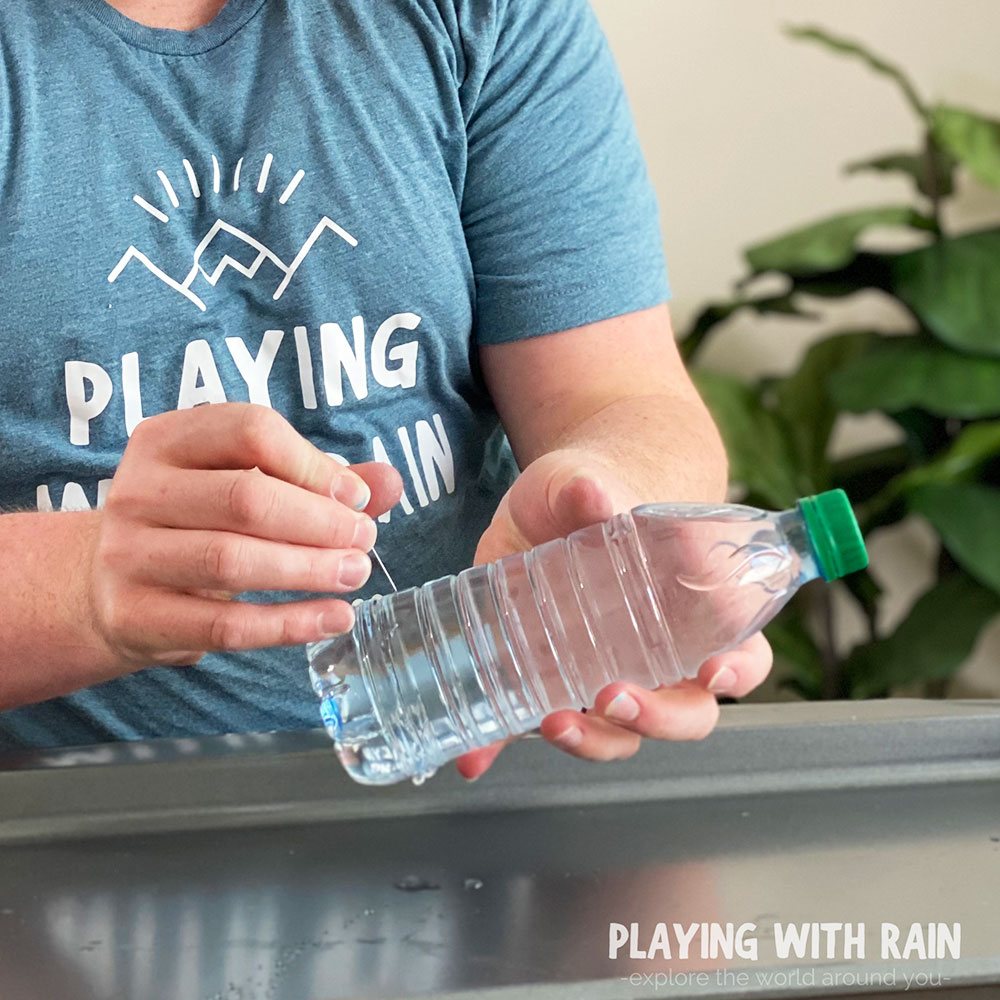
Under adult supervision, use a very small thumbtack, pin, or needle to poke about 5 holes equally spaced around the outside diameter of the bottle. The best place for these holes is about an inch from the bottom of the bottle.
Don’t be alarmed if a little bit of water does leak out when you are puncturing the holes in the bottle. This is expected, but as long as you leave the cap on the bottle and don’t squeeze it, then you won’t get sprayed yet!
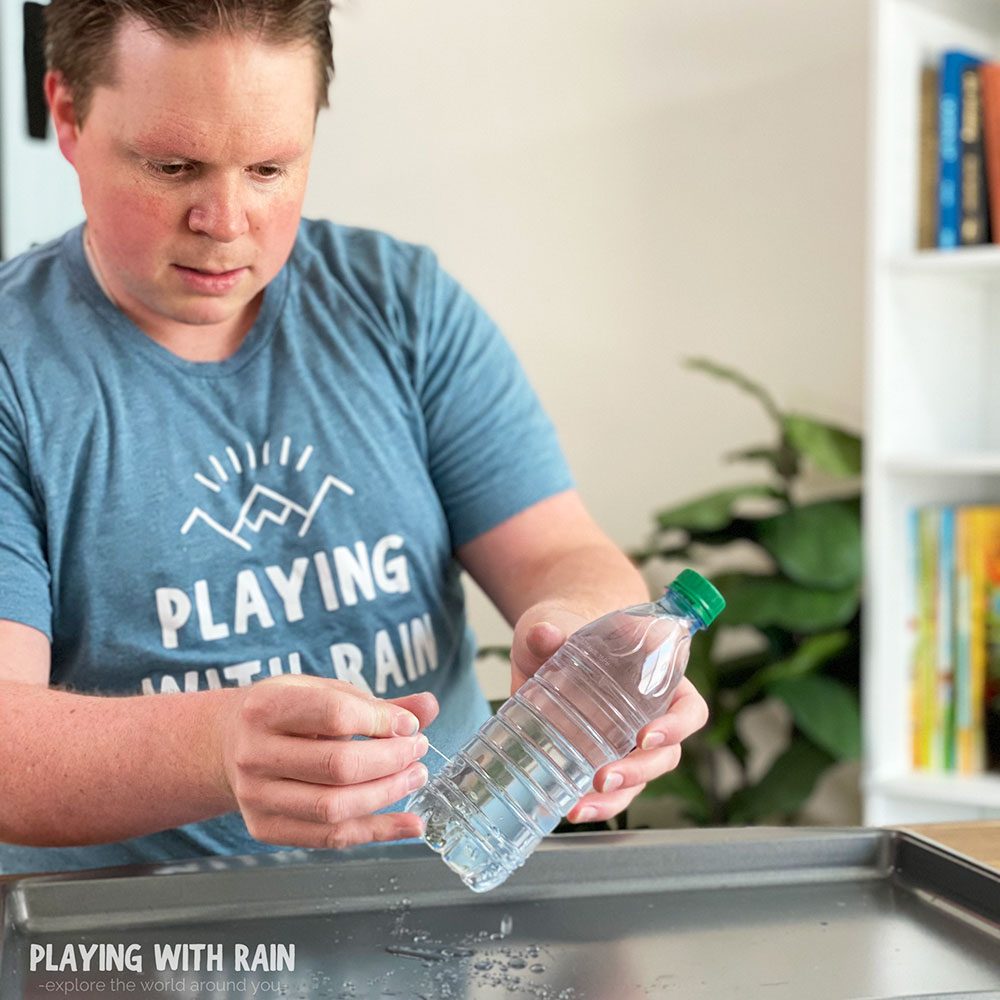
Step 3: Set the Bottle Down On the Counter or a Baking Pan
Remember that part that I mentioned this can either be used as an educational experiment for your children, or an awesome prank on your friends!?
Well this is the part where you need to decide what you want the final result of the experiment to be!
Check PriceCheck PriceCheck PriceCheck Price
Depending on your intentions in doing this water bottle with holes experiment, will determine where to place the bottle.
If you plan to use this as an educational tool, then you might want to place the bottle in a large bowl or on a baking pan. This will help collect the mess when water comes out of the bottle.
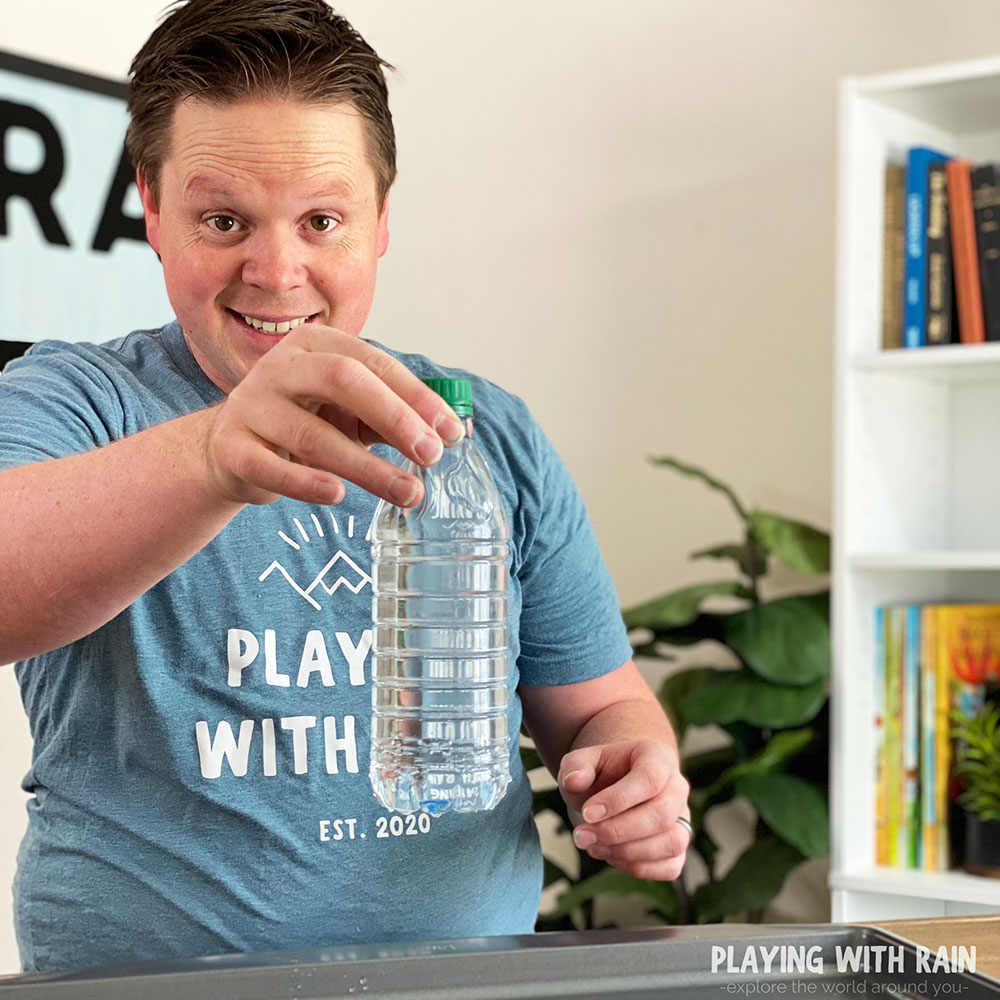
If you want your bottle to make a mess on one of your friends as a prank, then strategically place the bottle on the counter or even in the fridge.
This will set the stage for an unsuspecting person to find the bottle, grab it for a drink, and get a nice surprise of water spraying at them!
Step 4: Unscrew the Lid, or Squeeze the Bottle to See What Happens
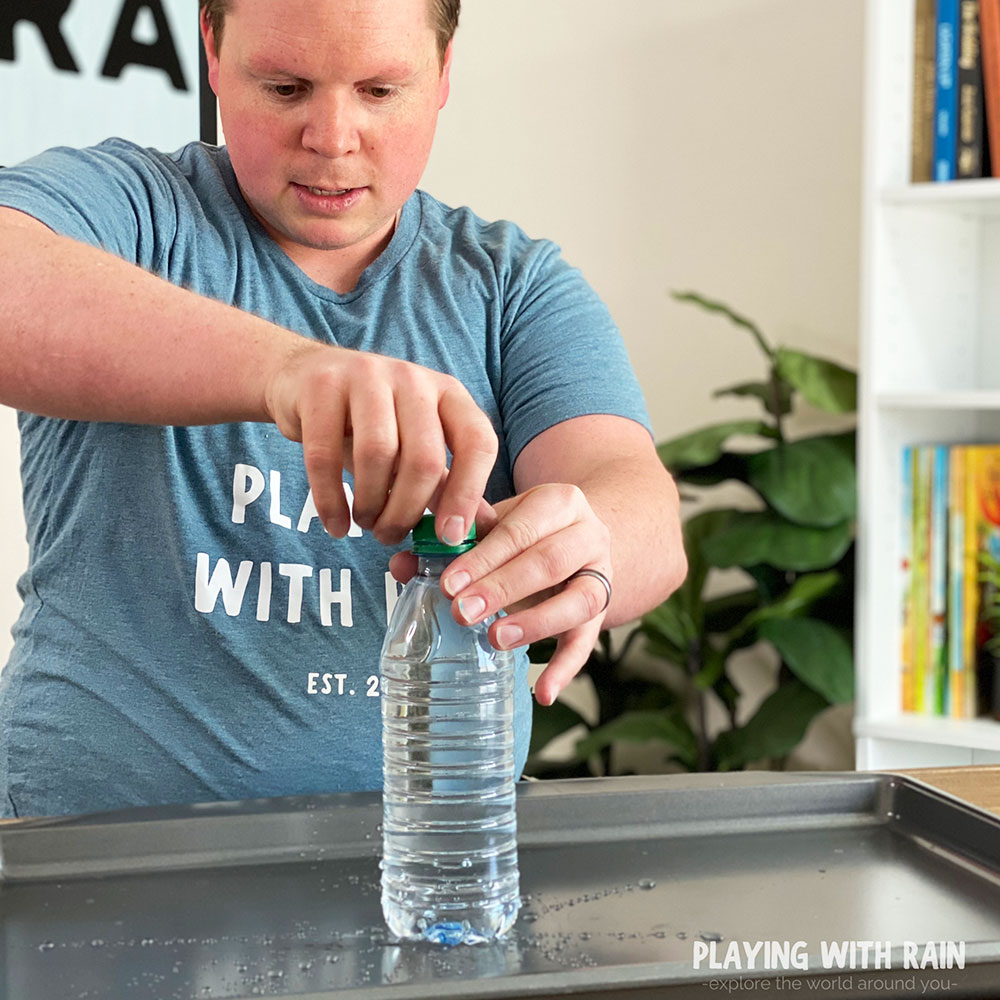
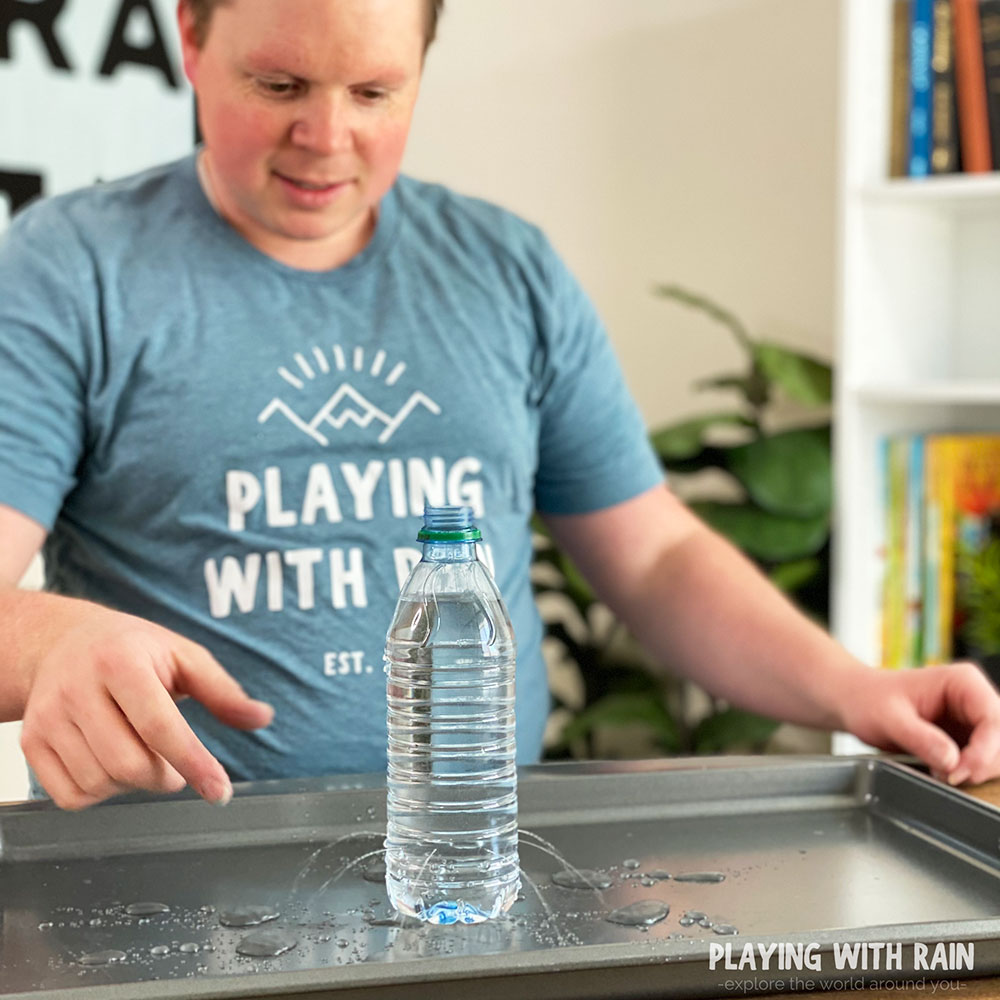
Now it’s time for the fun to begin! Watch in amazement as your bottle with holes magically holds water inside without leaking…even though there are holes in the bottle!
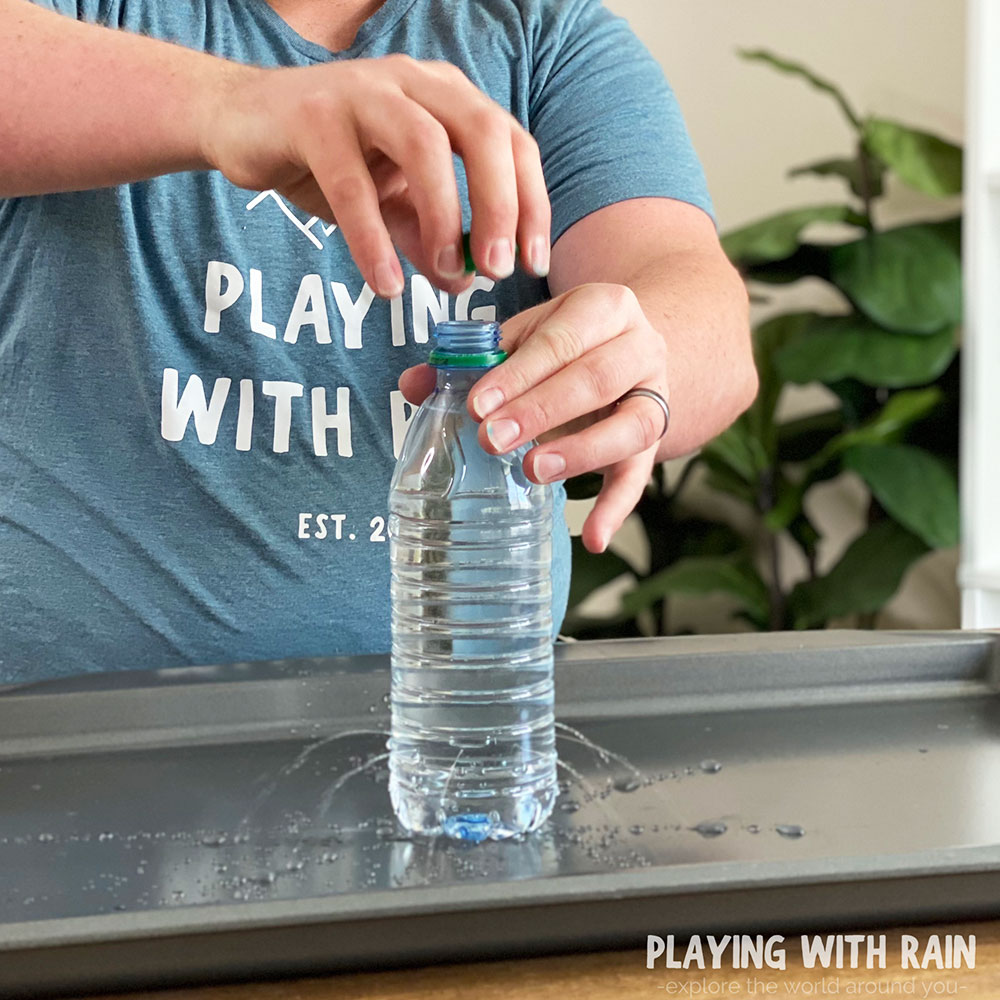
Then carefully unscrew the cap and see what happens! You should see water starting to spray out of the holes in the bottle as soon as the cap is loosened a little bit.
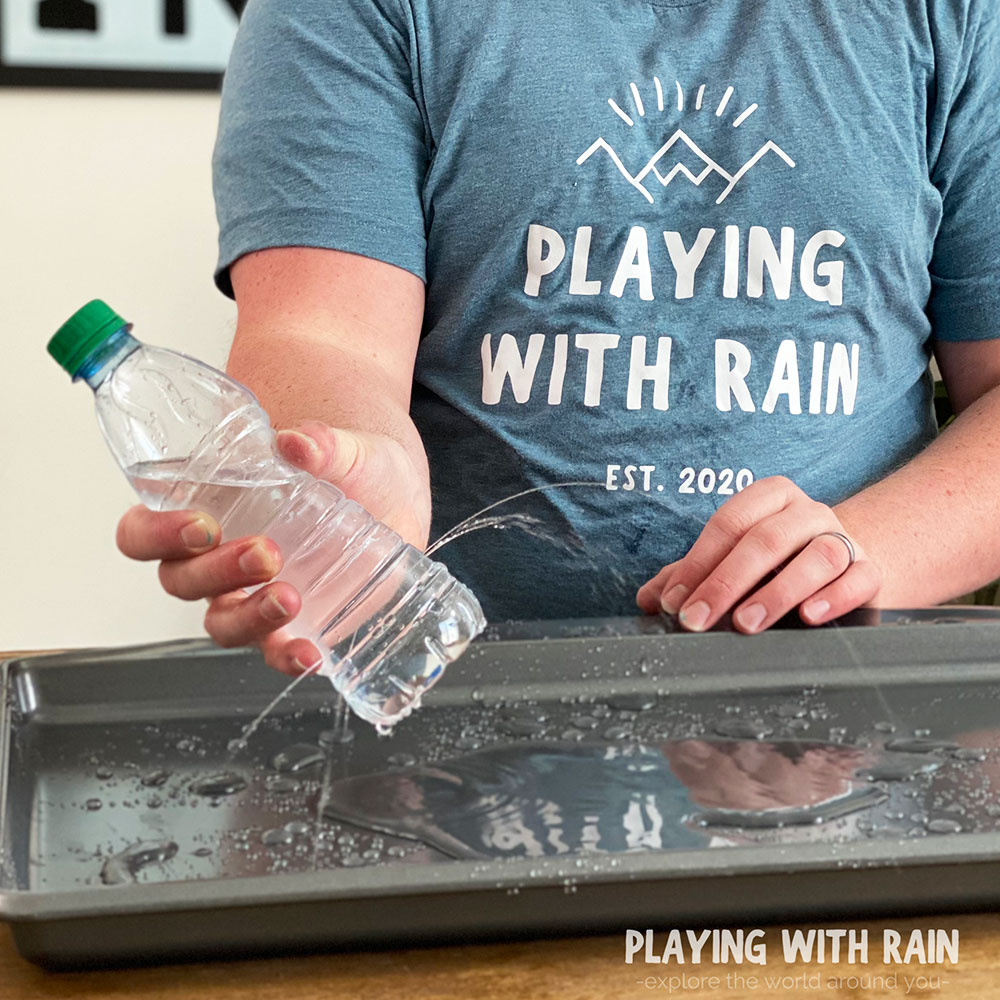
You can also leave the cap on the bottle, but pick the bottle up and squeeze it for the same result. Water will start spraying out of the holes when the bottle is squeezed or when the lid is removed.
This is again what makes this a great experiment, but also a fun prank!
The bottle looks harmless and refreshing when sitting on the counter, but as soon as an unlucky person comes along and grabs (squeezes) the bottle it will spray all over them!
Water Pressure Experiment Explanation
Most of us would think that a water bottle with holes in it would leak water out of it, but that’s only the case if air can get into the bottle to replace the water.
In the case of this water bottle with holes experiment, air pressure and the surface tension of the water work together to keep the water in the bottle despite the holes in the bottle.
Surface Tension:
Believe it or not, the surface tension of water molecules actually allows water molecules to bond together enough to help keep the water from leaking out of the holes in the bottle.
With the help of the surface tension, and the difference of air pressure outside of the bottle and inside the bottle is why the water does not leak out of the bottle.
Air Pressure:
The air pressure is lower inside the bottle than the air pressure outside the bottle. Air always moves from high pressure towards low pressure, so the air outside the bottle is actually trying to get inside the bottle.
The holes in the bottle are too small to let the air sneak inside the bottle, so instead the outside air pressure pushes on the bottle and the water and actually keeps the water inside the bottle!
Check out this Rising Water Experiment for another cool example of how air pressure works to make water do unexpected things!
Once the cap of the bottle is removed, then the air is given a path to get into the bottle and will act with gravity to push the water out of the holes.
When the bottle is squeezed with the cap still on, the pressure inside the bottle also overcomes the pressure pushing on the outside of the bottle and allows the water to spray out of the holes!

Leave a Reply