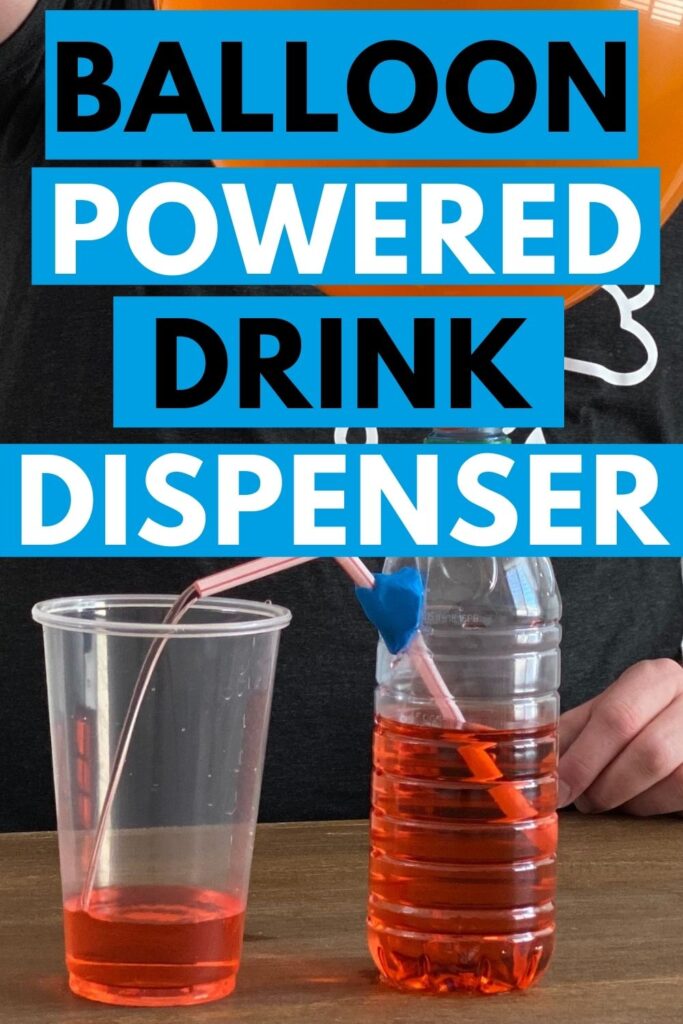
This super fun experiment uses a balloon filled with air pressure to power a homemade drink dispenser! It’s time to dive in and find out how to do this Air Pressure Bottle Experiment
Get more fun and easy Atmospheric Pressure Experiments here!
This is a great experiment to teach your kids about the power of air pressure. It can also be a great hit at your next party too!
Air Pressure Bottle Experiment
This post may contain affiliate links. As an Amazon Associate, I earn from qualifying purchases.
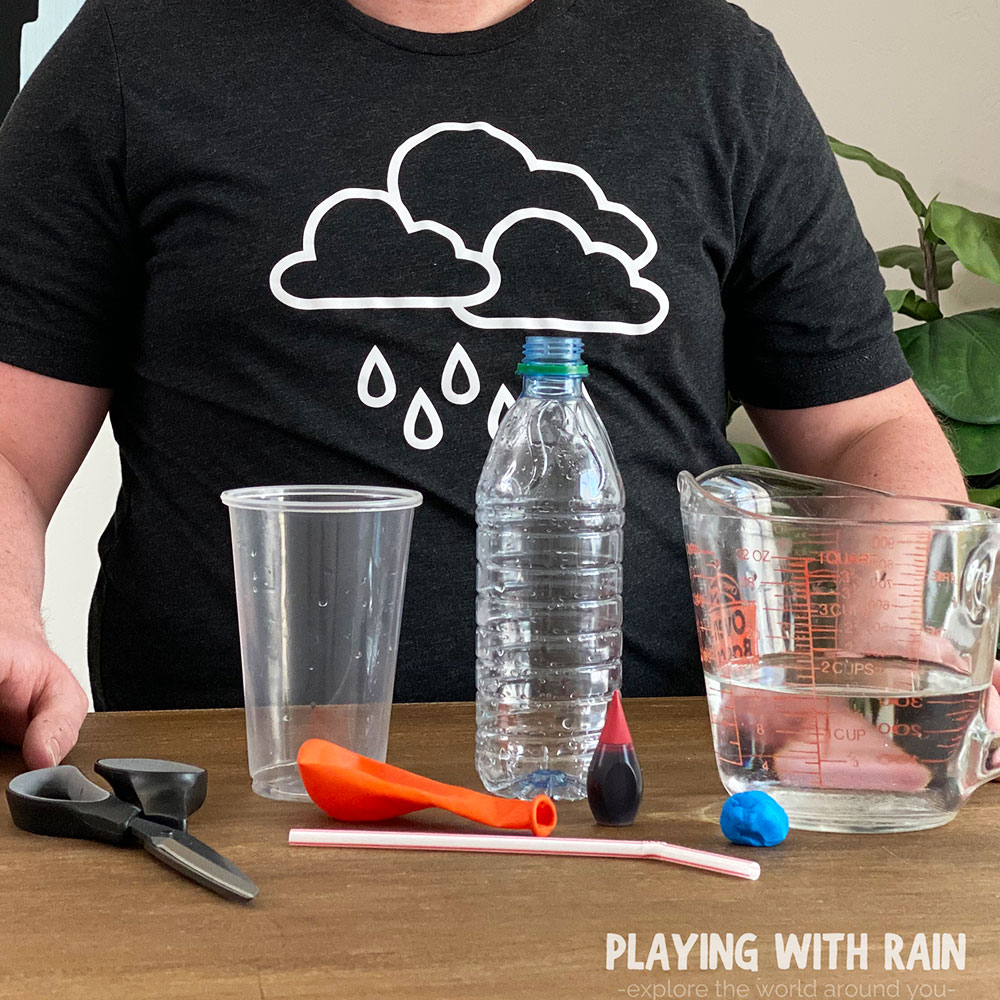
Supplies Needed:
- Clear Plastic Bottle
- Balloon
- A Cup or Bowl
- Water
- Food Coloring
- Modeling Clay
- Straw
- A sharp Nail or Screw
How to Create an Air Pressure Straw Experiment
- Poke a hole in a plastic bottle about 3/4 from the top of the bottle.
- Stick a straw through the hole in the bottle and use modeling clay to seal the straw hole.
- Fill the bottle about 3/4 full with water. Add food coloring if desired.
- Inflate a balloon and twist the neck of the balloon to keep the air in the balloon.
- Slide the mouth of the balloon over the top opening of the bottle.
- Untwist the balloon to allow the air to push into the bottle. Watch as the water gushes out of the bottle and through the straw!
Step 1: Make a Hole in a Plastic Bottle
A standard size water bottle (16-20oz) works great for this experiment, but you could also use a larger 2-liter bottle of your favorite soda if you really want to impress your party guests!
Whatever type of bottle you use, it’s a good idea to partially empty the bottle a little bit so that you do not make a mess when poking a hole in the bottle.
The hole needs to be about 3/4 of the way to the top of the bottle, so you don’t need to empty very much liquid out of the bottle if you don’t want to (although I went ahead and dumped all the water out to be safe).
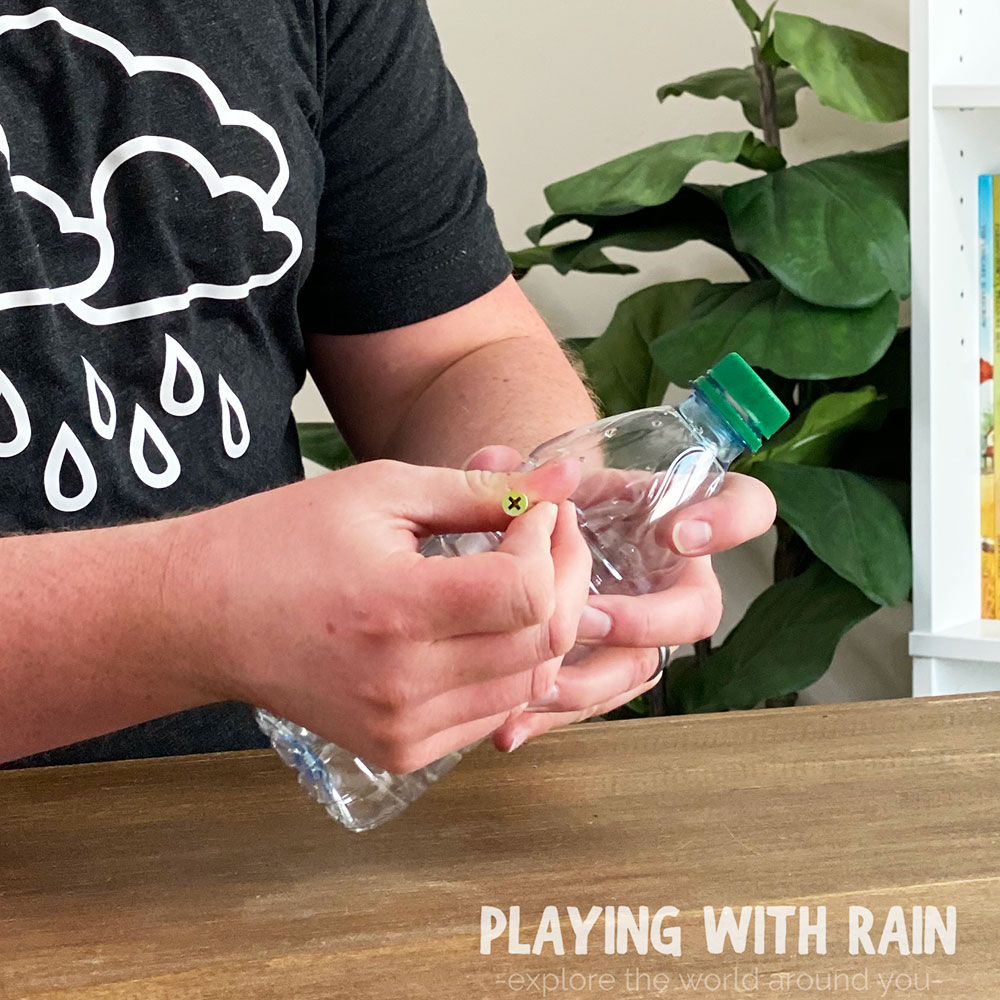
Then use a sharp nail or screw to poke a hole in the side of the bottle. You want the hole to be big enough for a straw to go through, but not any bigger so that the air and liquid won’t leak out of the bottle.
Step 2: Put a Straw in the Bottle and Seal the Hole
After you make a nice hole in the upper side of the bottle, grab a straw and insert it into the hole in the bottle. I prefer to use the flexible straws to make it easier to angle for filling drinks, but any kind of straw should work.
Use some modeling clay or putty to seal the hole for the straw. Apply a generous amount of clay to the outside of the hole all around the straw and make sure it holds the straw in place.
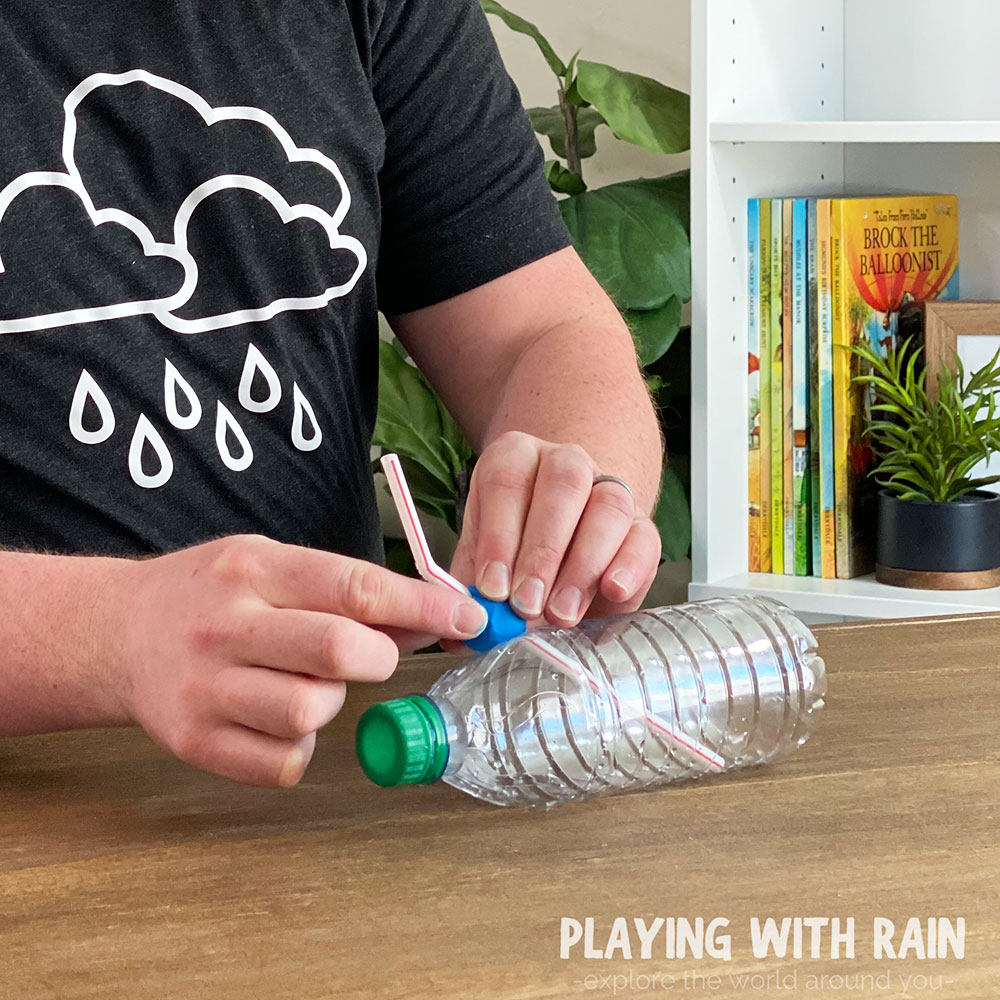
The key to this step is making sure to create a good enough seal with the clay that air and water can only escape through the straw and not through the hole that the straw goes through.
Step 3: Fill the Bottle up With Your Favorite Drink
If you are using water for this experiment, then it might be fun to add a little food coloring to make it more visual. Otherwise, fill the bottle about 3/4 full with water, soda, or any kind of your favorite beverage.
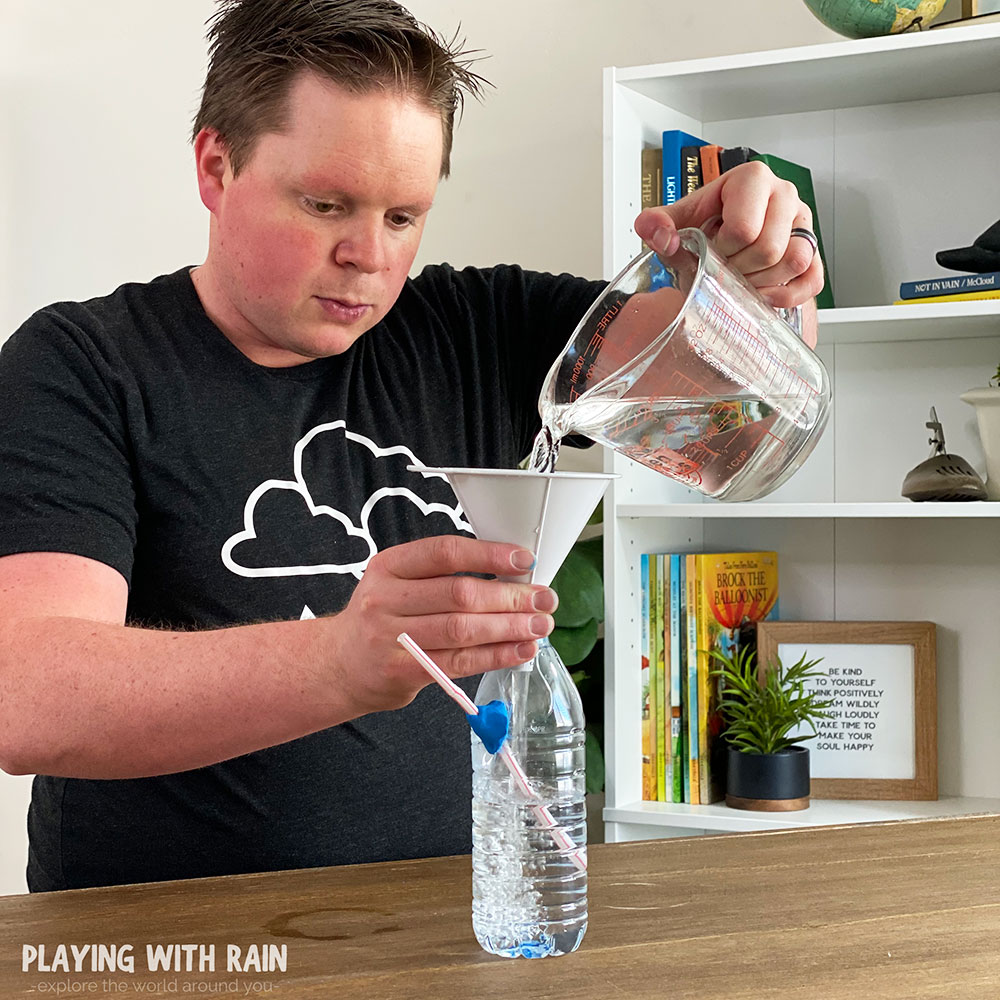
The goal here is to make the liquid level at about the same level as the hole the straw enters the bottle at. If you want to fill the bottle all the way up you can too…as long as you trust the clay seal around the hole not to leak!
Step 4: Air Up a Balloon but Don’t Tie it Off Yet
Inflate a large balloon to a size that you feel will hold plenty of air, but not so much that the balloon could pop. The idea here is the bigger your balloon is, the more air pressure it holds and the better the experiment will be.
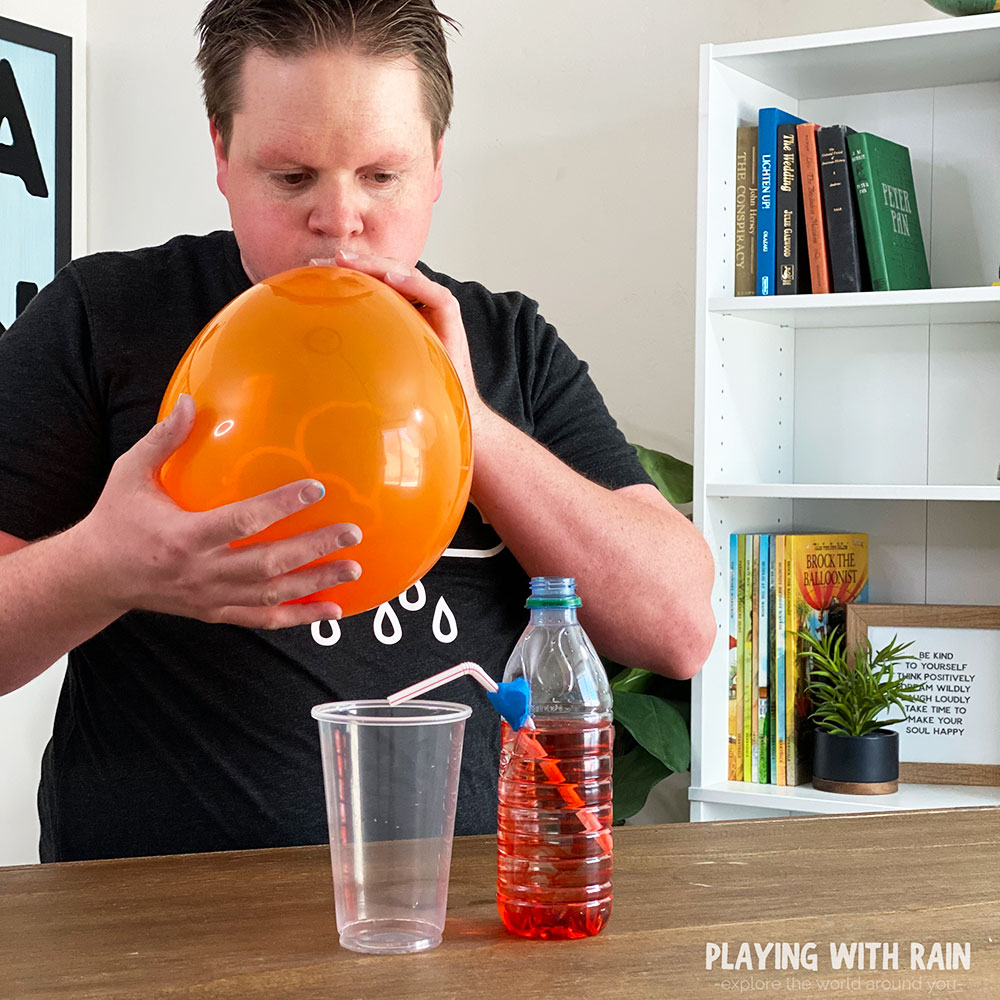
Once you have added enough of your hot air to the balloon, twist the neck of the balloon serval times and hold it in place. This will help keep the air inside the balloon without tying it off.
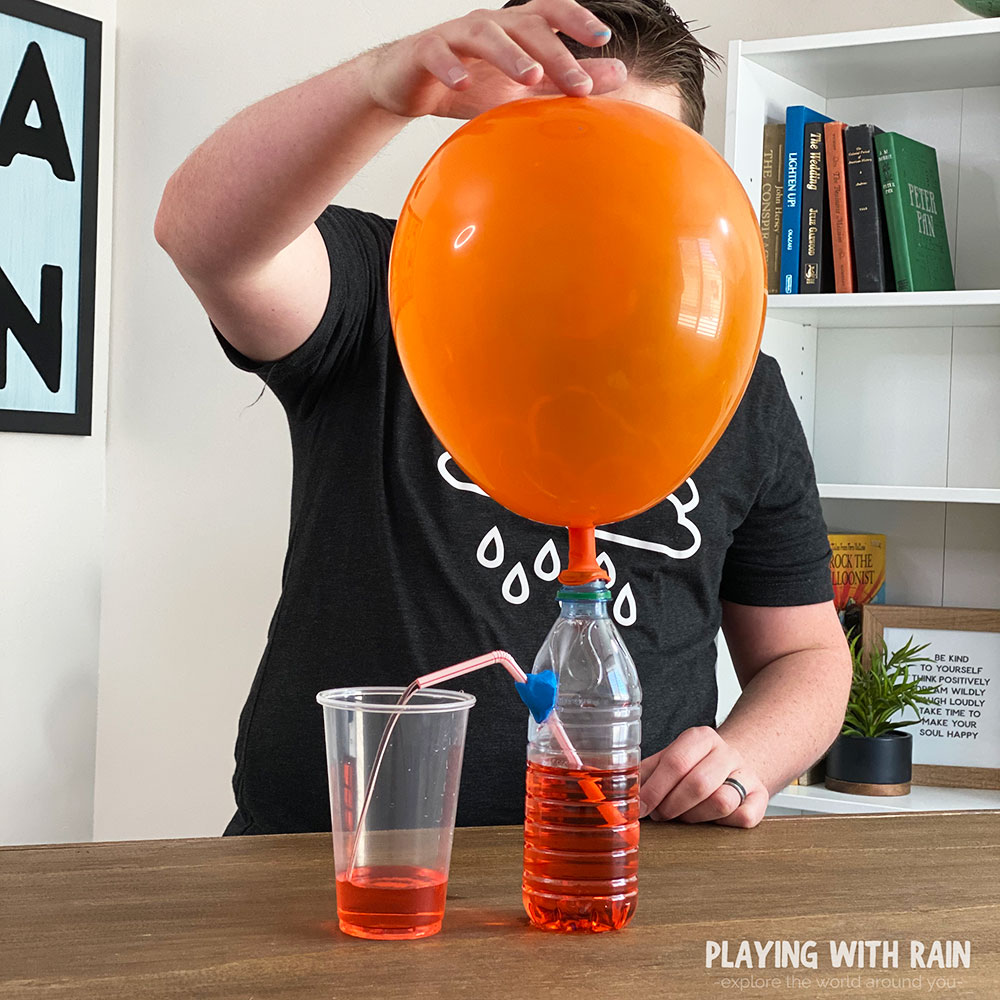
Step 5: Attach The Balloon to The Bottle
While keeping the neck of the balloon twisted and pinching the neck to keep air from escaping, slide the mouth of the balloon over the opening at the top of the bottle.
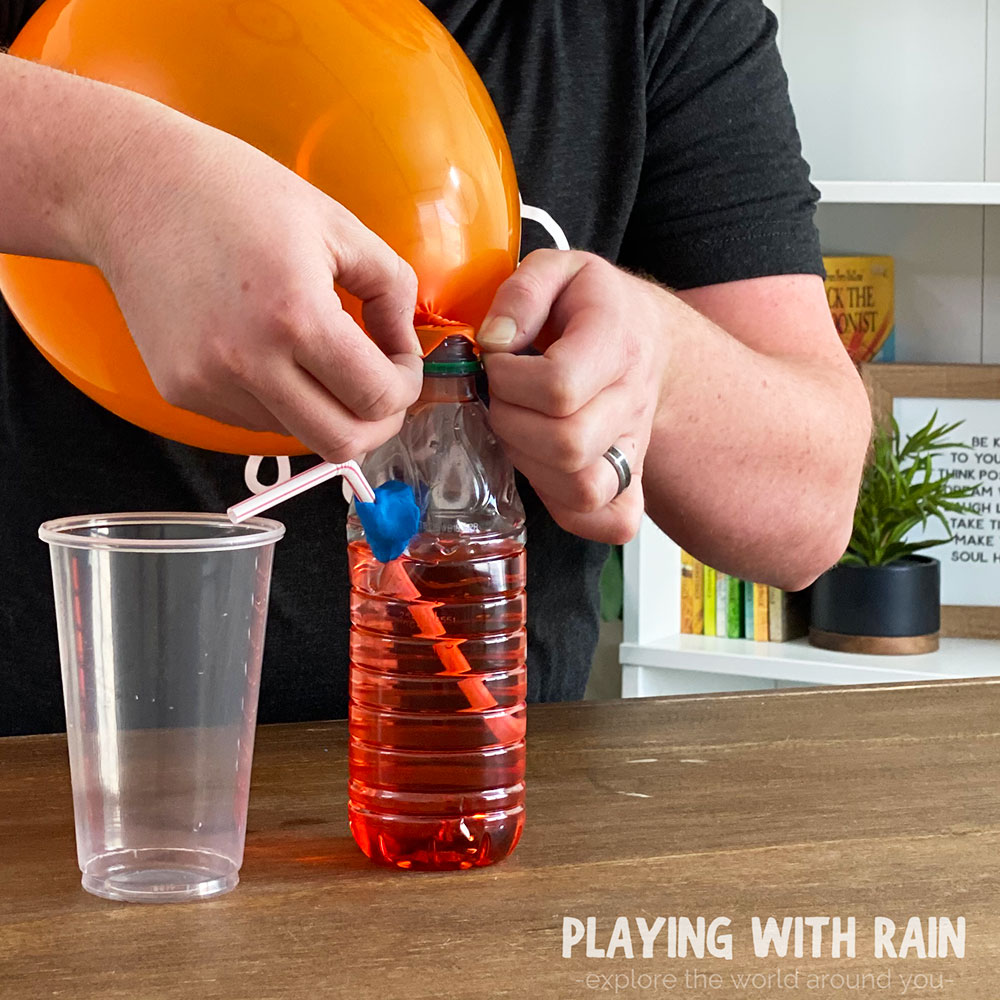
You may need to stretch the mouth of the balloon a little bit to get it over the bottle opening. This is another reason why a bigger balloon is better for this experiment because it will stretch better.
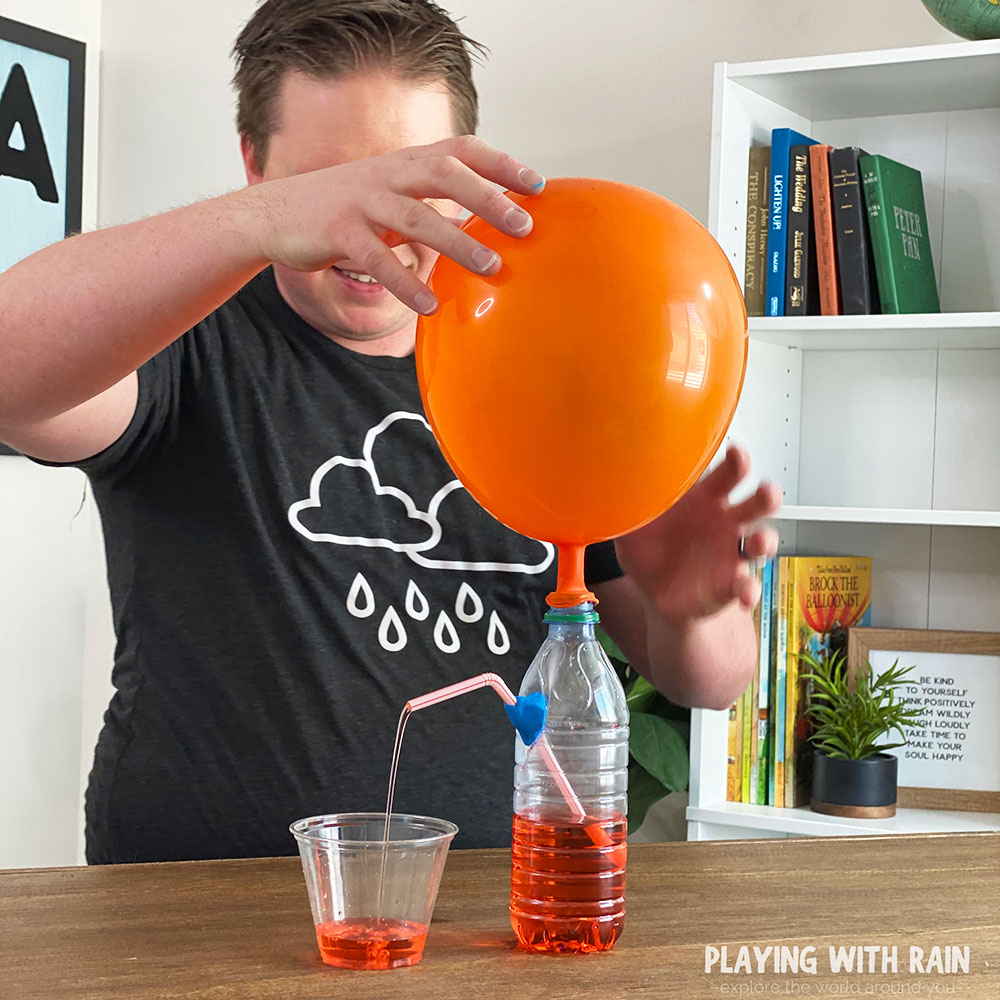
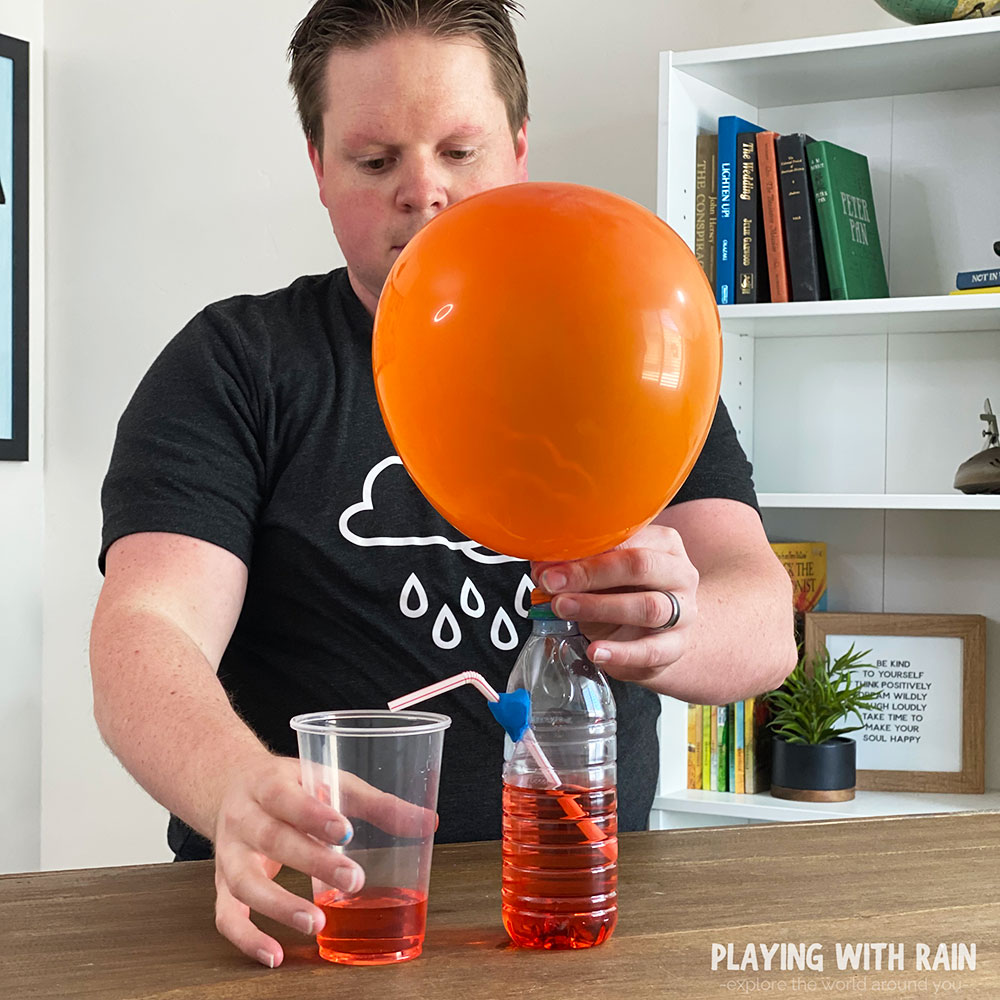
Step 6: Let The Balloon Air Escape and Power The Drink Dispenser!
Your balloon-powered drink dispenser is now ready for action. All you need to do is put a cup under the straw and untwist the neck of the balloon!
As the air from the balloon pushes into the bottle, water (or whatever beverage of your choice) will begin flowing out of the straw and into the cup.
Keep a few cups handy because they do fill up fast! If you need to stop your dispenser to swap for a new cup, just pinch the neck of the balloon and then let go of the balloon when you are ready to fill up another drink!
What Made the Water Come Out of The Straw?
The air inside the balloon acts like very high atmospheric pressure that forces the water out of the bottle and through the straw.
In the wonderful world of weather we know that a high-pressure air mass always flows towards a low-pressure air mass. That is why it is usually windy if you are located between a high and low-pressure system!
This same principle of high-pressure air flowing to low-pressure air works with this air pressure bottle experiment too! For another cool way that demonstrates air pressure check out this Balloon in a Bottle Experiment.
The higher pressure inside the bottle is created by the balloon air rushing into the bottle. The high pressure in the bottle then tries to escape to the lower pressure outside and pushes water through the straw!
The water stops coming out of the straw when the balloon neck is pinched because the air pressure becomes equal inside and outside of the bottle and the forces are balanced.
PIN THIS EXPERIMENT FOR LATER
Leave a Reply