This is a super fun and entertaining hands-on experiment that kids of all ages will love as they learn about the science behind friction. The sky is the limit with this one, so let’s get started with this Hovercraft Science Experiment.
Get more fun Balloon Science Experiments for kids here!
My favorite thing about this experiment is that it is easy to do at home and safe for even the youngest kids to get involved in some of this flying fun!
Hovercraft Science Experiment
This post may contain affiliate links. As an Amazon Associate, I earn from qualifying purchases.
Supplies Needed:
How to make a hovercraft
- Remove the cap from a Dawn Dish Soap container and rip off the top cover of the cap
- Find a blank compact disc or an old CD you don’t care about
- Attach the cap from the soap to the center of the CD right over the hole
- Stretch a balloon over the cap and inflate the balloon
- Place your balloon and CD hovercraft on a smooth, hard surface and watch it glide as the air shoots out from the balloon
Step 1: Modify the cap of a Dawn Dish Soap bottle
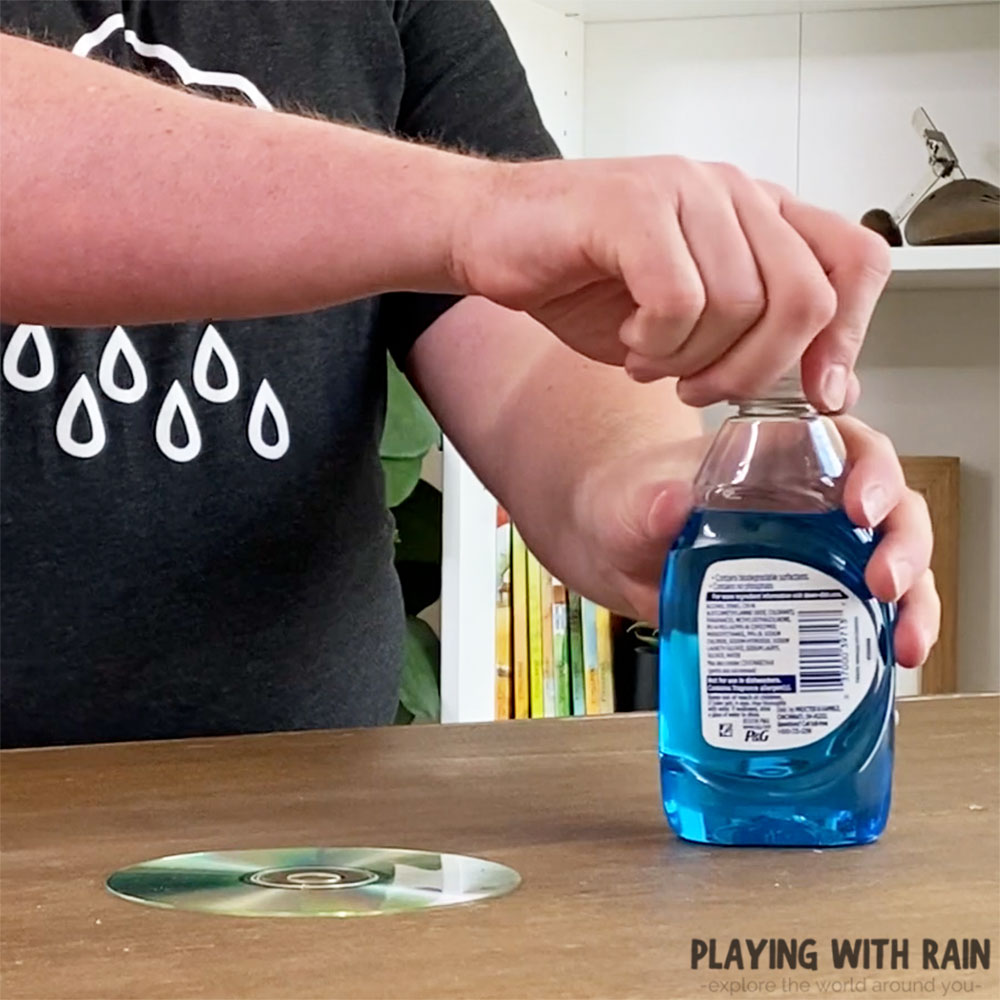
To start off, you will need to find a Dawn Dish Soap bottle and remove the cap from it. The bottle I used was the 7oz bottle and the lid is the perfect design to hold your balloon in place for this hovercraft science experiment.
The cap is going to act as the connection to the CD and the balloon that powers the hovercraft, so we will need to modify it just a little bit. This means you might want to save the cap from an empty soap bottle so that you don’t ruin the cap on a bottle you still need.
After unscrewing the cap on the soap bottle, you need to pull the top flap that snaps down on the cap off. You should be able to twist and bend it off with your fingers, but using a pair of pliers might help too.
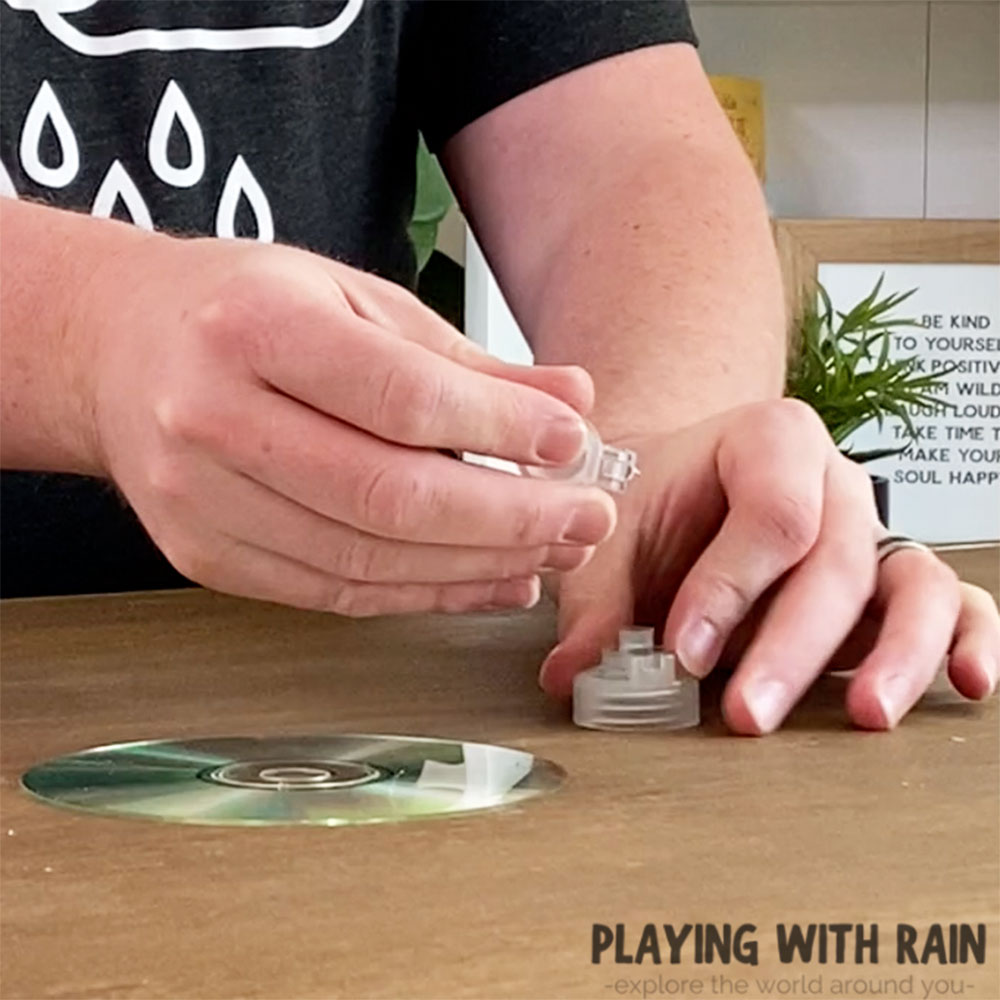
Once the top snapping cap on the lid is off, it will allow for the air to freely flow from the balloon, while holding the balloon in place on your hovercraft.
Step 2: Find an old CD you don’t mind scratching up to make your hovercraft
Since compact discs are a bit outdated these days, you might be willing to dig up one of your old high school music CDs as I did for this project. Just know whatever CD you choose to use will likely get scratched and may not play as well after being used for this hovercraft science experiment.
If you don’t have any CD’s lying around or don’t want to risk ruining them, you can also buy blank CDs on Amazon and many other stores.
You can also use a paper plate instead of a CD, but it just won’t be quite as durable and last as long as the CD will for your hovercraft.
Step 3: Use a hot glue gun to attach the soap cap to the CD
Now that you have a CD and the cap you need for this project, its time to start engineering your hovercraft and putting it together. You will need to attach the cap to the CD with hot glue, so go ahead and plug a hot glue gun in and get it warming up.
Adult supervision is highly recommended for this part of the building stage to prevent kids from getting burned from the hot glue.
Place the cap from the soap on either side of the CD, but make sure it is located in the center. You want the hold in the cap to be lined up with the hole in the compact disc so that the air will flow freely from the balloon and to the other side of the CD.
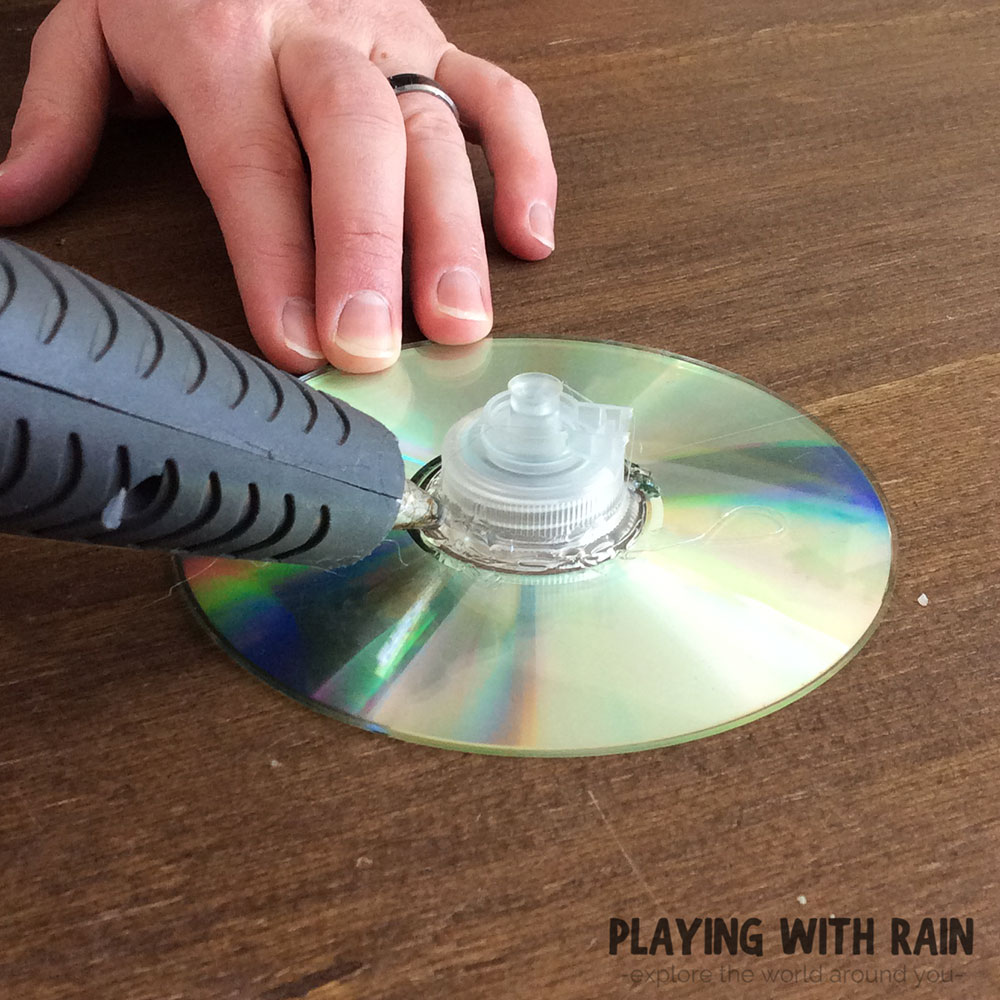
When you have the cap placed in the right spot on the CD, use a hot glue gun to create a seal around the cap. This will prevent the air from leaking out between the cap and CD while also holding both pieces together.
Step 4: Stretch the mouth of a large balloon over the cap on the CD and inflate the balloon
Your hovercraft is just about ready now, but we still need to add the power source (balloon). Grab a large balloon and slide the mouth of the balloon over the cap that is now attached to the CD.
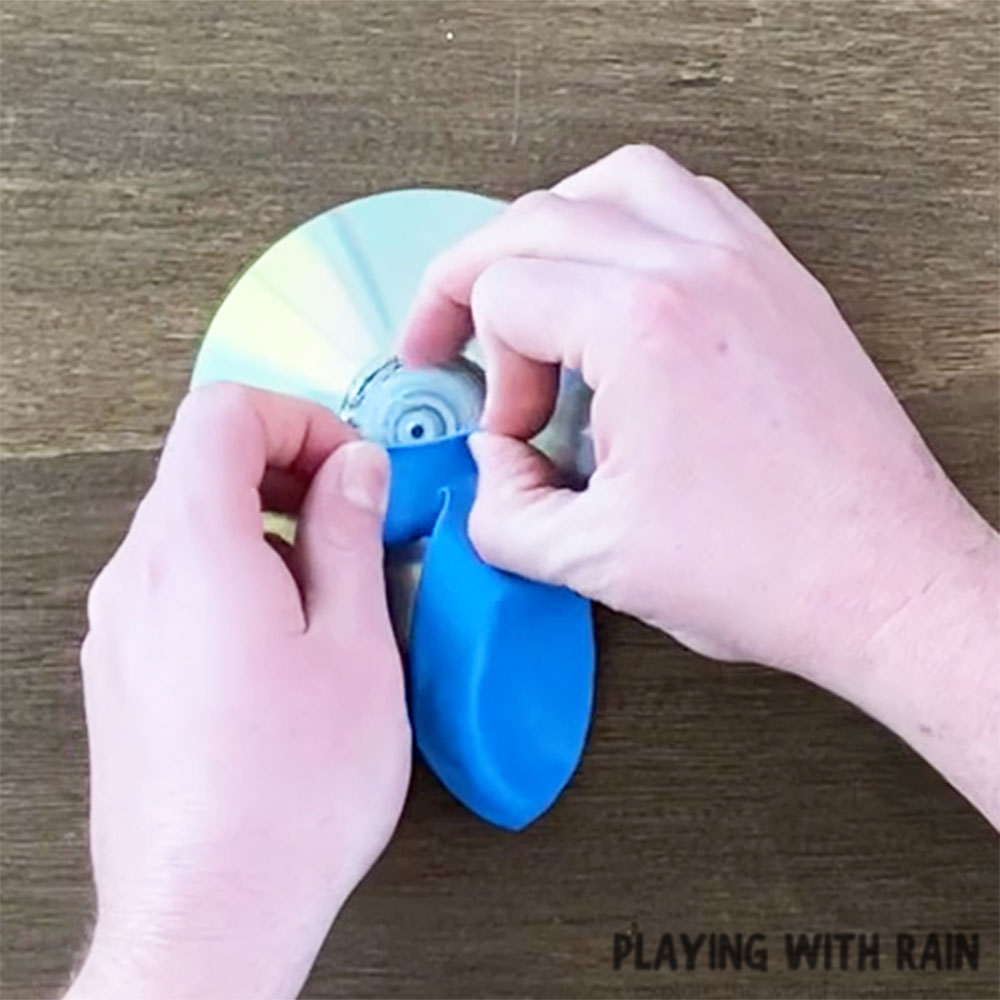
It may take a little bit of stretching the mouth of the balloon to get it over the lip on the cap but that is okay. You want a good and snug fit to help keep the balloon from flying off when air is added to the balloon.
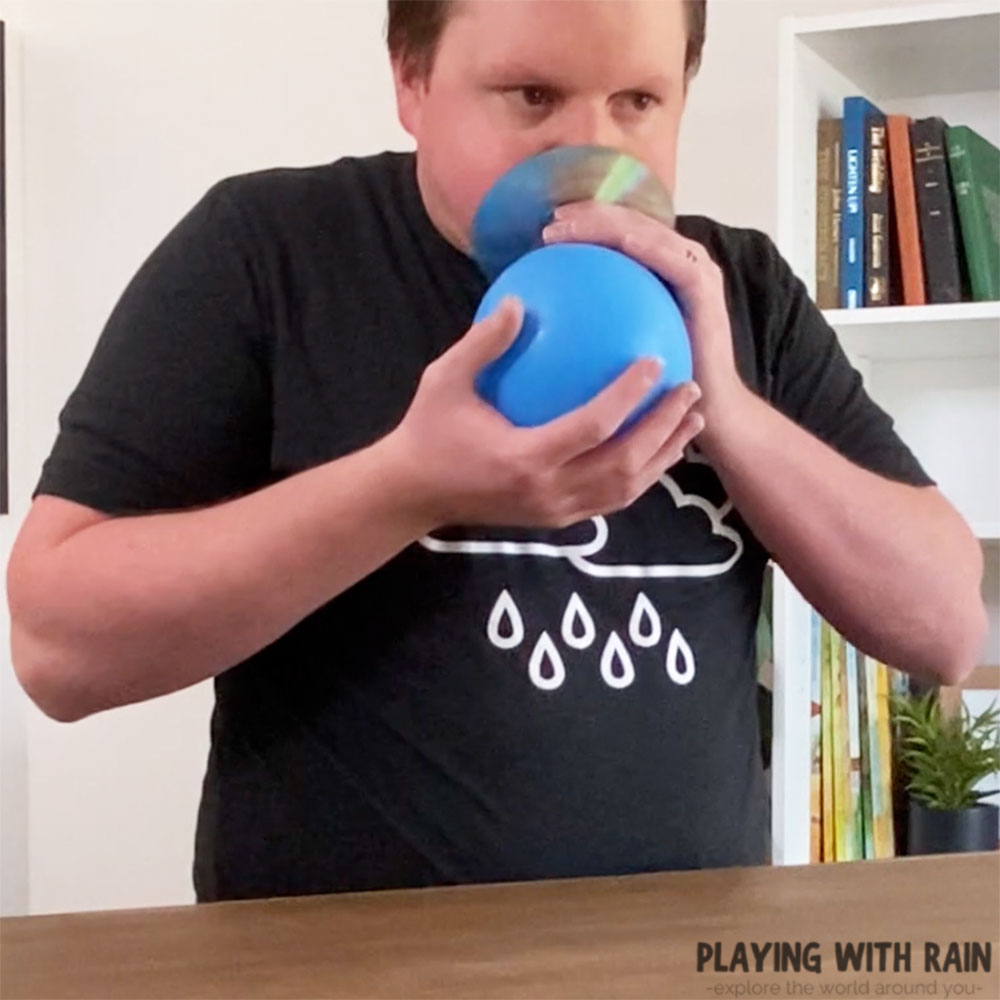
When you have secured the balloon to the hovercraft, inflate the balloon by blowing through the hole on the opposite side of the compact disc. Then place your finger over the hole to keep the air from escaping.
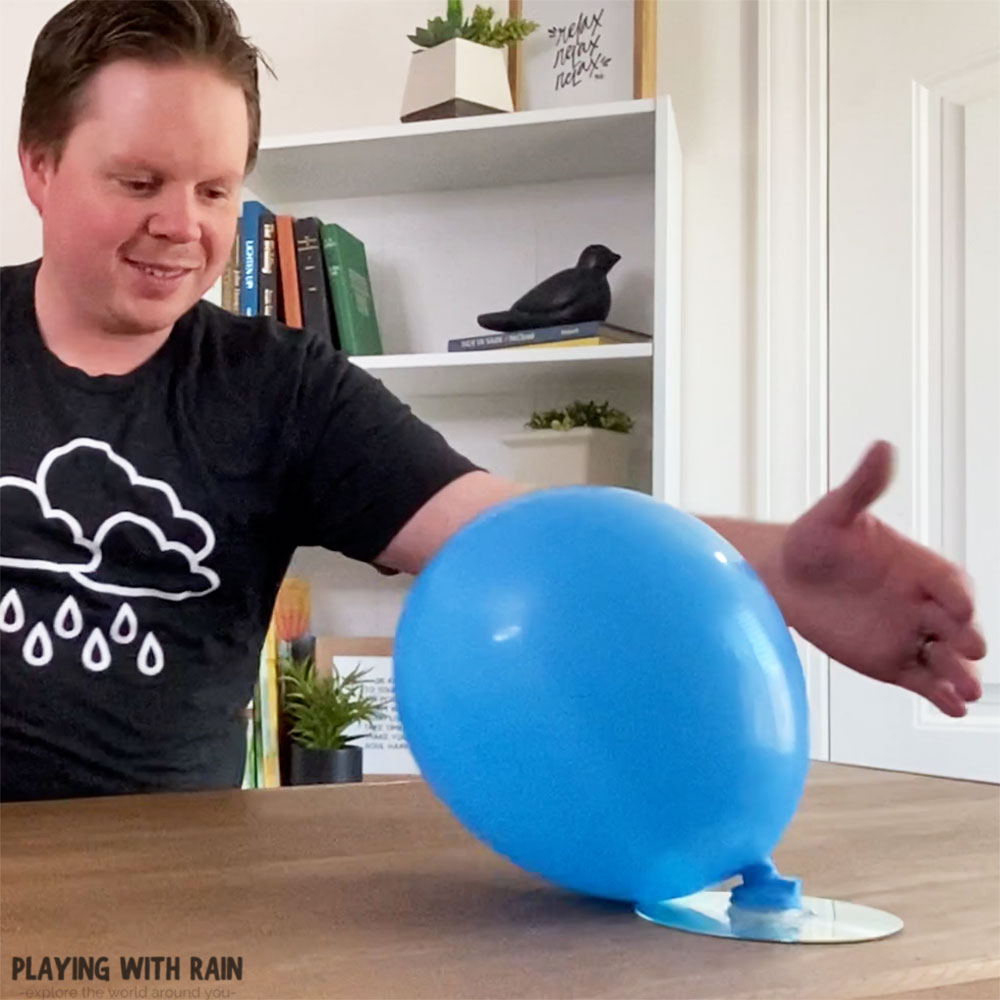
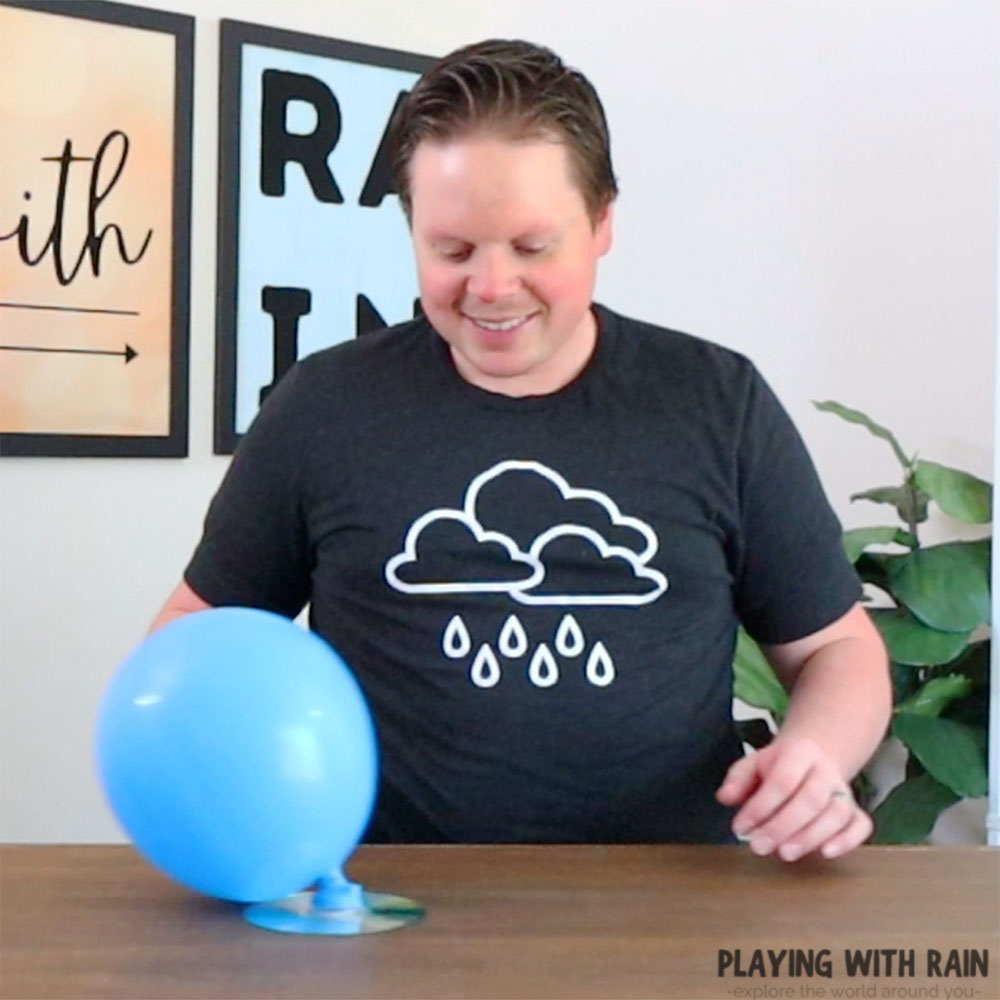
Step 5: Watch and enjoy as your hovercraft floats around on a flat, smooth surface
It’s time to let the fun begin! Gather the kids up and find a smooth, hard surface like a table or a wood floor and get ready to enjoy your new hovercraft.
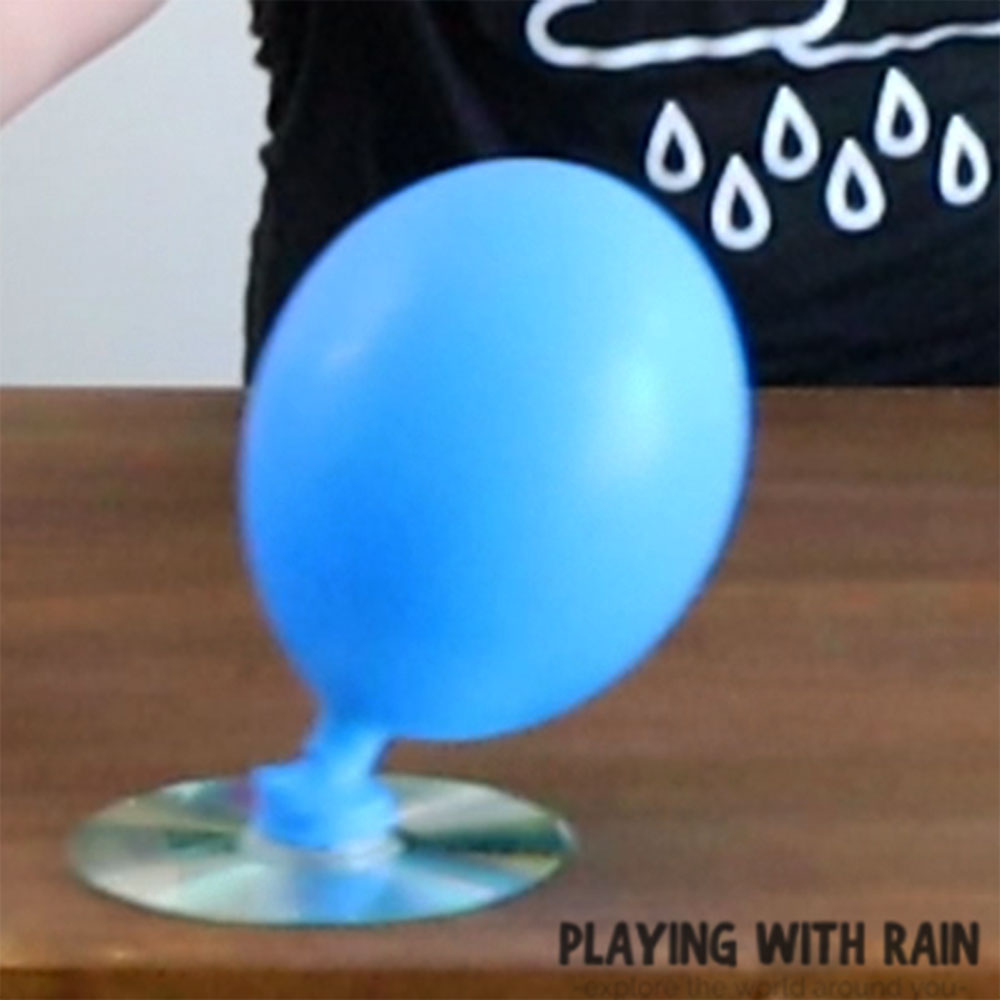
Quickly remove your finger from blocking the air on the hovercraft while carefully placing the hovercraft down on a smooth surface. The hovercraft should glide across the surface as the air rushing out of the balloon reduces the friction between the surface and the CD.
This part is really fun to let the kids (and adults) tap the hovercraft in different directions as it continues to float around. You can even take to it the next level and use it to play a competitive game of air hockey with your hovercraft!
How does a hovercraft work?
This balloon and CD hovercraft is a very small example of the large and more sophisticated hovercrafts that are strong enough for people to travel on…but the science behind how they work is the same!
As the air pressure in the balloon rushes out and under the CD it creates a cushion of air between the CD and the surface or the ground. This cushion of air pushing against the surface allows the hovercraft to float and glide over the surface without being stopped by friction.
Without the air current from the balloon being pushed down and then out around the bottom of the CD, the CD would be in contact with the surface and the friction between the surface and the CD would not allow it to hover.
In the case of our hovercraft science experiment, the balloon acted as the power source to keep the air cushion under the CD. In a real-life example like this one, hovercrafts are powered by large fans or propellers that actually push the air down to create the air cushion.
These larger commercial grade hovercrafts also have a propeller on the back to help with the forward motion and steering too! In fact, some recreational hovercrafts can go as fast as 70 mph!
Leave a Reply