You can buy various brands of instant snow powder at the store that expand into fluffy snow when you add water, or you can make your own instant snow with home ingredients too! Let’s compare these methods so you can decide which snow is the best for you! Amazing Super Snow Powder VS Homemade Snow.
Discover more fun and easy Weather Experiments for Kids here!
Each of these snow methods will provide countless hours of educational fun for your kids! Which snowmaking method you choose really just depends on what type of snow you want!
This post may contain affiliate links. As an Amazon Associate, I earn from qualifying purchases.
Storebought Instant Snow VS Homemade Snow
1st Method: How to Make Snow With Amazing Super Snow Powder
Supplies Needed:
Steps:
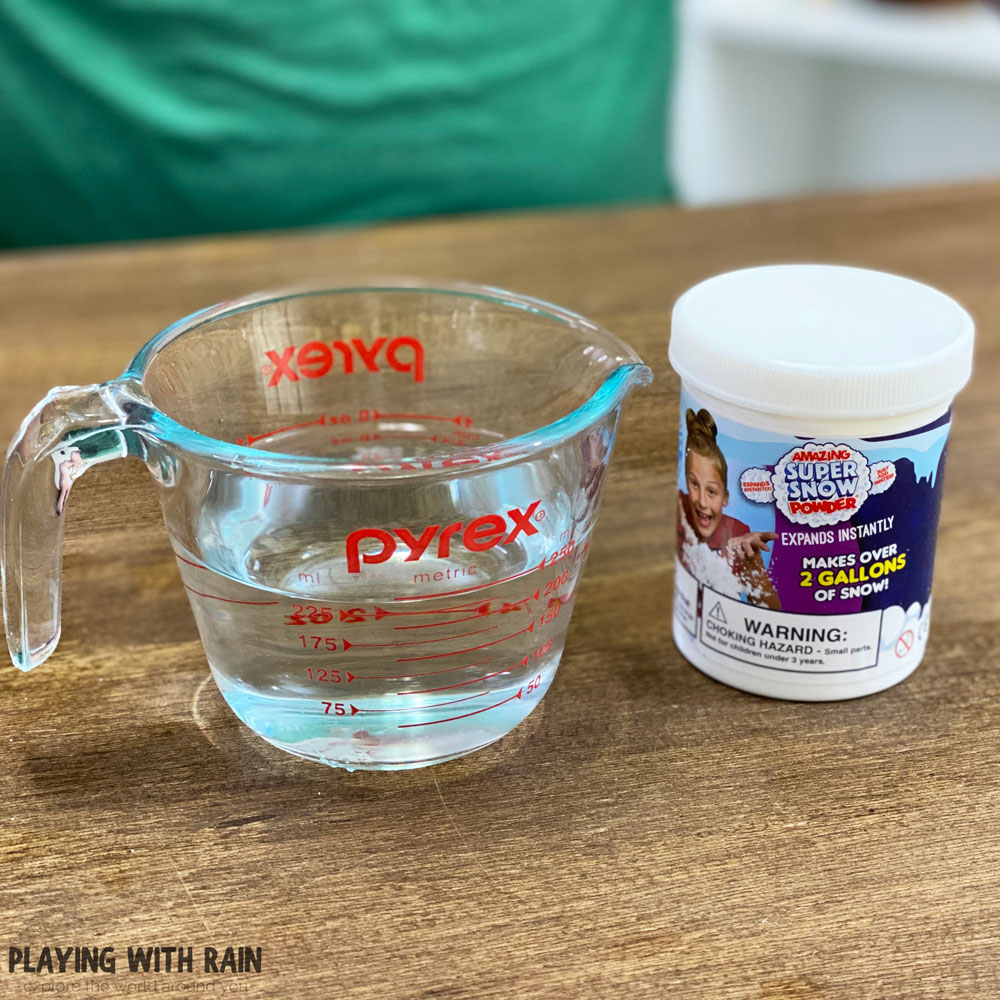
- Purchase some Amazing Super Snow Powder.
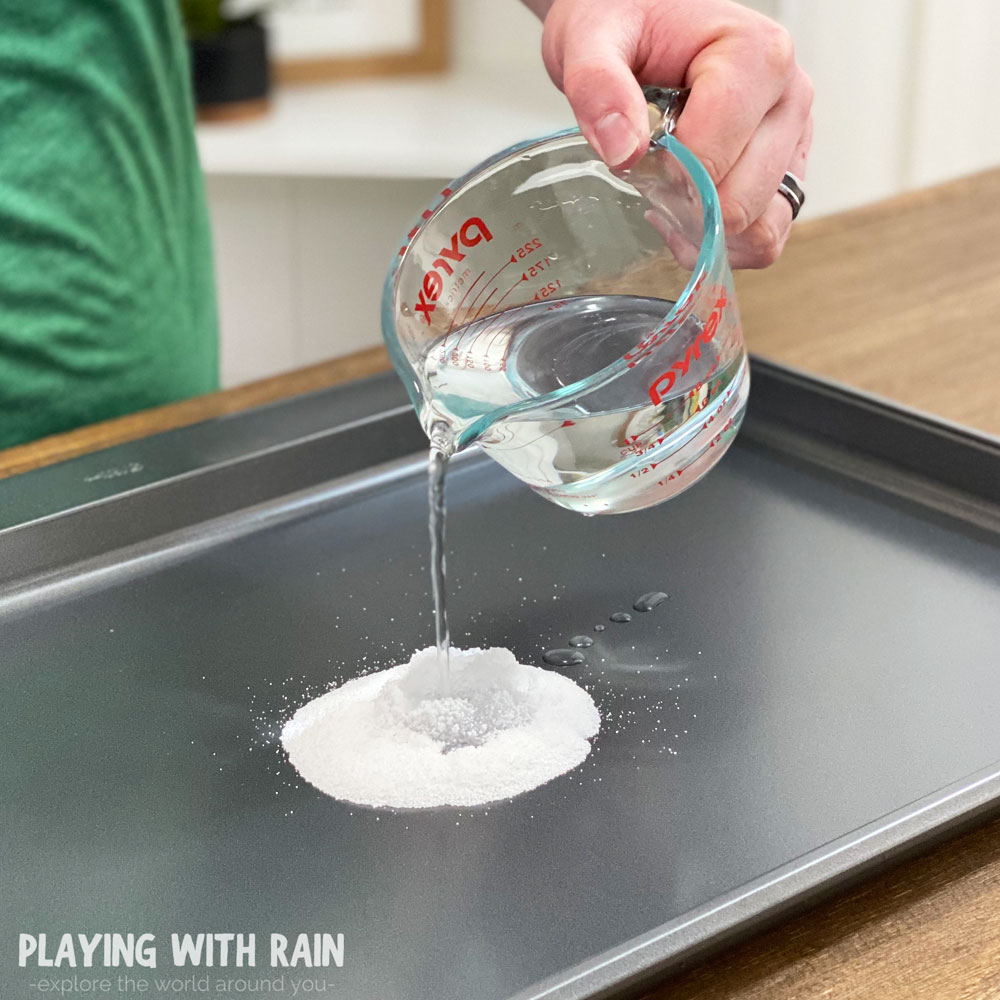
- Add 1 scoop of Amazing Super Snow Powder to 2 oz. of cool water.
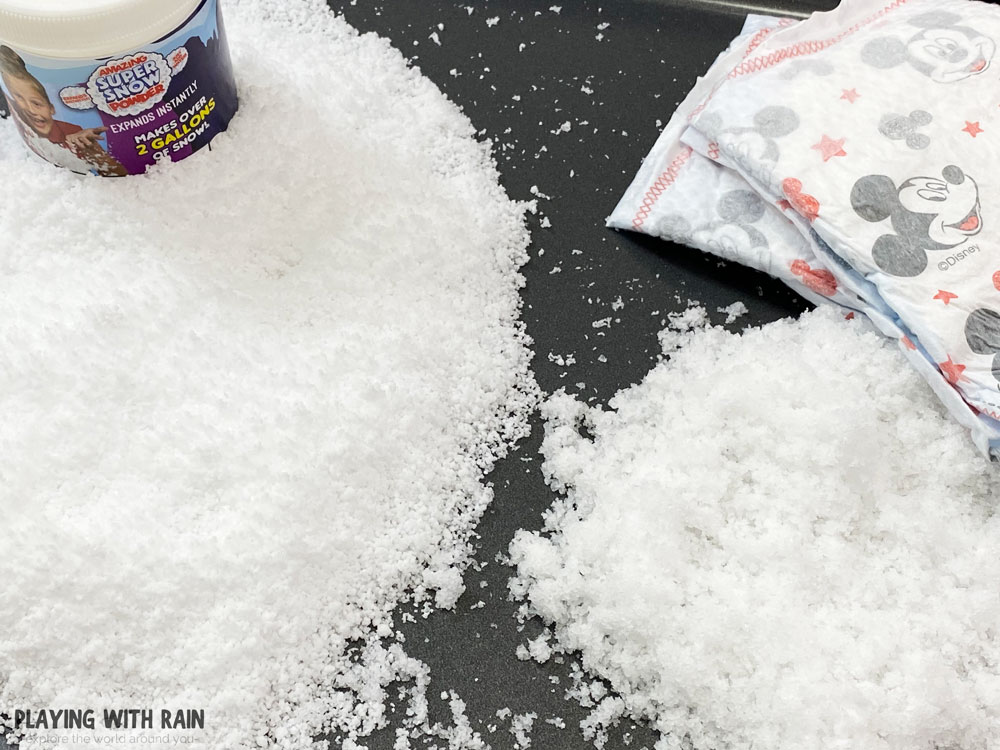
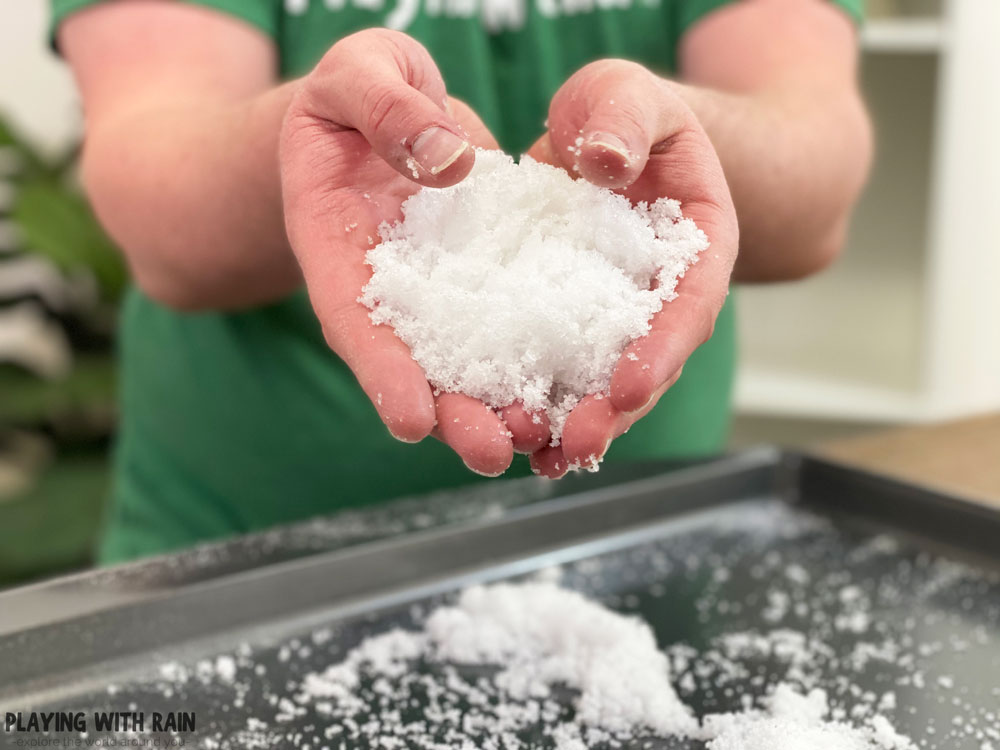
- Watch in amazement as the snow powder absorbs the water and expands to 100 times its size!
- When you are done playing with your fluffy snow, let it dry out for several days. It will shrink back to its original size and you can reuse it again by adding water!
- Caution: Whether you decide to keep your Amazing Super Snow Powder to reuse it or throw it away, do not put it down your sink! It can clog your drain!

Test Results:
- Cold Test: If you use cool water to make this Amazing Super Snow Powder it will feel nice and chilly to the touch. This is thanks to the water evaporating from the snow and creating a cooling effect. It’s still not our coldest method of making snow it but does feel cool to the touch.
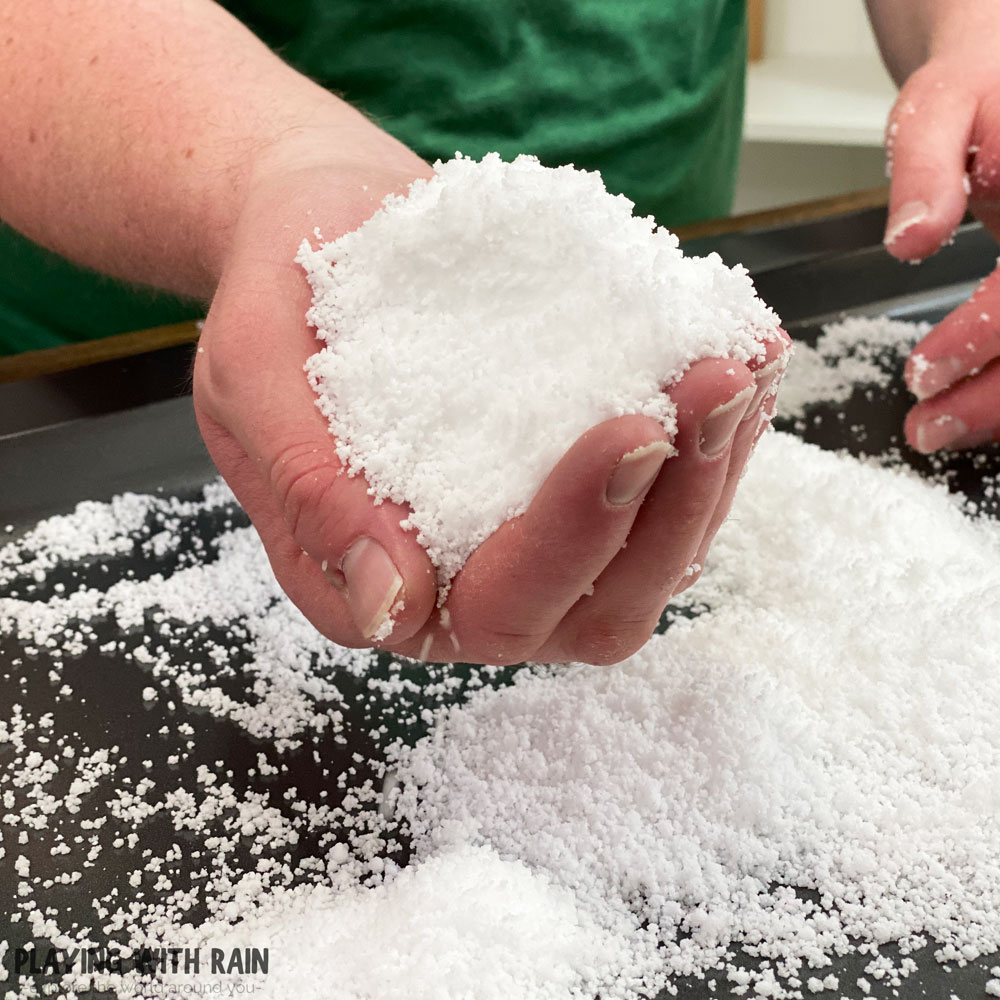
- Packing Test: This snow miserably fails the packing test. After several attempts, we discovered that this snow is so light and fluffy that it is impossible to make a snowball and especially a snowman for that matter!
- Texture Text: The texture of this snow is just like the name of this snow powder…Amazing! If you are going for a realistic look and feel of nice, fine powdery, fluffy snow, then this is the snow for you! If you want something to have a snowball fight with, however, you need to read on to our last method.
- Clean-up Test: The clean up of this snow is relatively easy, but be aware that you cannot wash it down your sink! The water-absorbing beads this snow is made of will expand and clog your drain! Because of this, we can’t rate the clean-up as highly as we would like. The gel-like beads can also become quite sticky to wipe off counters as well.
2nd Method: How to Make Homemade Snow From Diapers
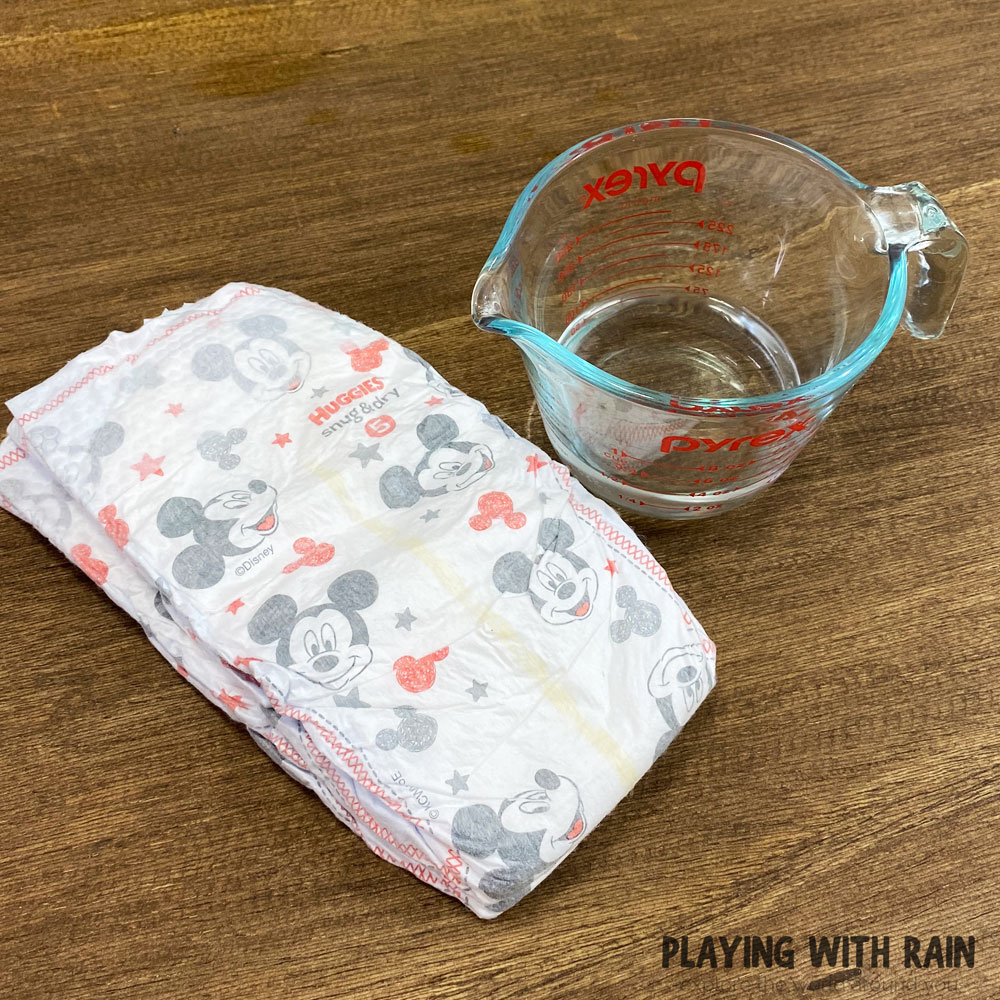
Supplies Needed:
- Diapers
- Scissors
- Water
- Mixing Bowl
- Large Baking Sheet (Optional for playing with snow)
Steps:
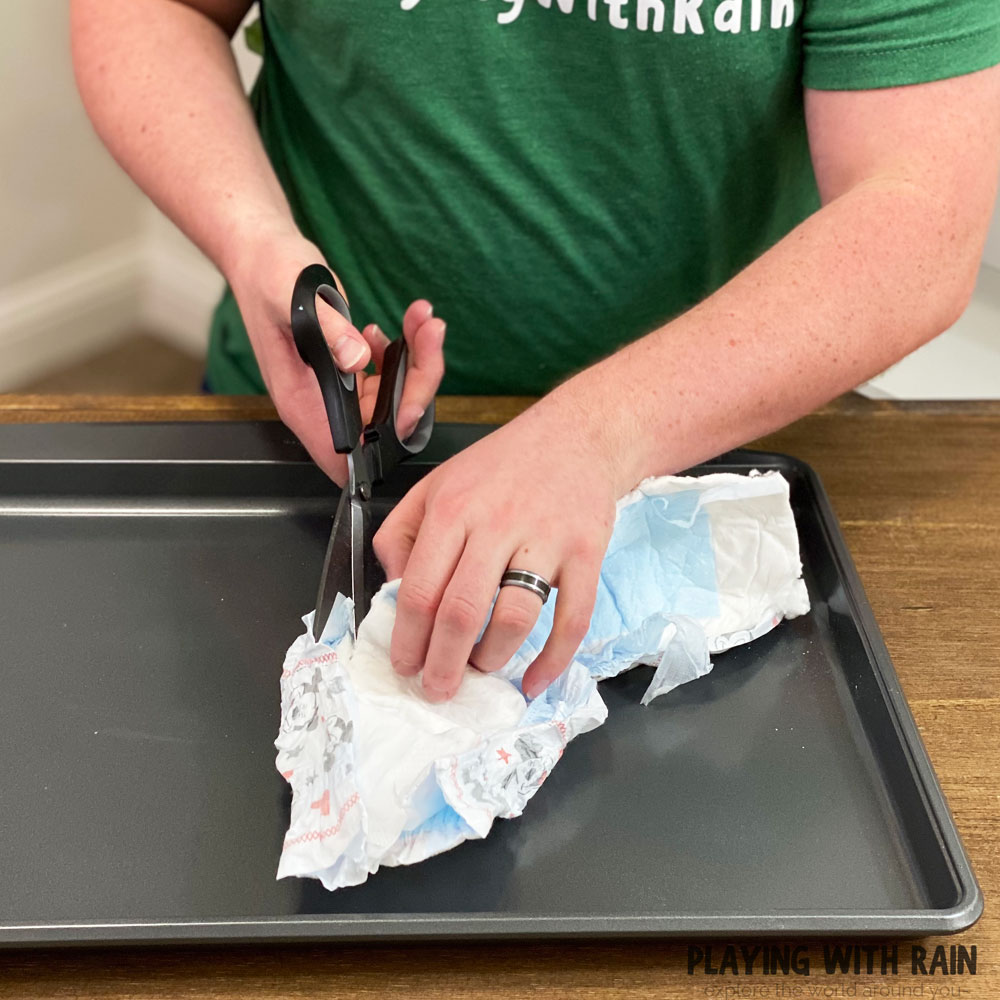
- Use scissors to cut the bottom seam of a (clean) diaper out.
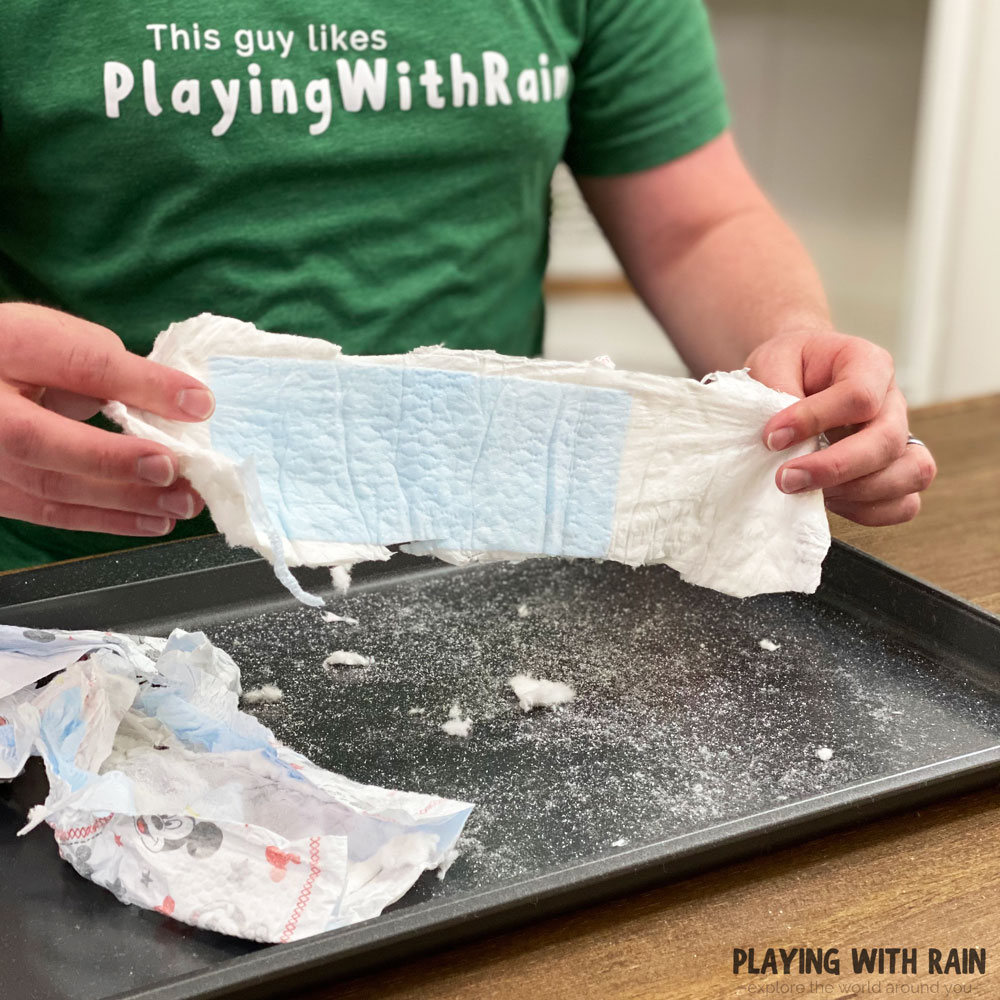
- Carefully pull out the cotton padding in the diaper and shake out the tiny little polymer beads that are inside the diaper and put them into a bowl. If you want to make lots of snow, you can repeat this step with a few diapers.
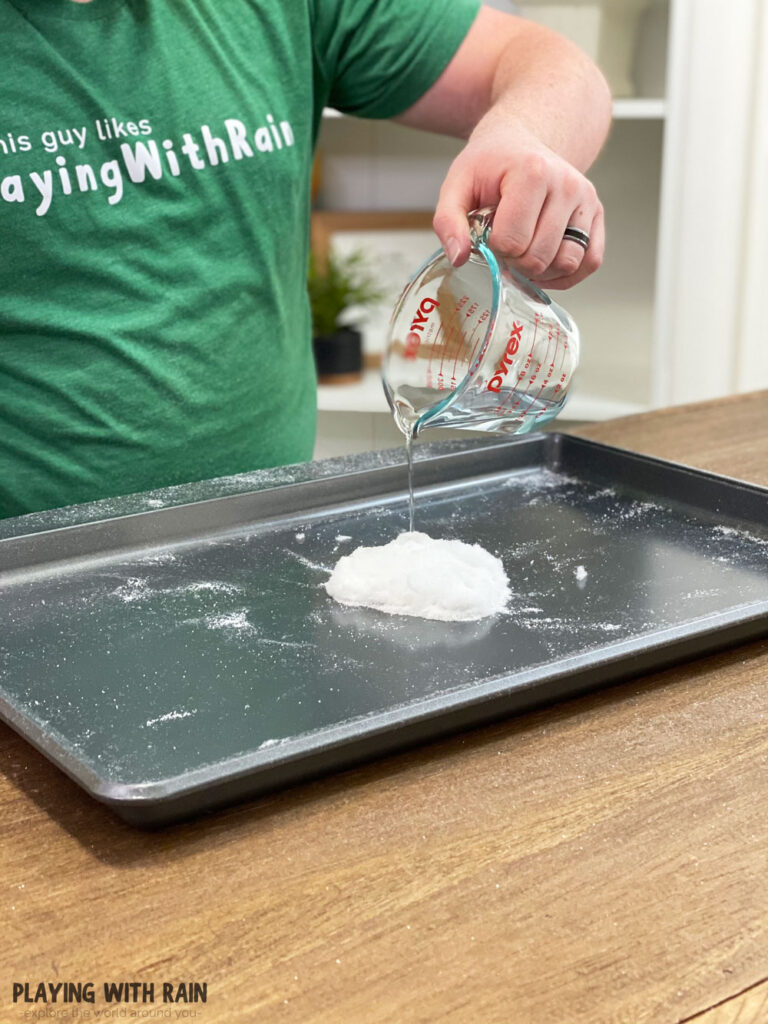
- Slowly add a little cold water to your bowl of magic diaper beads and watch in amazement as the beads absorb the water as it turns into nice and fluffy snow! You may want to stir the water into the beads with a fork to help speed up the process.
- When you are done playing with your diaper snow, you can dry it out and then use it again by adding water next time!
- Caution: Whether you decide to keep your diaper snow to reuse it or throw it away, do not put it down your sink! It can clog your drain!
Test Results:
- Cold Test: Feels nice and cool to the touch but it is certainly not the coldest of our three methods of snow. If you are going for that arctic feel then you might want to move on to our 3rd and final method that uses frozen baking soda to make snow.
- Packing Test: This snow is nice and lightweight and super fluffy, but it is not any good for packing into snowballs or snowmen.
- Texture Test: The diaper snow method ranks right near the top as far as texture goes! It makes the type of snow that you see in movies gently floating through the sky and is very light and fluffy.
- Clean-up Test: The sticky properties of the polymer beads that make all the magic happen also like to stick to countertops and basically anything else when they are wet. The best way to clean this snow up is to let it dry out overnight and wipe it off the counters and sweep it off the floors the next morning.
3rd Method: How to Make Homemade Snow With Baking Soda and Conditioner
Supplies Needed:
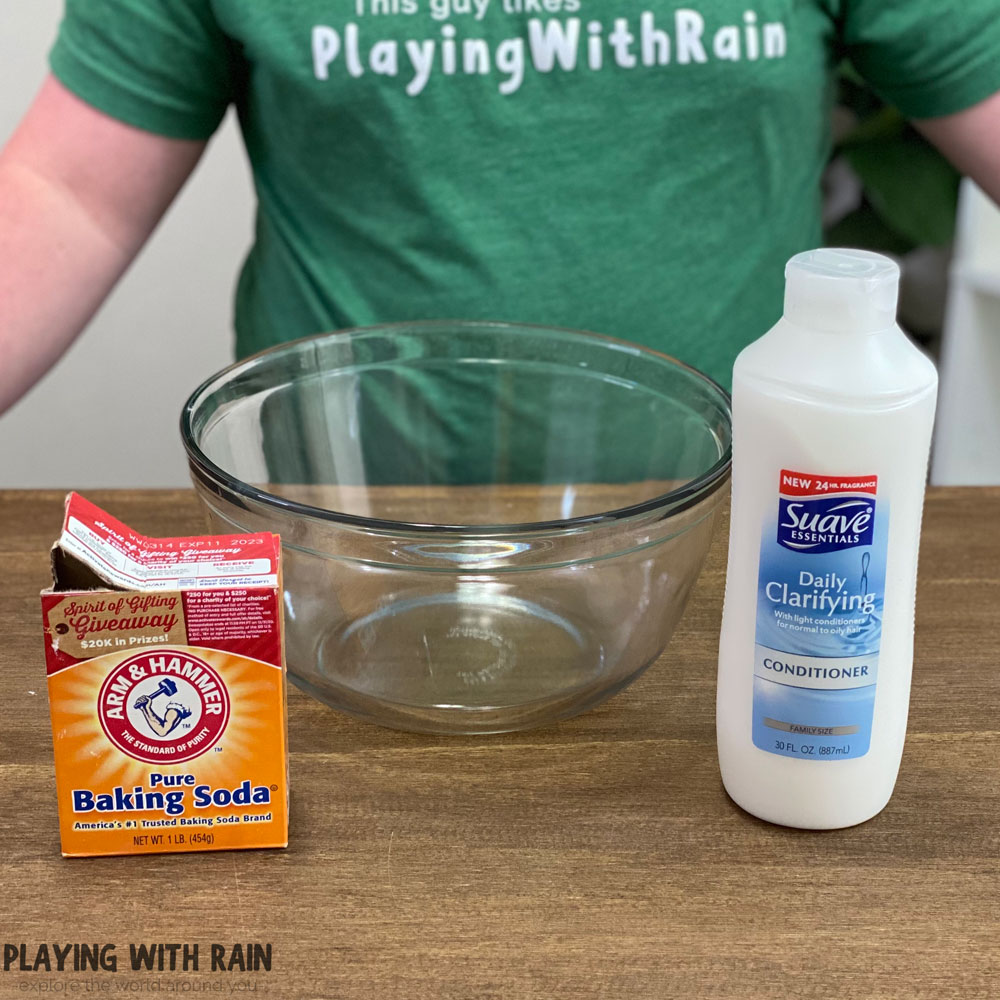
- Baking Soda
- Conditioner (white)
- Mixing Bowl
- Large Baking Sheet (Optional for playing with snow)
Steps:
- For the coldest snow, put your baking soda in the freezer a few hours before making your snow.
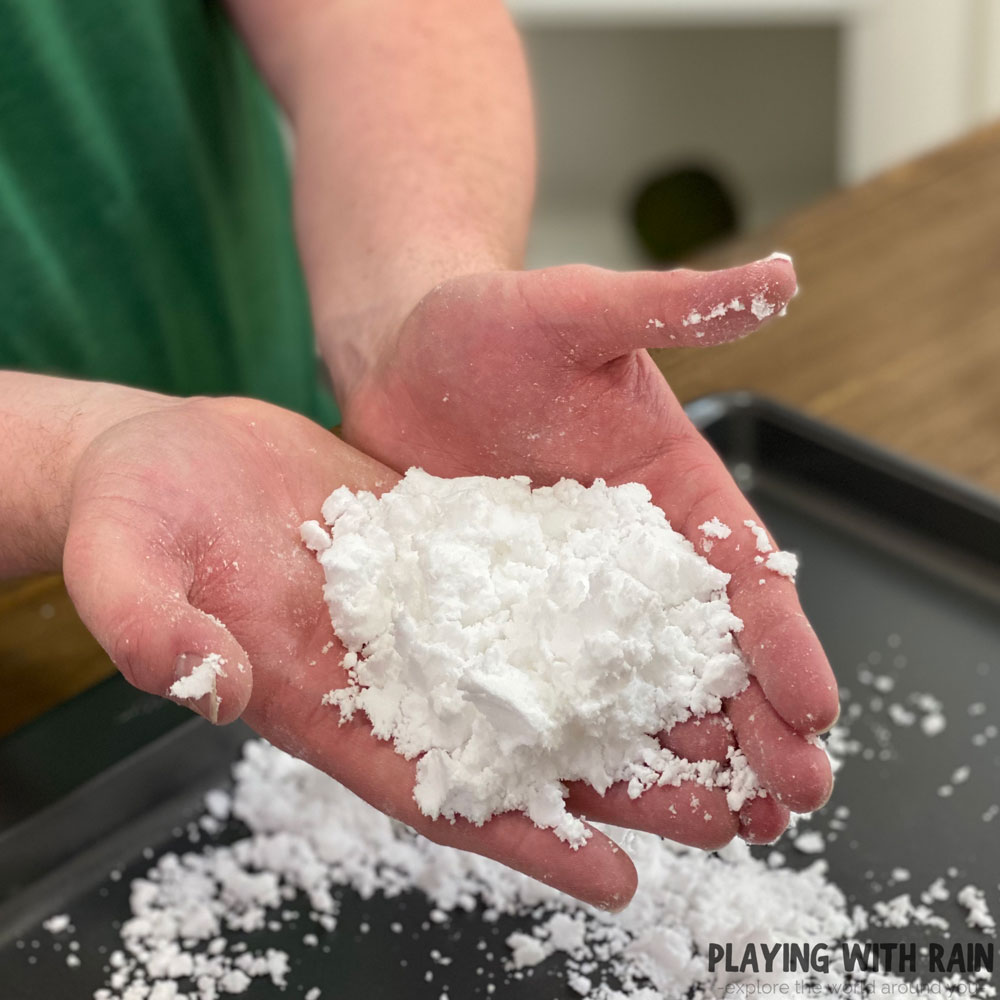
- Pour baking soda into a large mixing bowl. You can add as much or as little as you want, depending on how much you want to play with.
- Pour some hair conditioner into the bowl of baking soda and mix it together. Much like the water, you will want to add less if you want powdery snow, and more if you want wet and slushy snow.
Test Results:
- Cold Test: The baking soda and conditioner method feels pretty cold if you put the baking soda in the freezer first. I do not recommend freezing the conditioner though. Thanks to the frozen baking soda, this snow stands out as the coldest and most realistic temperature of the 3 methods we tested in this experiment.
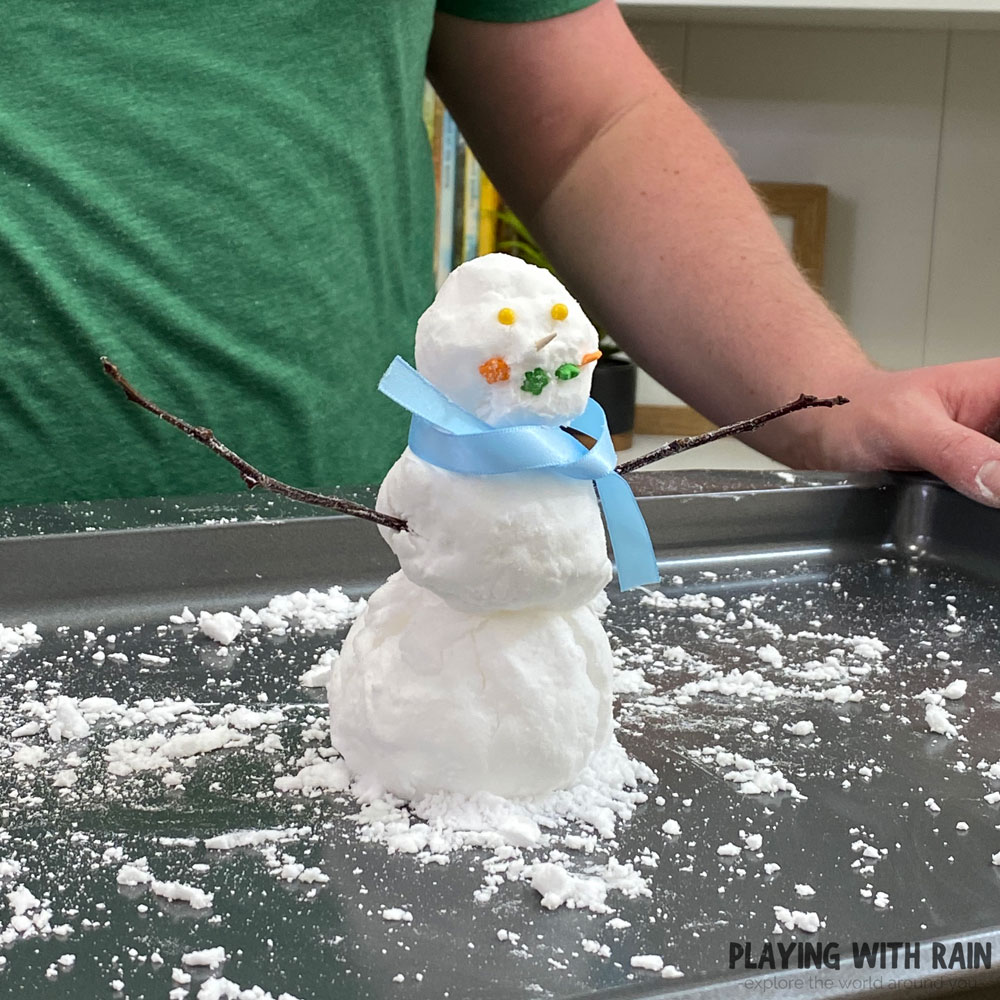
- Packing Test: The baking soda and conditioner excels in the packing test category! You can make a great snowball and snowman with this snow!
- Texture Test: The texture of this snow is great for playing with and packing, but probably not the best for decorative purposes or if you are going for powdery snow.
- Clean-up Test: Very easy to wipe up with a towel or rag. This gets a 10 out of 10 on the clean-up test.
Check out these other ways How to Make Snow With Baking Soda too!
Test results comparison:
Coldness:
Thanks to the ability to stick the baking soda in the freezer a few hours before making our homemade snow, the homemade snow with baking soda and conditioner wins our vote for the coldest snow!
The diaper snow and Amazing Super Snow Powder both were cool to the touch but just did not give us that frigid arctic feel that the baking soda and conditioner gave us.
Packing:
The homemade snow with baking soda and conditioner (method 3) created the best snowball and was some of the best packing snow I have ever experienced (artificial snow or real snow!).
It was also perfect for making a snowman or any other fun snow creatures!
The diaper snow and the store-bought powder failed the packing test and it was impossible to even make a snowball with them.
Texture:
The texture test excelled in all three of our methods that we tested depending on what you are wanting your snow to feel like.
If you want nice, fluffy, powdery snow, then the store-bought Amazing Super Snow Powder was great for that!
The homemade snow with a diaper also gave us a very realistic powder snow feel.
If you want snow that you can pack into a snowball and mold with your hands, then the homemade snow with baking soda and conditioner is your best bet!
Clean-up:
The homemade snow with baking soda and conditioner (method 3) gets my top vote in the clean-up test!
Because conditioner is a cleaning agent, and baking soda dissolves in water, this snow will easily wipe off surfaces and also wash off dishes super easily.
The diaper snow and store-bought powder both use water absorbing sodium polyacrylate beads that expand and become quite sticky to wipe up.
These water absorbing beads can also expand and clog drains.
This makes the clean-up process for the diaper and store-bought powder a bit more difficult since you should not wash then down the drain.
The Best Way How to Make Instant Snow at Home:
I really like how easy the baking soda and conditioner snow is to pack into a perfect snowball and makes it super easy for the kids to play and build a snowman!
Depending on the type of conditioner you choose to use, it also makes your snow smell really really good (mine smelt like coconut)!
Just make sure to use a white conditioner unless you want your snow to be a different color!
The homemade snow with baking soda and conditioner is the coldest snow and also the easiest to clean up!
The homemade snow with a diaper creates a nice and powdery snow, but will not be any fun for a snowball fight since you can’t pack it into a snowball.
The store-bought Amazing Super Snow Powder is probably the easiest to make, but also the most costly.
It is fun to watch the snow expand and grow, but will not make a snowball.
After comparing these different methods on how to make snow with baking soda, my personal favorite would have to be Method 3: How to make snow with baking soda and conditioner.
Leave a Reply