This super fun and easy experiment creates a dramatic display as the jawbreakingly hard, tasty Gobstopper candies are broken down by water in a very colorful way! Let’s go ahead and do this exciting Gobstopper Experiment.
Get more Fun Water Experiments for kids here!
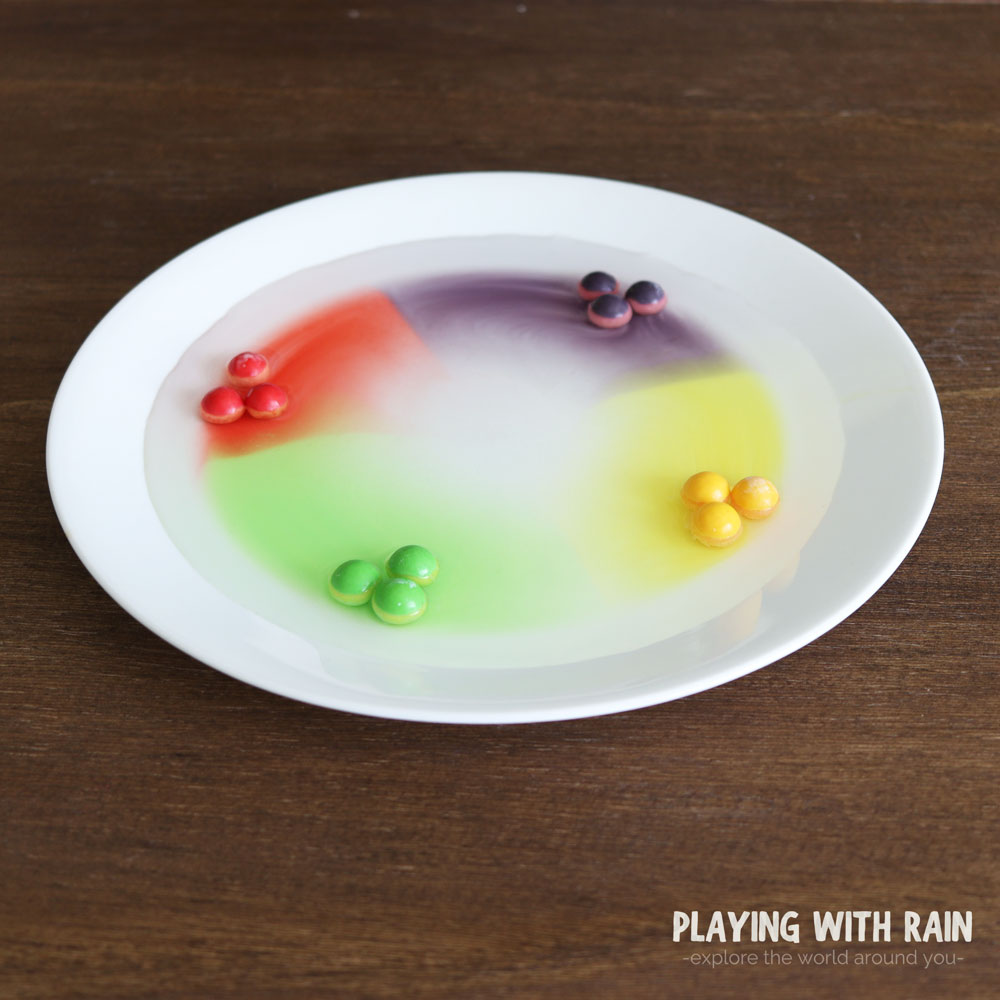
I started with the intent of doing this fun Gobstopper experiment to entertain my 5-year-old and 2-year-old daughters, but it quickly turned into a fun family activity that even mom and dad were amazed at what they saw! The best part of this activity is that if you are careful you might have a few extra-tasty ingredients (Gobstoppers) to enjoy at the end!
Gobstopper Experiment
This post may contain affiliate links. As an Amazon Associate, I earn from qualifying purchases.
Supplies Needed:
- Large white plate
- Water
- 1 Box of Gobstoppers Candy
Steps:
- Separate the Gobstoppers into groups of three of the same color
- Place one group of each color spaced out evenly around the rim of the plate
- Carefully pour enough water onto the plate to cover the bottom half of the Gobstoppers
- Watch patiently for the next few minutes as the water interacts with the Gobstoppers and puts on a colorful show
- Try a few variables like using hot water or cold water instead of room temperature water. Is the reaction any different?
Step 1: Separate the Gobstopper candies into groups of the same color
Assuming that most Gobstopper packages are similar, there should be an assortment of five different colors (red, green, orange, yellow, and purple) in your box or bag of jawbreaker candies.
Full Disclosure: Since I practiced this experiment a few times (and I might have helped myself to a couple along the way), I ran out of the orange colors. This is why I only have four groups of colors on my plate, but you should have enough for five different colors on your plate!
From your assortment of colors, you will want to group three Gobstoppers of the same colors together for all the five colors. This should end up giving you five groups total with each group containing three Gobstoppers of the same color.
Sorting out the different colors of the candies and counting them into groups can even be a great learning activity for younger children too! My kids loved counting the colorful candies and helping with this part!
Step 2: Place one group of each color onto the plate
This part might seem simple…and it is, but you also want to make sure keep your groups of the same color equally spaced out from the other colored groups of candy on the plate. If these groups are not spaced out as evenly as possible, the end result of the experiment just won’t be quite as impressive…and we want it to be impressive!
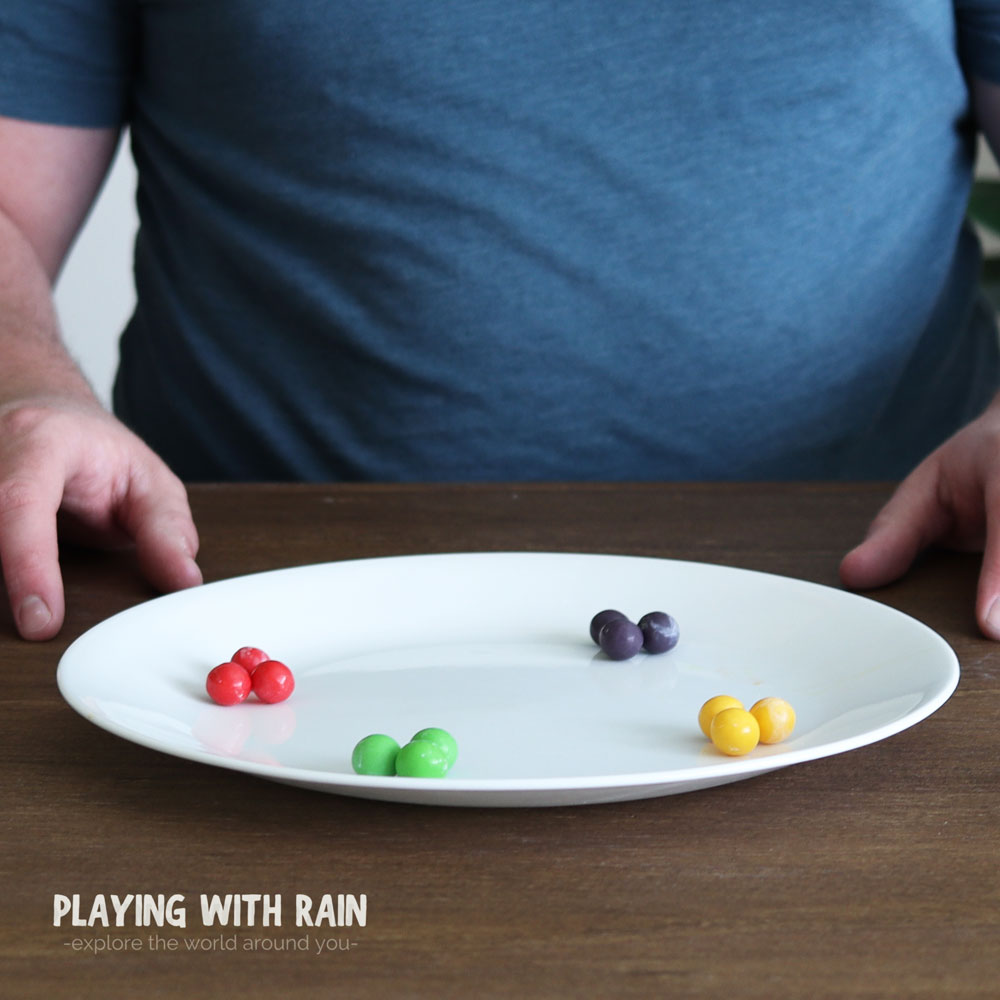
It will also help with this process if your plate is on a very level and sturdy surface like a table or a hard floor. If the plate is not level, then the Gobstopper candies will try to roll around and will not stay in the groups that we put them into once they are on the plate.
At the end of this step, your plate should have groups of 3 red candies, 3 green candies, 3 orange candies, 3 yellow candies, and 3 purple candies all evenly spaced out around the inside rim of the plate. This makes a total of 5 different colored groups on the plate (each group having 3 of the same colored candies clustered close together).
Step 3: Pour enough water onto the plate to partially cover the candies
Now that you have your Gobstopper candies all grouped together and spaced out evenly on your plate, its time to add the water that makes the magic happen!
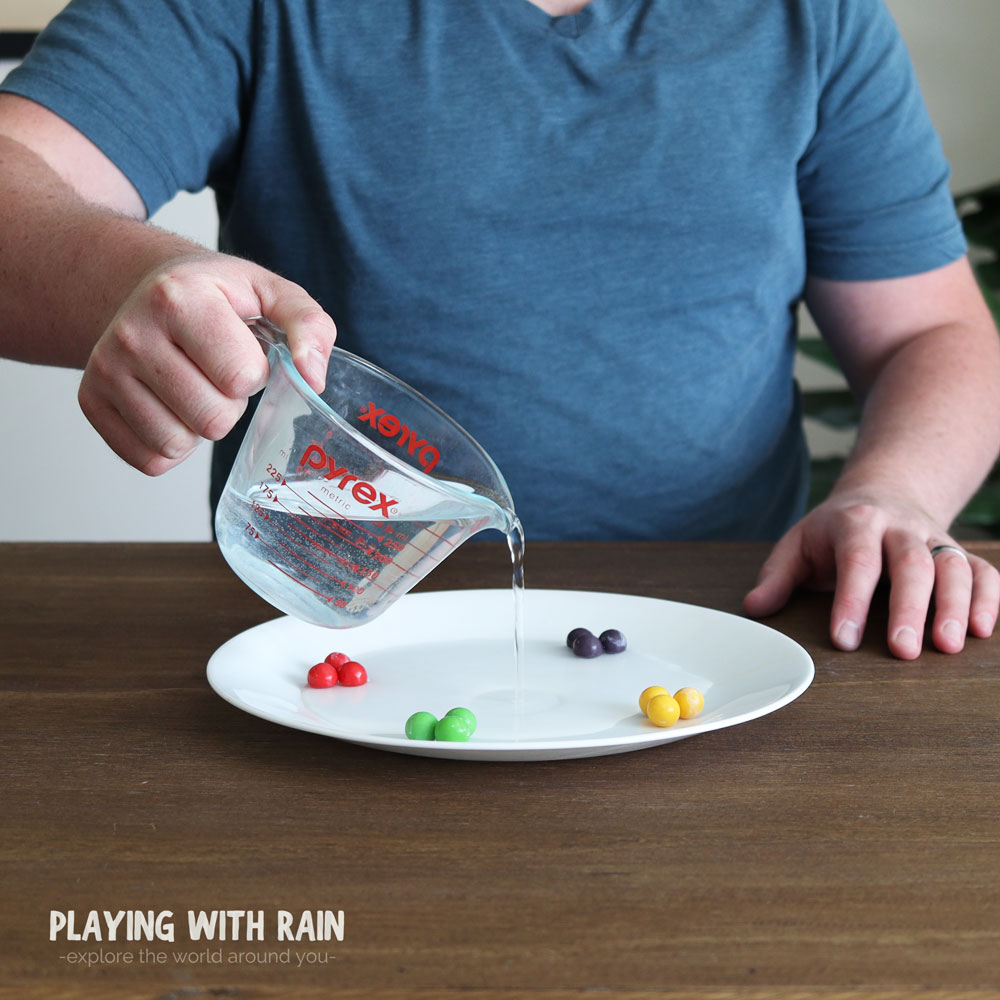
Go ahead and grab your glass or bowl of water and very gently pour enough water onto the plate to cover the candies about halfway up from the bottom. If you pour too much water, the candies might float and move out of the position they need to be in.
If you don’t pour enough water, then there might not be enough water to create the reaction we are looking for. That is why filling the plate to a depth that is about halfway covering the candy seems to be just about right.
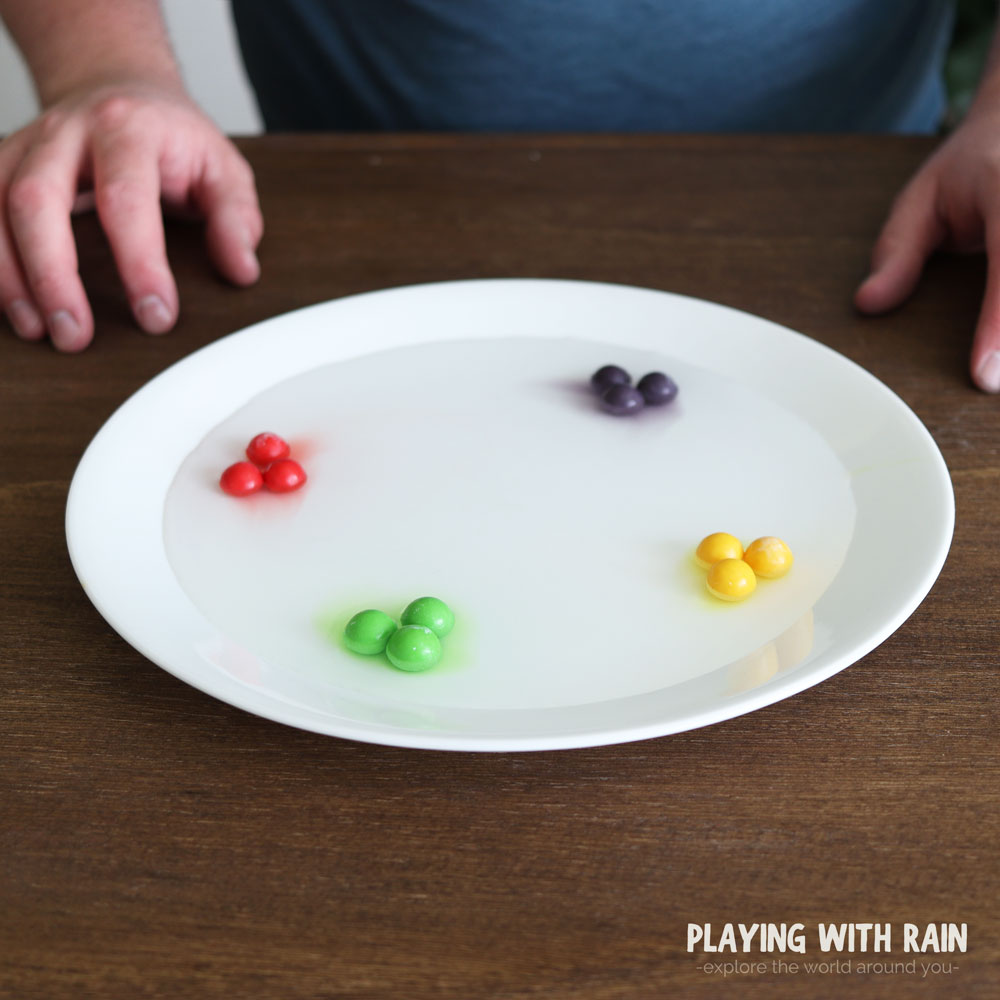
It’s also a good idea to pour the water very slowly into the center of the plate as it feels up with water. This will help the water to not disturb the groups of candies on the edge of the plate and should keep them from moving.
Step 4: Watch and wait as the water begins to react with the candies for a colorful show
Now we are finally to the moment we have all been waiting for! Once you have poured the water onto your candy-filled plate, your should start to see some colors mixing into the water from the candy.
After about 5 to 10 minutes the reaction should be much more visual and you should see the 5 different colors in the water surrounding those same colored groups of Gobstoppers.
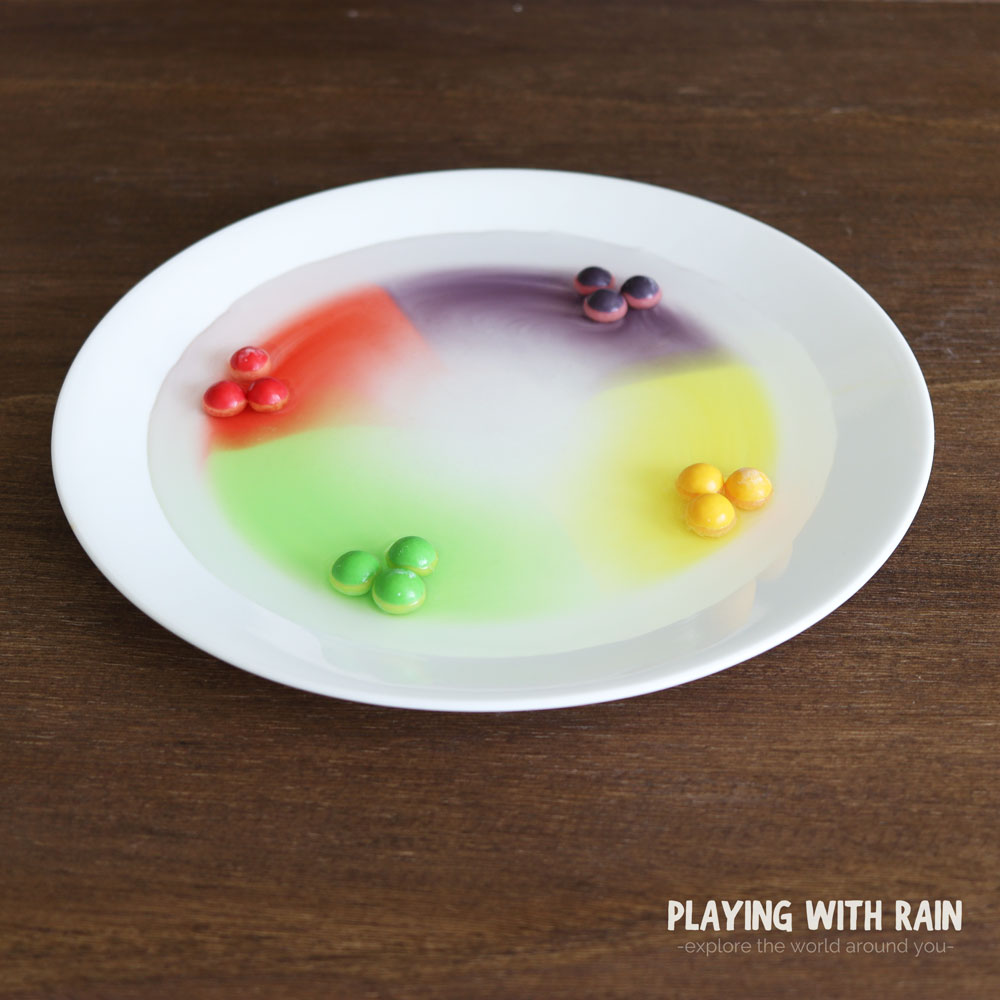
If you pay close attention, you will notice that when each different color spreads to the other color in the water, the colors do not mix. Instead, very distinct boundaries are visible between the red, green, orange, yellow, and purple colors in the water.
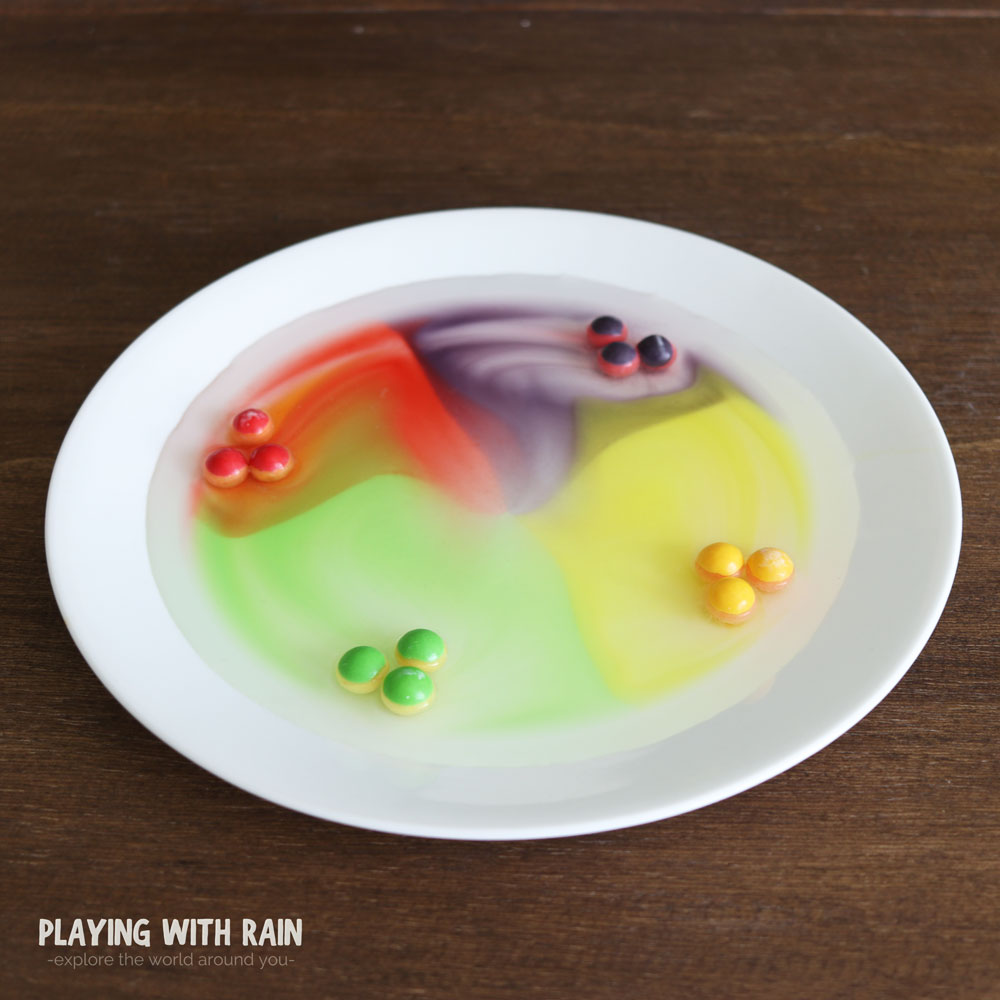
Give it even a few more minutes and you will see the bottom half of the Gobstoppers are now changing colors too! No, your eyes are not playing tricks on you! The Gobstopper that was once purple might now be turning green, and the once green Gobstopper might be turning yellow now, etc.
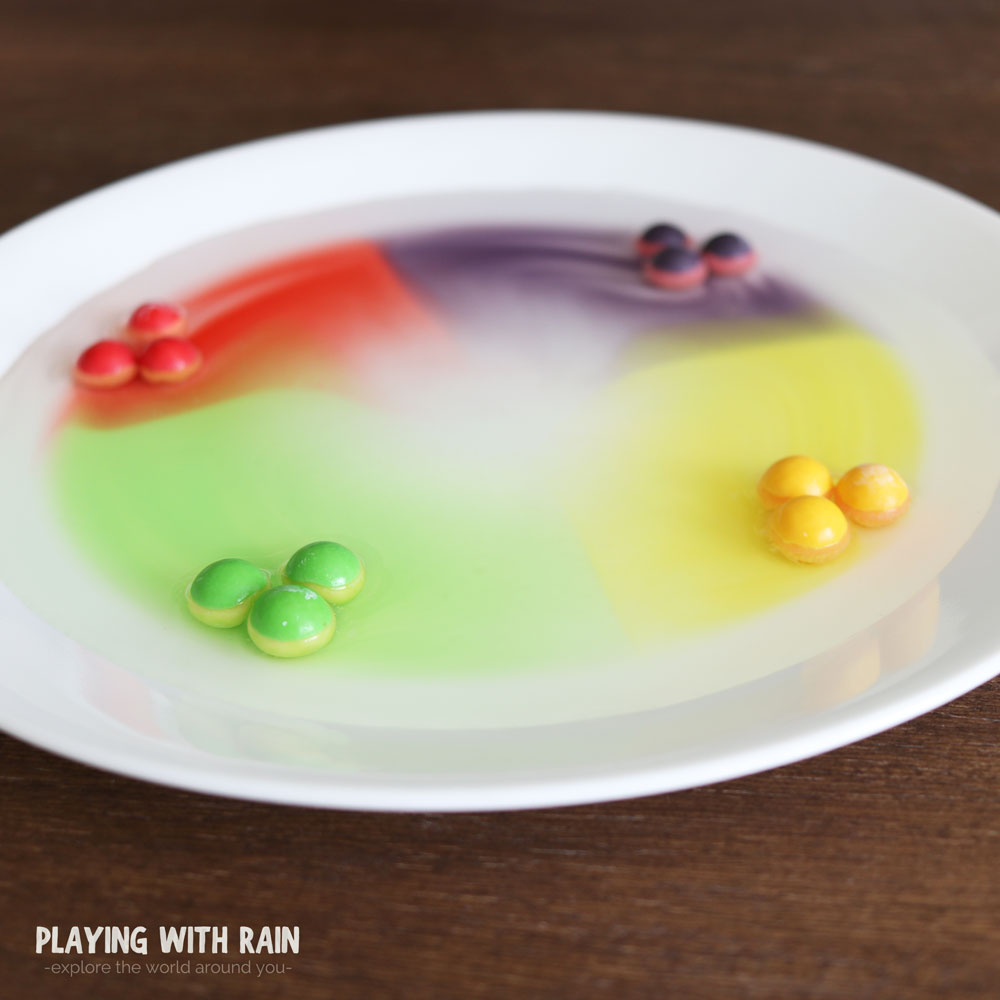
This reaction will continue to slowly evolve for the next 30 minutes or so until the different layers of wax and colors in the candy have all been dissolved into the water (we will learn more about the science behind this in a little bit).
Step 5: Try some variables like using different temperatures of water
The beauty of this experiment is that you should have plenty of Gobstopper candies left over to enjoy as a treat, or to try the experiment again with some variables!
If you do decide not to eat the candies for a tasty treat and you want to do the experiment again you can try some variables to see if the end result is any different.
The easiest way to mix things up a little bit would be to change the temperature of the water that is poured onto the plate of Gobstoppers. We used room temperature water the first time for this experiment and then later tried it with hot water.
Try putting the Gobstoppers in hot water:
Be sure to use caution if you decide to use hot water of course, but from our results, this should produce the best and most dramatic effect. This is because the wax and colors of the candy are dissolved much faster into the hot water, compared to the cooler water.
Try putting the Gobstoppers in cold water:
Full Disclosure: I actually have not tried it yet with cold water, but my guess would be that colder water would still work, but the reaction would probably be much slower and less dramatic. Feel free to drop a comment if you do this with cold water and let me know how it goes! I am curious!
Why do Gobstopper colors not mix?
As we saw in this experiment, the colors from the Gobstoppers were absorbed into the water, but each color did not mix with the other colors. Instead we ended up with a checkerboard looking plate of distinct boundaries between colors.
The colors of the Gobstoppers do not mix in the water thanks to a thin layer of wax that washes off the Gobstopper before the color starts to wash off into the water. This thin layer of wax is what acts like a barrier in the water and prevents the other colors from mixing together in the water.
The wax on the Gobstoppers is also the reason that these hard candies change to several different colors after a few minutes in the water. This is because each Gobstopper is made of 4 colors and 4 flavors. There is a thin layer of wax between each color and flavor on a Gobstopper.
As these layers of wax and colors dissolve into the water overtime, the different colors of the Gobstoppers become visible! This is the same process that happens in our mouth when eating these…its just not quite as fun to watch in our mouths, even though it tastes better!
That was fun.
Thanks! I am glad you enjoyed it!