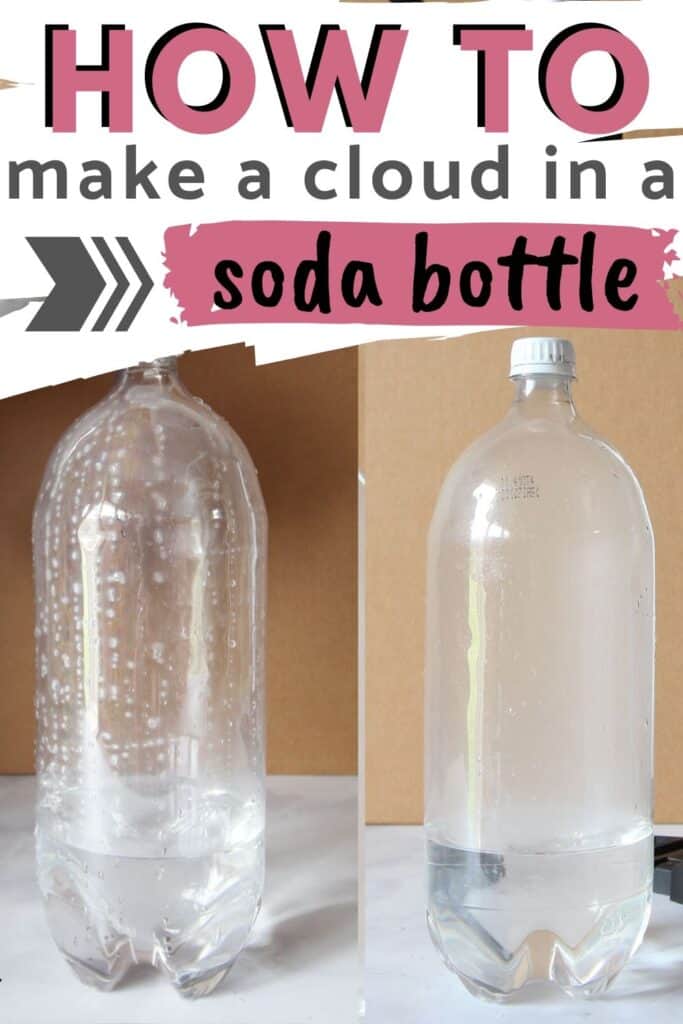
You can learn a lot about high and low pressure weather systems with this fun experiment for kids. Here is how to make a cloud in a bottle (without matches).
Get more fun and simple Weather Experiments for Kids here!
PIN THIS EXPERIMENT FOR LATER
This is such a fun and easy experiment. The best part is that you probably already have these supplies around your home!
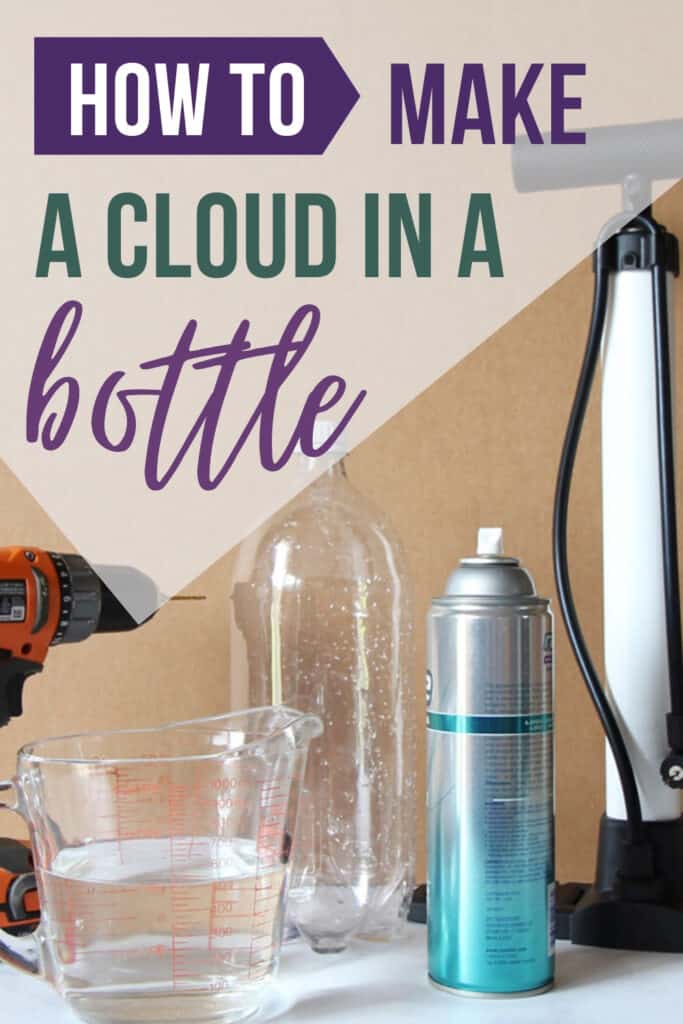
How to Make a Cloud in a Bottle
This post may contain affiliate links. As an Amazon Associate, I earn from qualifying purchases.
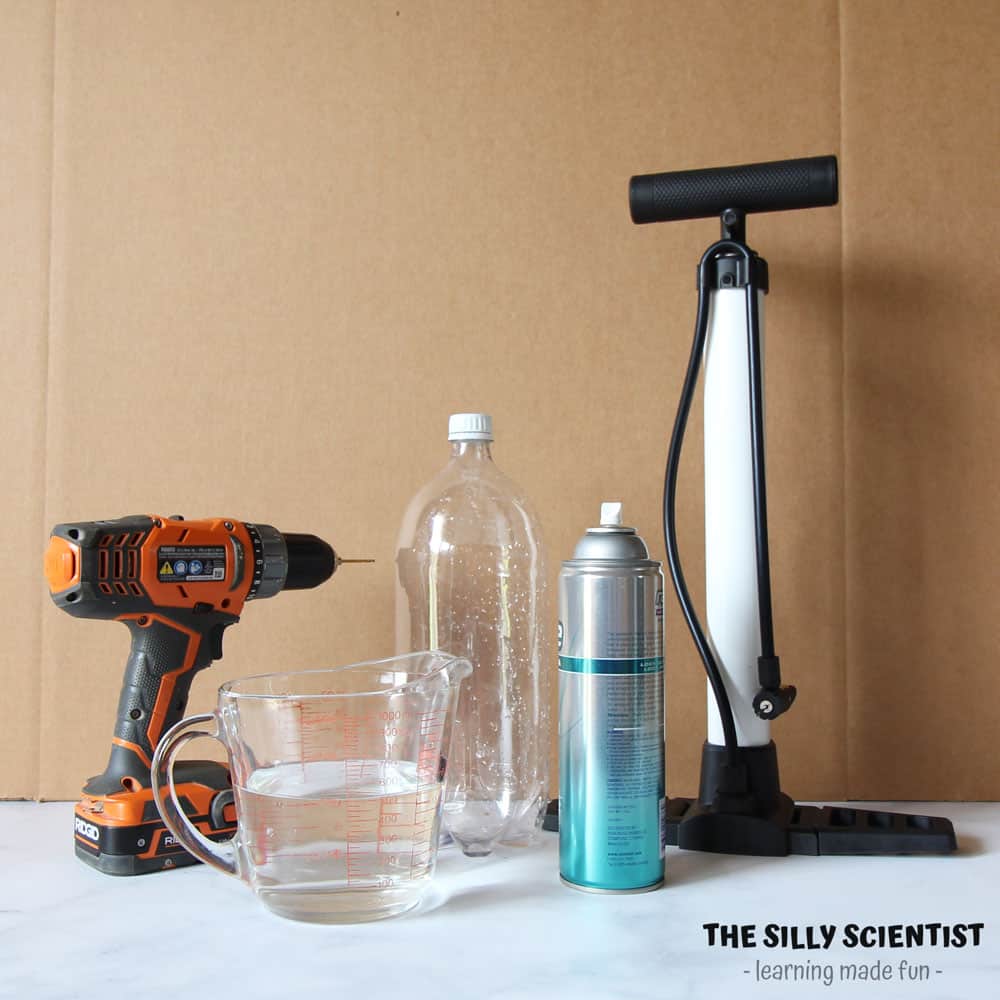
Supplies Used:
- 2 liter clear plastic bottle
- Bike floor pump (or air compressor) with ball needle
- Warm water
- Power drill (or something to poke a hole in the lid)
- Aerosol hairspray
Steps:
- Make a hole in the cap and remove the label
- Attach a ball needle to the foot pump/air compressor
- Add warm water
- Pray aerosol hairspray into the bottle
- Insert needle and increase pressure
- Remove needle and decrease pressure
- Watch your cloud form
Step 1: Drill a hole in the cap
A power drill with a small, 3/32 size drill bit will come in handy for this part.
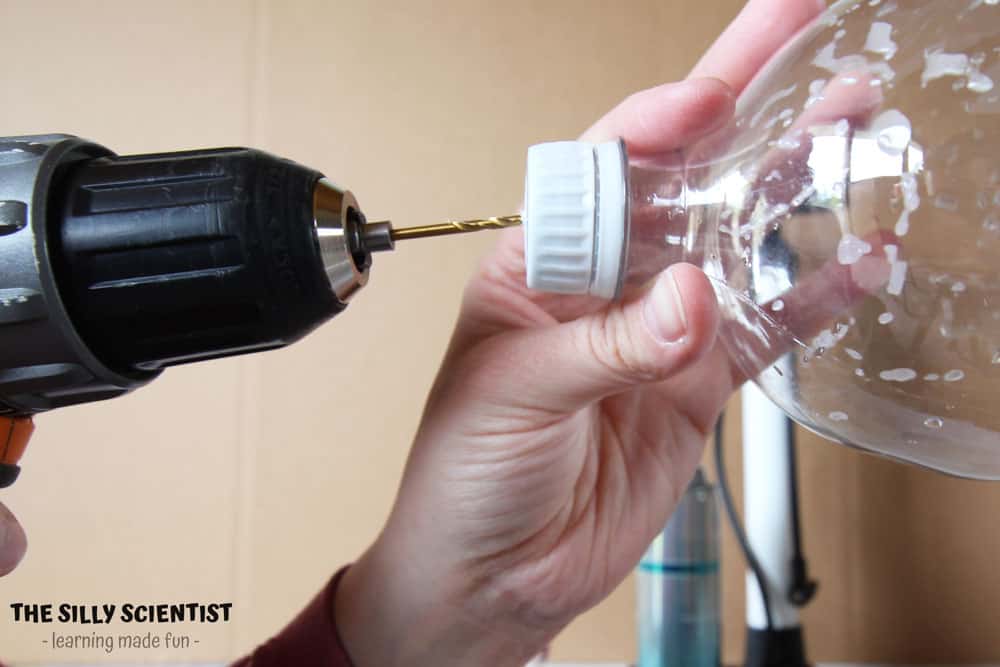
If you do not have a drill, you can also use a hammer and a nail to poke a hole in the center of the 2 liter bottle cap.
The idea is to make the hole as close to the diameter of the ball needle to prevent air from escaping when you are adding air to the bottle.
During this step, it is also a good idea to remove the label from the bottle to make it more transparent.
Typically the label will pull right off, but rubbing alcohol can help get the stickiness off the bottle if desired.
Step 2: Attach ball needle to the pump
Insert the wide end of your ball needle into the end of your bike pump. Most pumps have a lever to lift up to lock the needle in place once you insert it.
Insert the needle and lift the lever to secure it in place. If using an air compressor you will want to use a ball needle attachment for it as well.
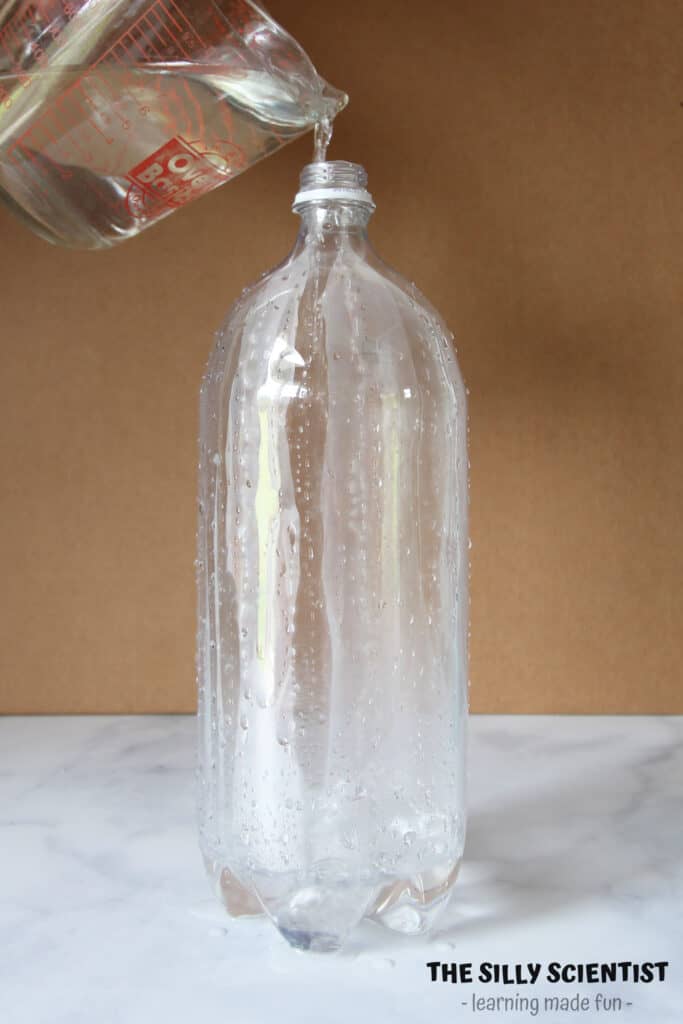
Step 3: Add warm water
For this experiment, we used a separate mixing bowl to add about 2 cups of very warm water to the 2 liter bottle.
The amount of water you add does not have to be exact, but the warmer the water is, the more dramatic the cloud formation will be in the bottle.
Step 4: Add aerosol hairspray
You will want to add a couple of quick sprays of hairspray from an aerosol can immediately after adding the warm water and put the cap on quickly.
The hairspray acts as the particles that the water vapor needs in order to condense under low pressure and form a cloud.

Step 5: Insert needle and increase pressure
Carefully, but quickly insert the ball needle into the small hole on the cap of the bottle while securing the needle from moving with your hand.
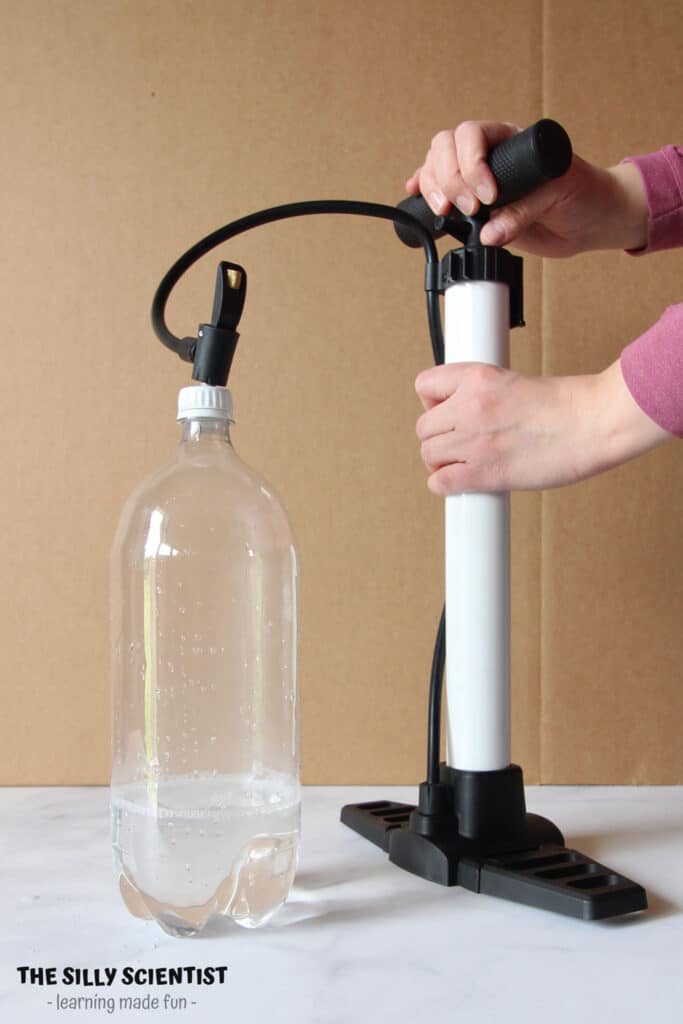
Use your other hand or ask a friend to start pumping the bike pump up and down to increase the air pressure in the bottle.
The bottle should begin to feel firm and should look very clear inside.
Step 6: Remove needle and decrease pressure
Now we are finally to the fun part!
Watch closely as you stop pumping air into the bottle and pull the ball needle out of the hole in the cap.
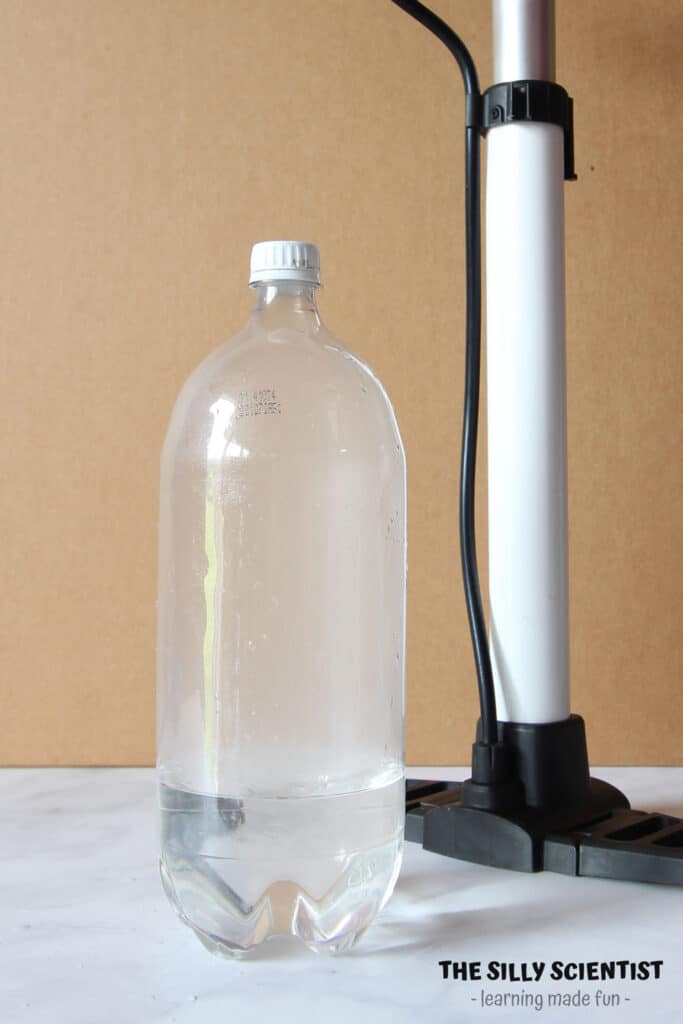
Step 7: Watch your cloud form
What happened!!!?
Did you make a cloud in a bottle?
You can repeat steps 5 and 6 several times to make your cloud vanish and then form again for constant entertainment!
Now lets find out what this teaches us about high and low pressure weather patterns that control what the weather does everyday!
Cloud in a bottle explanation:
The inside of the bottle becomes foggy and you can see a cloud forming in the bottle as the air escapes and the pressure decreases!
You just made a cloud in a bottle by rapidly decreasing the air pressure, which cooled the air and allowed the water vapor to condensate onto the hairspray droplets.
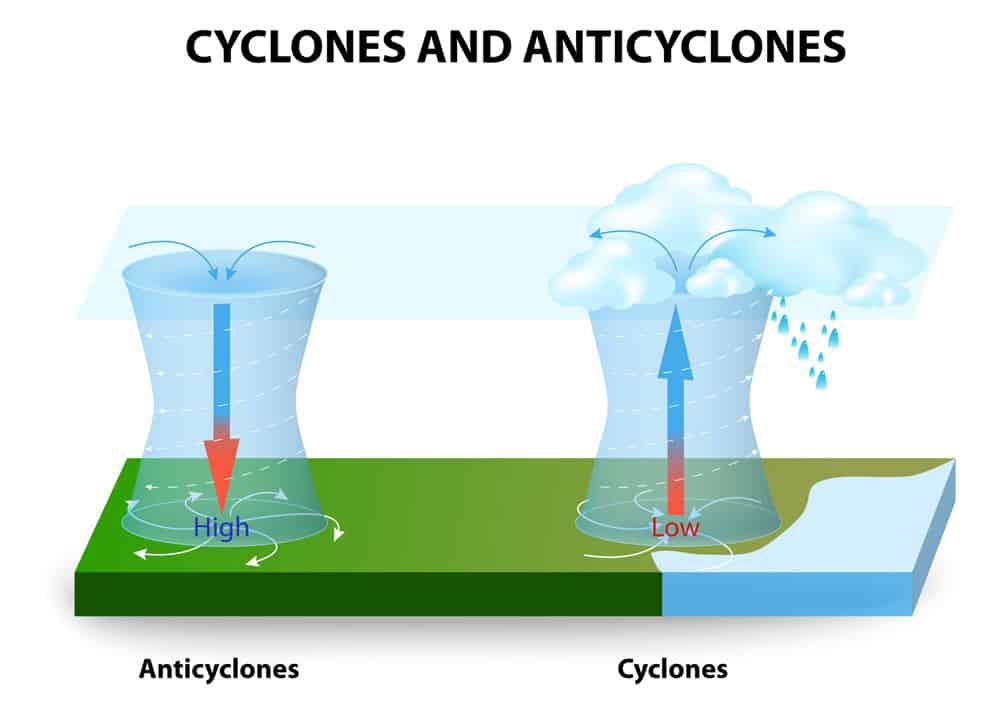
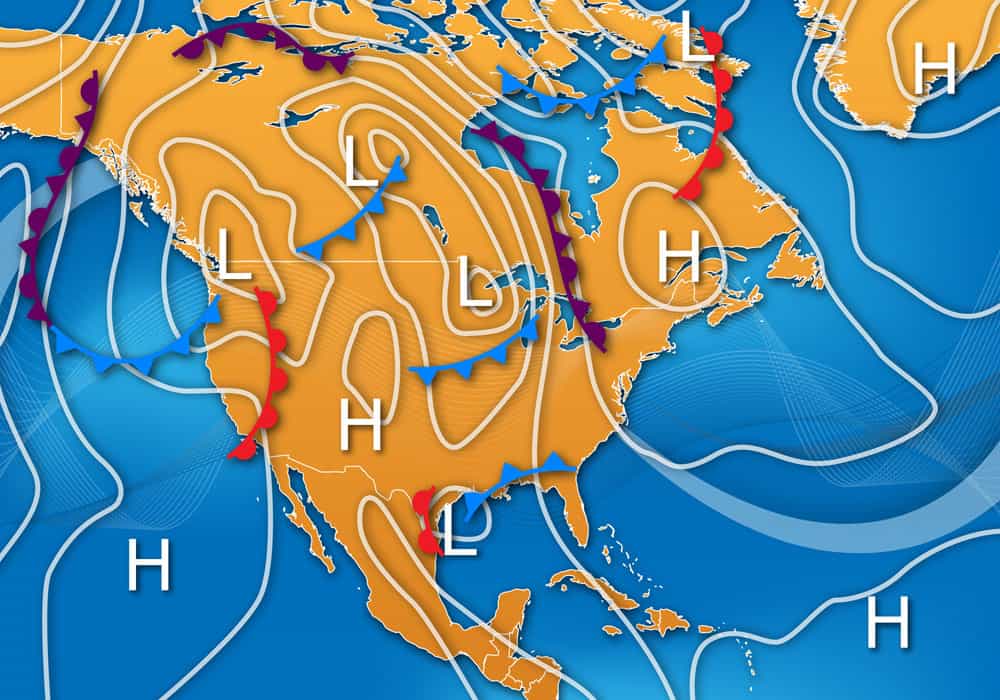
High pressure systems are referred to as anti-cyclonic because they create a clockwise wind circulation around them with sinking air in the center.
Low pressure systems are referred to as cyclonic because they create a counter-clockwise wind circulation with rising air in the center.
What type of weather is associated with high pressure?
High pressure systems typically bring clear skies, and light winds.
This is due to the sinking air above a high pressure system that keeps clouds from forming.
Characteristics of a high-pressure system:
High pressure systems create a clockwise wind circulation around them.
Air always flows from high pressure to low pressure, with the air moving from the center of the high outward towards the lower pressure.
They are represented on weather maps with a big blue “H”.
Does high pressure mean warm weather?
High pressure does not necessarily mean warm weather all the time.

Some high pressure systems are actually responsible for some of the coldest winter temperatures.
This is due to light winds and clear skies that allow heat to quickly escape into the atmosphere in a process called radiational cooling.
High pressure in the summertime can however bring warm temperatures with plenty of strong summer sunshine.
What type of weather is associated with low pressure?
Low pressure systems typically bring clouds, rain, snow, and unsettled weather.
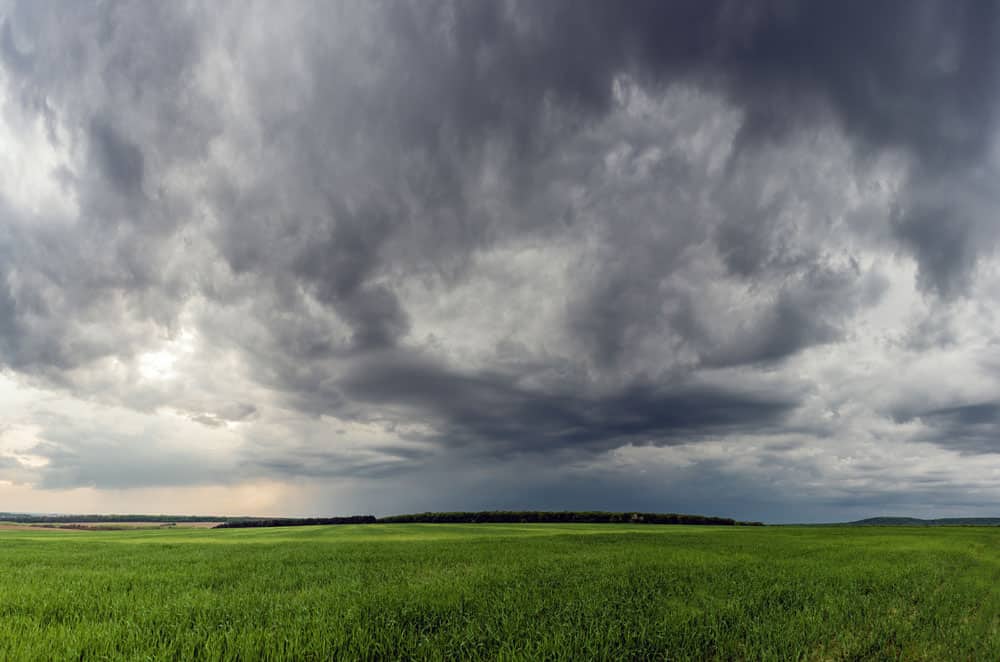
This is thanks to the rising air in a low pressure system that allows warm, moist air to rise, cool, and condense and form clouds.
Characteristics of a low-pressure system:
Low pressure systems create a counter-clockwise wind circulation around them.
They draw air from outside of the low pressure towards the center of the low where the air then rises, cools, and creates clouds and precipitation.
Low pressure systems are represented on weather maps with a big red “L”.
Does low pressure mean cold weather?
Low pressure systems can bring cold weather in the wintertime.
This is especially true on the North and West side of the low pressure where cold Northerly winds are drawn into the system.
Historic blizzards, hurricanes, and tornadoes are often created by very strong low pressure systems.
In the end, the key to understanding what weather is associated with high and low pressure rests much more on clouds and precipitation than it does on warm or cold weather.
High and low pressure symbols:
As easy trick to remember this is that the “H” on the map stands for “happy weather”, and the “L” on the map means “lousy weather.”
PIN THIS EXPERIMENT FOR LATER
Making learning fun!!!
I love this. So fun and learning too.
Thanks having fun and learning together with us!
Thanks for joining the fun with us!