This is probably the first experiment I ever did as a kid, and being the weather nerd that I am, it is honestly still one of my favorites! Your kids will love doing this classic Tornado in a Bottle Experiment and we are even going to add an additional twist to it!
Get more fun and easy Weather Experiments for Kids here!
The best thing about this tornado in a bottle experiment is that once you create the tornado you can do it over and over again…and the science behind how it forms will teach kids how real tornadoes work too!
Tornado in a Bottle Experiment
This post may contain affiliate links. As an Amazon Associate, I earn from qualifying purchases.
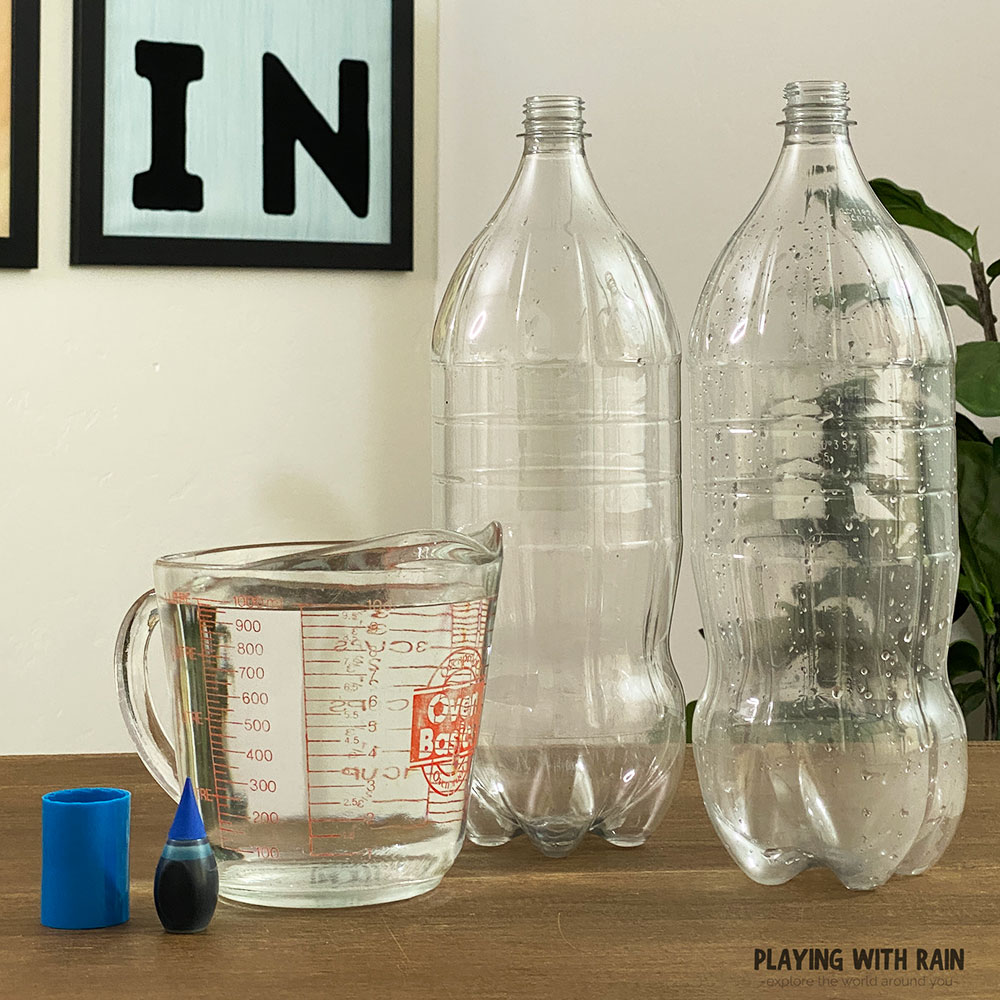
Supplies Needed:
- 2 Large, Clear Bottles (I prefer 2 liter bottles)
- A tornado connecter tube (or lots of duct tape)
- Food Coloring (optional)
- Glitter or Small Legos (optional)
- Water
How to Make a Tornado in a Bottle Experiment
- Find two large clear plastic bottles. Clean them and remove the labels and fill one bottle 3/4 full with water.
- Add food coloring and debris (glitter or legos) to the bottle with water in it.
- Connect the empty bottle and the water-filled bottle together with a tornado connector tube or lots and lots of duct tape!
- Tip the water-filled bottle upside down while twirling it in a circular pattern for about 20 seconds.
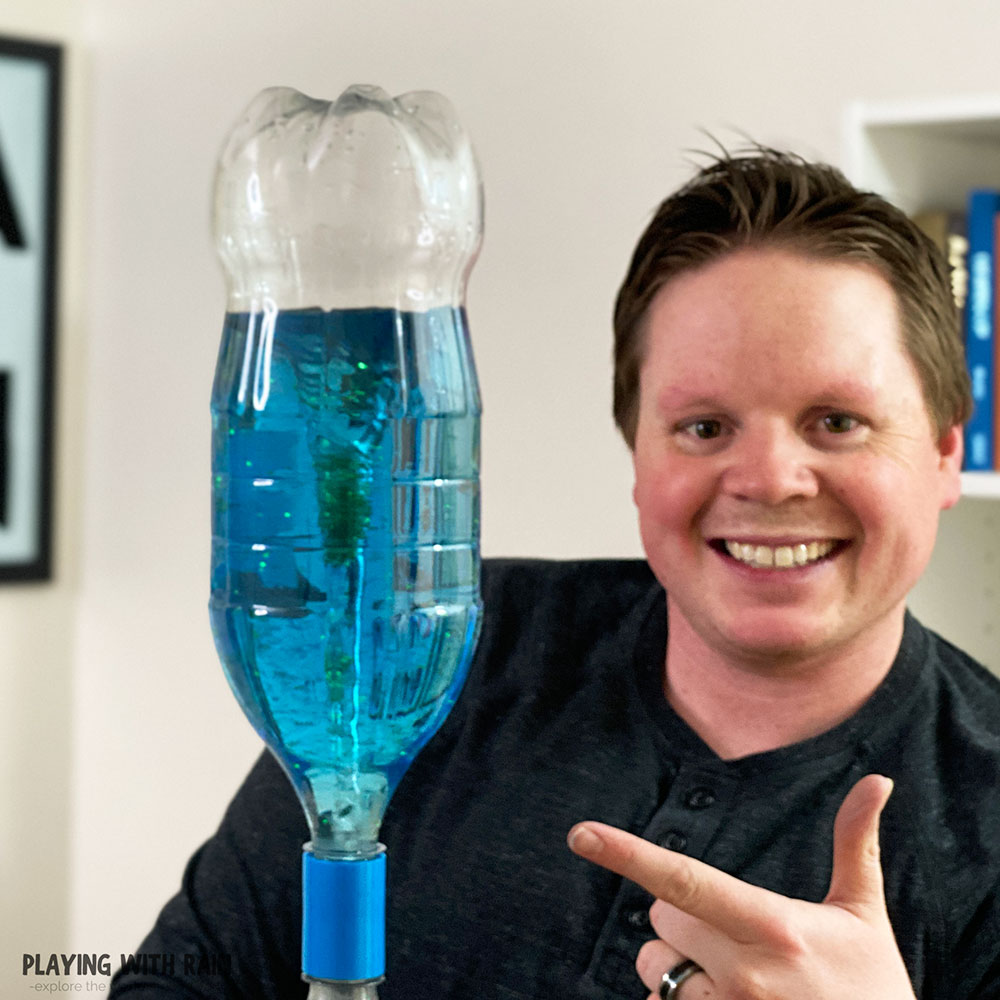
- Stop twirling the bottles and watch as a funnel cloud will form in the top bottle and the water will funnel into the bottom bottle.
- Flip the bottles over again and repeat the process as many times as you want to enjoy watching your tornado toss debris around inside!
Step 1: Clean Two Large Plastic Bottles and Add Water to One
The best bottles to use for this tornado in a bottle experiment are empty 2-liter soda bottles. The threads on the 2-liter bottles will fit perfectly onto the tornado connecter tube that I linked to amazon above in the materials list.
If you can’t find any 2-liter bottles, then you can use smaller bottles, but you might have to duct tape them together and could run into some leaky problems.
No matter what size of plastic bottles you end up using, make sure they are clean inside and out and remove the label from them. This will help make your tornado more visible inside the bottle.
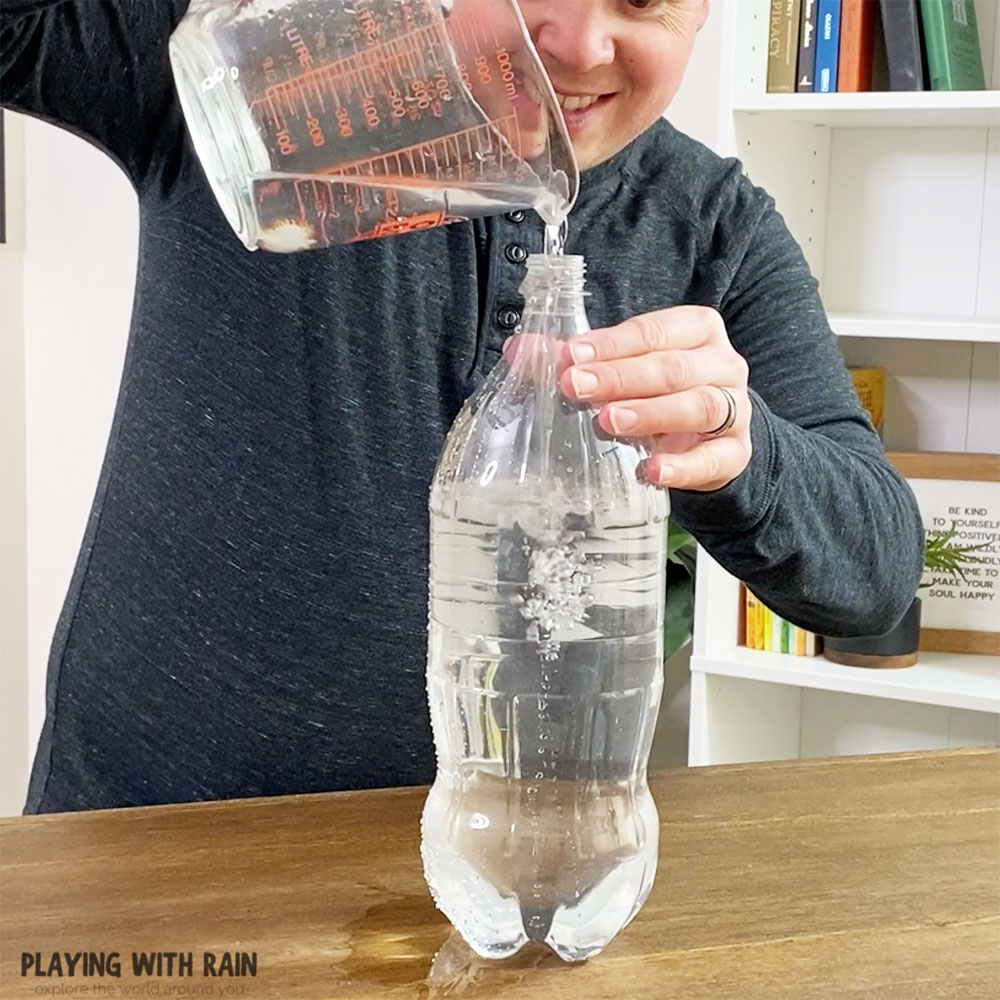
Then pour enough water to fill one of the bottles about 3/4 of the way full while leaving the other bottle empty.
Step 2: Color the Water With Food Coloring and Add Some Flying Debris
This step is completely optional, but I really think it takes your tornado to the next level! So if you want to have the coolest tornado in a bottle around, then put a few drops of your favorite food coloring into the water.
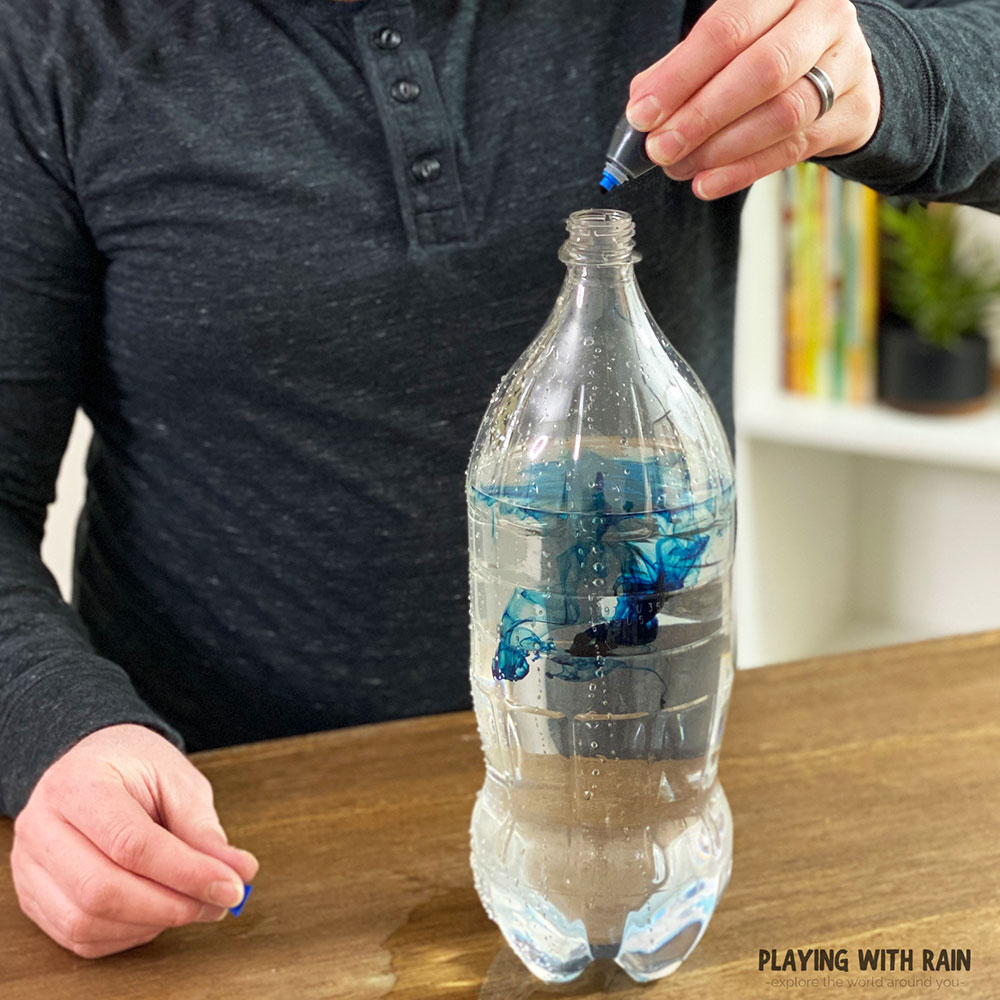
I like to use blue food coloring since it makes it look dark and stormy inside the bottle and really helps the tornado look more visible and realistic!
You can also add some glitter of the color of your choice to the water. The glitter will be an example of real-life flying debris in a tornado as it gets swirled around in the air and tossed in the ferocious winds of a tornado.
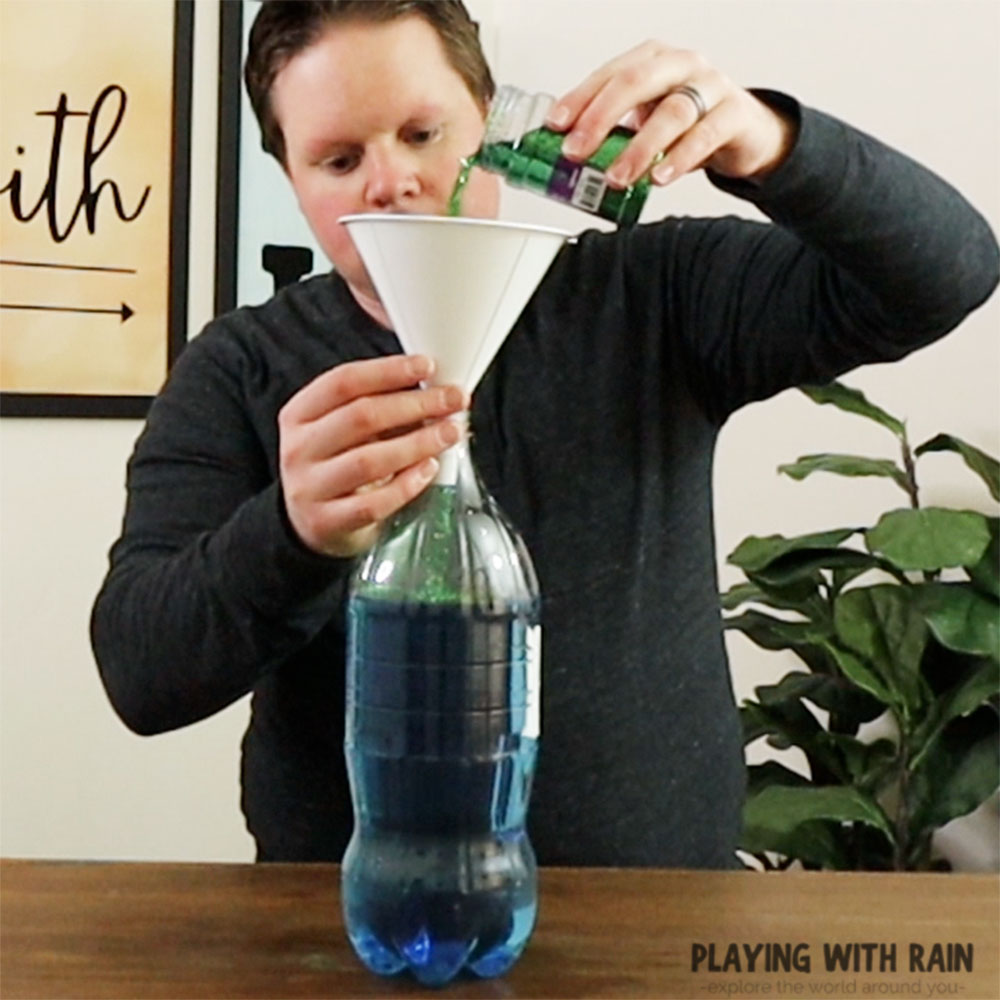
If you want to really bump your tornado up to an EF-5 category, then you can add some small little lego figures too! I have even used monopoly houses before to demonstrate the power of a tornado.
Be aware that if using legos or other small items for debris that the connection between the two bottles can sometimes get clogged with the debris and can interrupt the cyclonic flow of the tornado.
If this happens, just flip the tornado in a bottle experiment back up the opposite was and the debris should fall out.
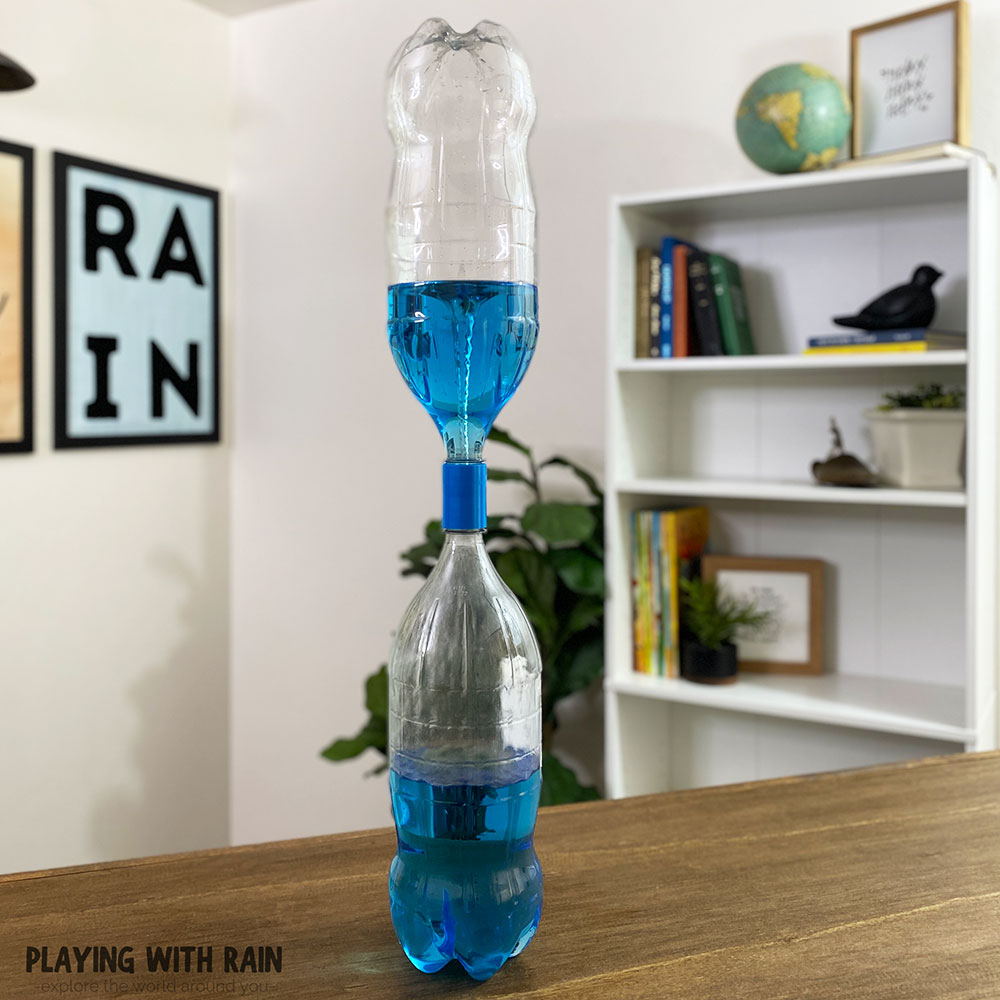
Step 3: Connect The Bottles Together
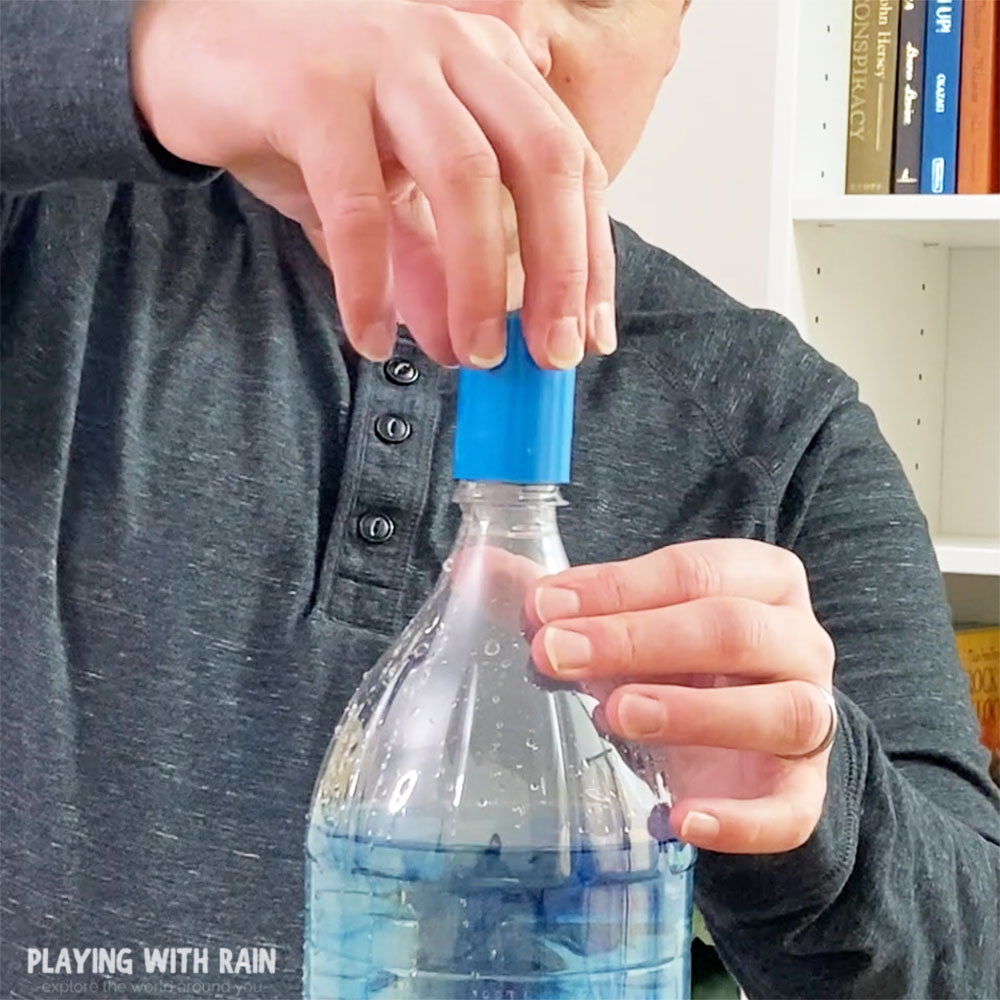
The easiest and most secure way to connect your two plastic bottles together is with a tornado connector tube. You can find one of these on Amazon for a few dollars with the link provided above in the supplies list.
The tornado connector tube has threads that each bottle screws right into and creates a nice and sturdy seal for your tornado.
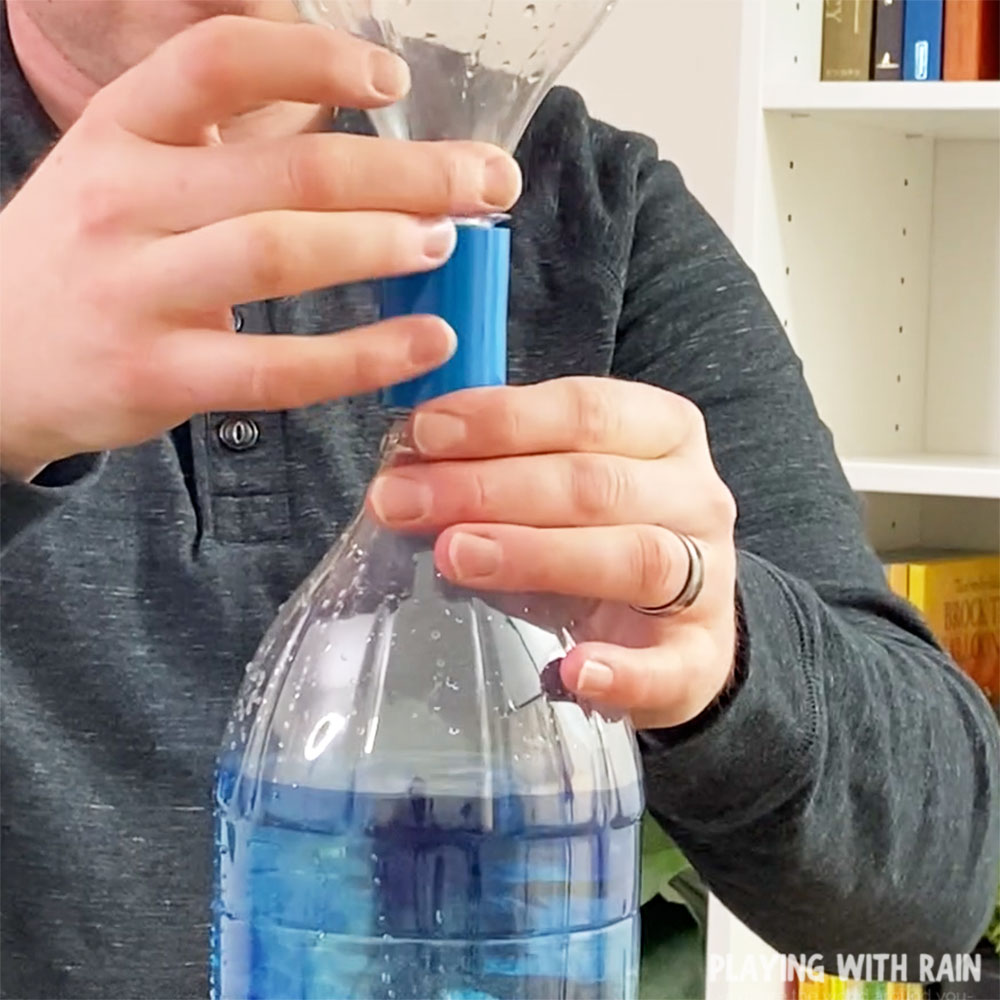
The alternative option is to use lots and lots of duct tape and try to get the best connection you can between the two bottles.
This will work for a little while, but eventually, the duct tape will give way to a leaky tornado that mom will not appreciate around the house…especially if there is food coloring in the water!
Step 4: Tip the Water Filled Bottle Upside Down and Shake The Bottles in a Circular Motion
Once we have connected the two bottles together it’s time to start having some fun! While holding the two bottles together at the connection, flip it upside down so that the bottle with water is on the top.
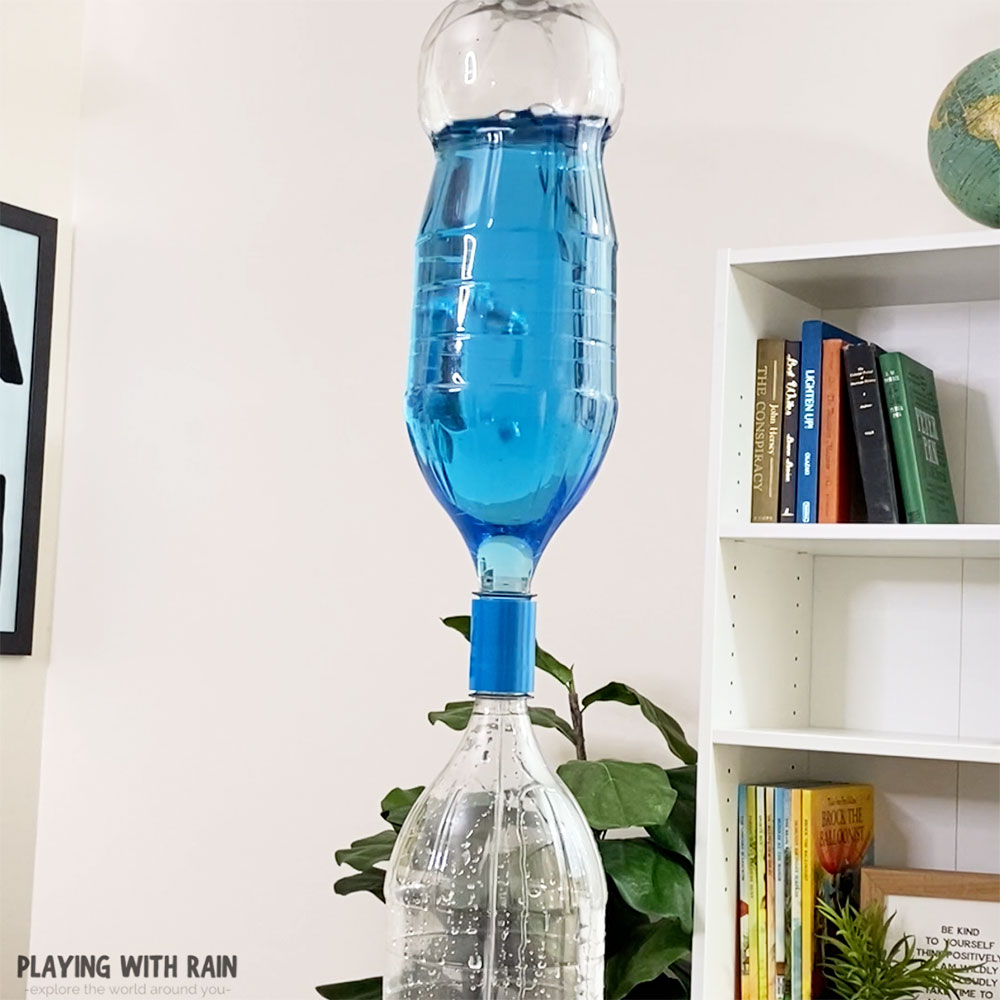
If you let the bottle stand upside down the water will slowly be pulled by gravity to the bottle below as air bubbles rise from the bottom bottle into the top bottle.
The visible bubbles rising through the water are the beginning stages of the updraft that will start your tornado, but it needs a little bit of twisting to get your tornado going!
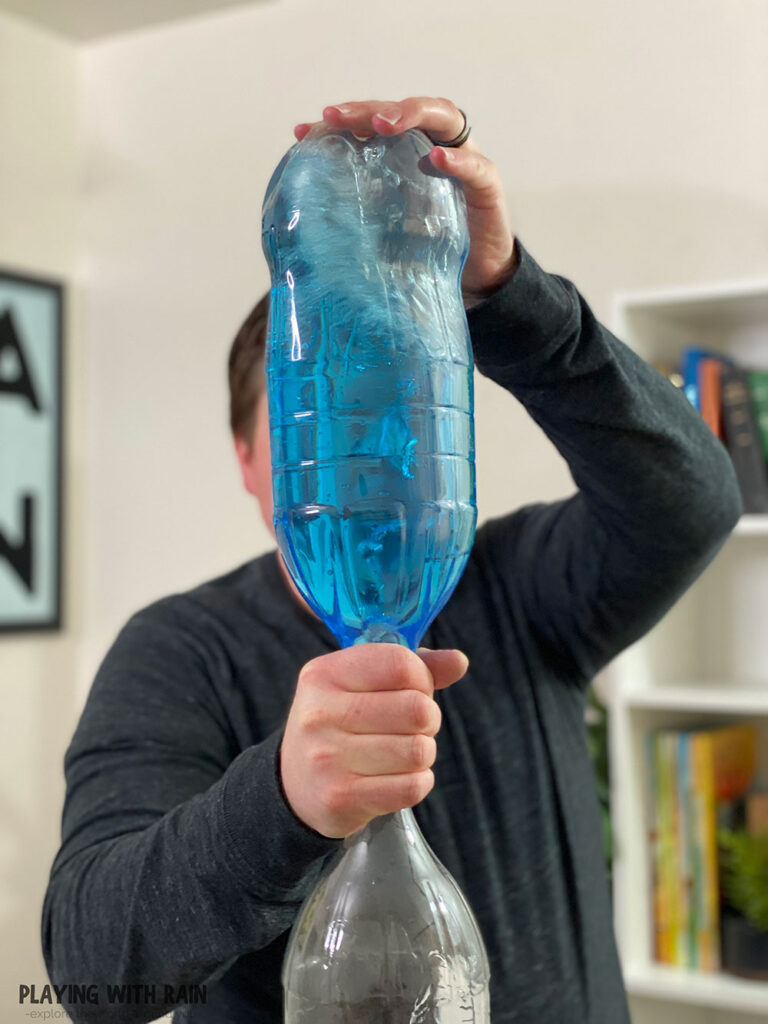
Shaking your bottles in a circular motion for about 15-20 seconds will give the water the twisting motion that is needed for the funnel to start forming inside your bottle.
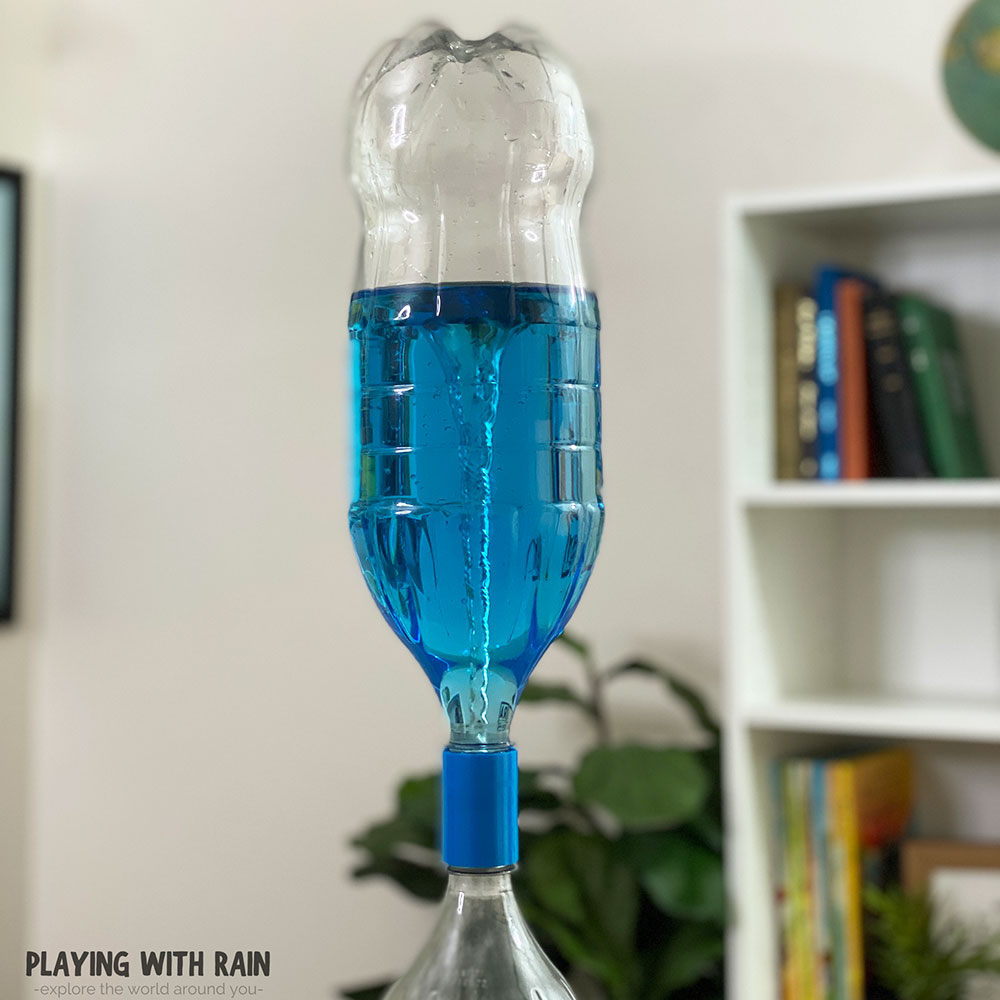
Step 5: Stop Twirling the Bottles and Watch a Funnel Form
When you can see the water in the top bottle spinning around and trying to make a funnel, stop spinning the bottles and watch and enjoy as your tornado in a bottle develops!
The rising bubbles will eventually form a tube or funnel of air rising up from the bottle below and the water around the funnel will spin and get sucked into the bottle below. You have just made a tornado!
If you chose to add glitter or legos to your bottles in step 2, then you will also notice them getting flung around inside the tornado like flying debris!
Step 6: Recreate Your Tornado Again and Again
The best thing about this experiment is that once you have built it, you can create a tornado as many times as you want! Just simply flip the bottle that has collected all the water upside down again and give it a little twist.
Soon the tornado will start to form again and you can watch the debris get tossed around inside the bottle!
You can also try making a tornado in a jar instead of a bottle with this fun Tornado Experiment!
Now let’s dive into the science behind how tornadoes work!
How Does a Tornado in a Bottle Work?
This tornado in a bottle experiment works with the same science that creates a real-life tornado!
It all begins with air rising from the lower bottle into the top bottle, which represents an updraft of warm air in a thunderstorm.
As the air bubbles rise through the water in the top bottle, they won’t turn into a tornado unless the air is twisted or spun a little bit.
In our bottle example, we used water to illustrate the clouds, but real tornado funnels are made as the wind swirls through water vapor in the clouds.
For the science behind how clouds form in the sky check out this cool Cloud in a Bottle Experiment With Rubbing Alcohol.
In the atmosphere, real tornados also need some spinning winds to help create the funnel of a tornado. The spinning winds inside the clouds that help produce a tornado are called wind shear.
The stronger these winds are that are changing directions at different levels in the cloud, along with how strong the updraft of air rising from the ground will determine if you have an EF-0 tornado or an EF-5 tornado!
In our tornado in a bottle experiment, the faster and stronger we shake the bottle in a circular motion, the larger and stronger your tornado will also be!
Eventually, when the tornado runs out of energy (air and water in the bottle scenario, and a warm thunderstorm updraft and wind shear for the real tornado) the tornado will weaken and vanish and quickly as it appeared!
PIN THIS EXPERIMENT FOR LATER

Leave a Reply