You can do a lot of fun science experiments with eggs, but did you know that you can actually make a squishy, bouncy egg that glows too!? This Glowing Egg Experiment is one of my favorites and will entertain kids and adults as they learn about the glowing science behind this one!
Find more Glow In The Dark Experiments here!
The fun part about making eggs glow is seeing the amazement in the kids faces when the bright and glowing egg lights up a dark room!
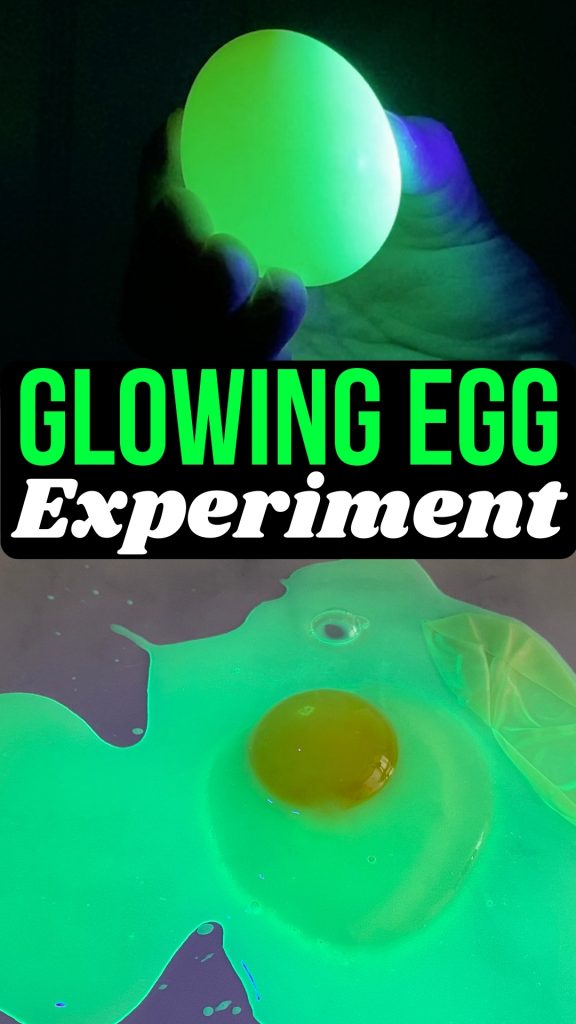
Glowing Egg Experiment
This post may contain affiliate links. As an Amazon Associate, I earn from qualifying purchases.
Supplies Needed:
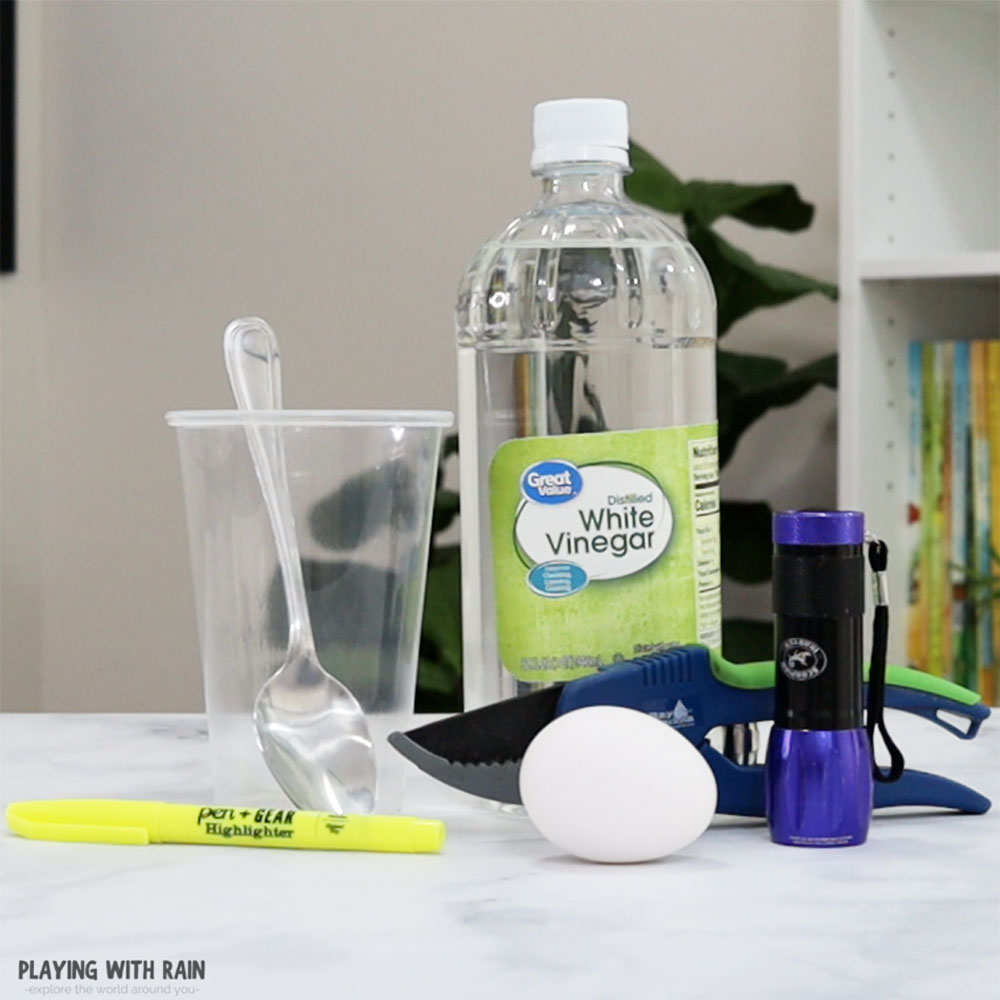
How to Make a Glowing Bouncy Egg
- Gently place an egg in a cup and cover the egg with vinegar.
- Cut the ink tube out of a yellow highlighter.
- Squeeze the fluorescent yellow ink into the cup of vinegar.
- Set a spoon on top of the egg to keep it submerged in the vinegar for 2 days.
- After 2 days, gently wash the egg off with water.
- Go to a dark area and shine a blacklight on the egg and watch it glow!
- Pop the egg and shine the blacklight on the splattered, glowing egg!
Step 1: Put an Egg in a Cup and Fill it With Vinegar
To start the process of making a glowing egg we need to place an egg into a cup. It is best to use a clear cup so that you can watch the egg change color and size as the vinegar works its magic, but any type of cup will work.
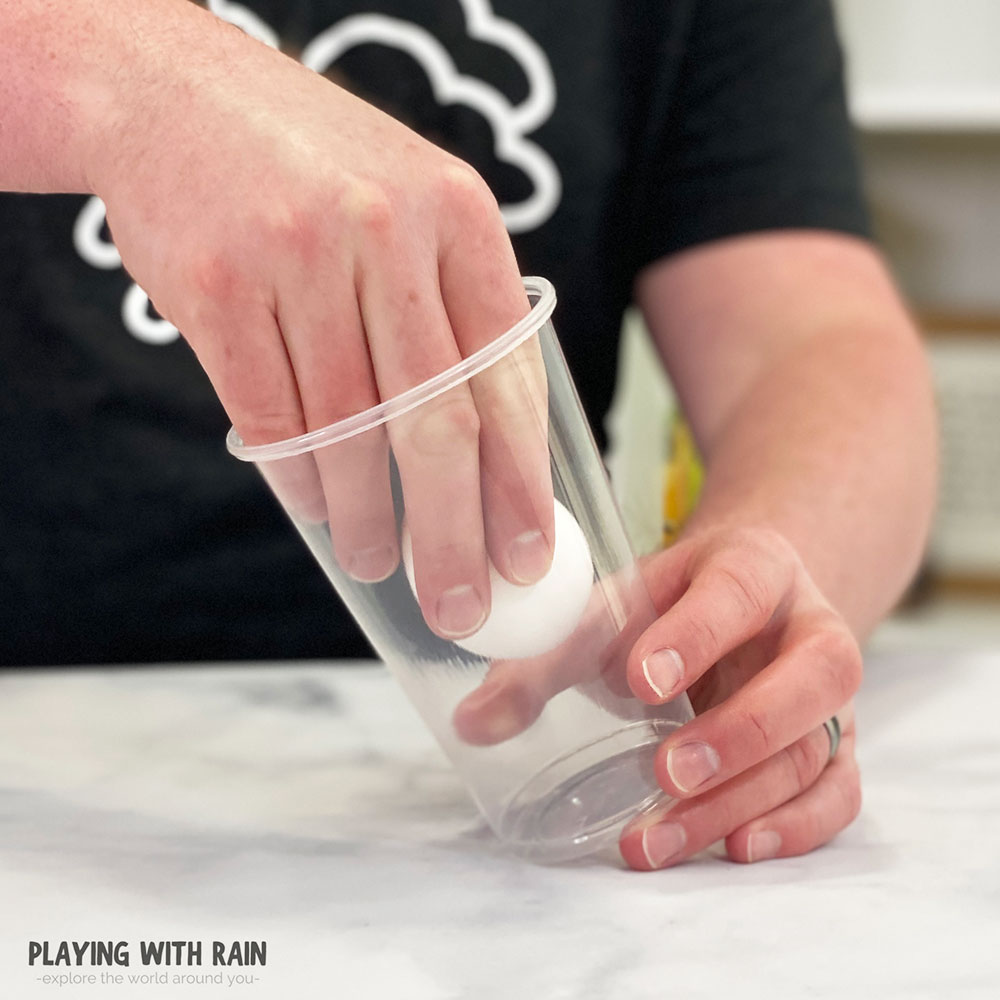
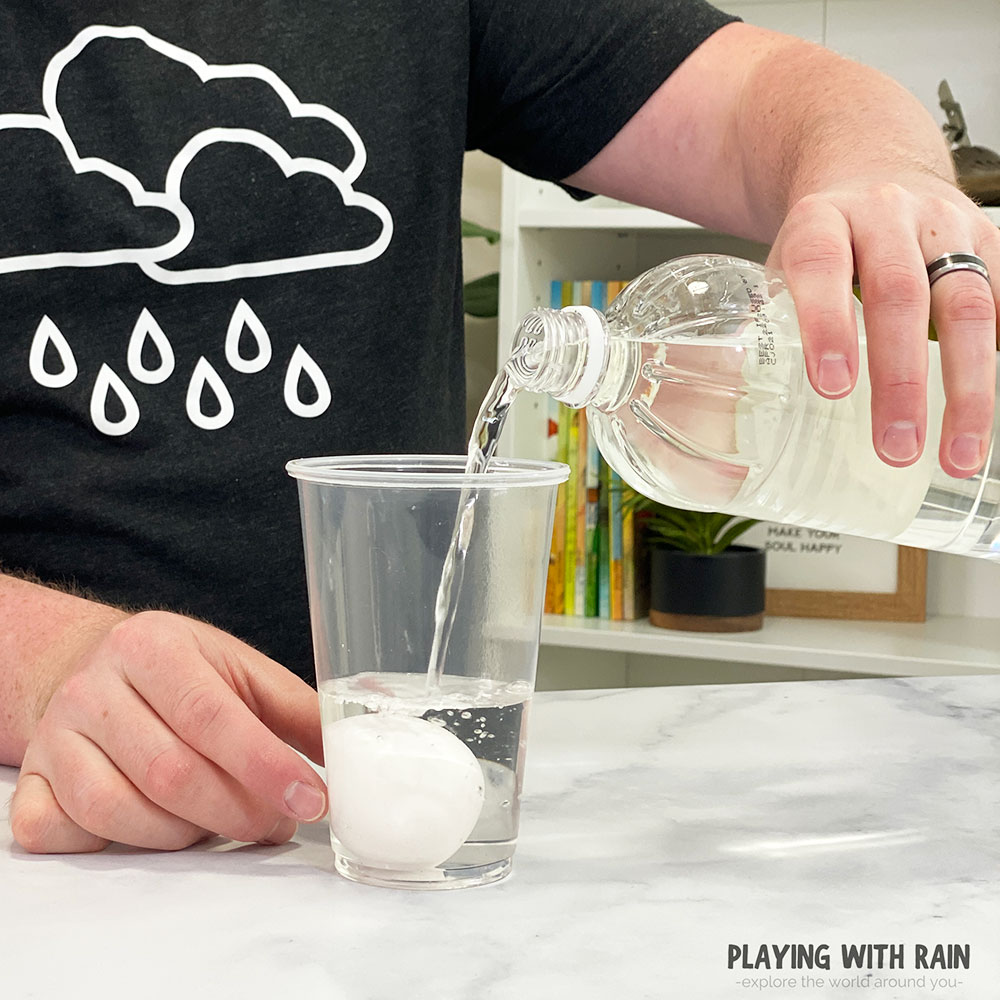
After gently putting a raw egg into an empty cup, fill the cup with white vinegar to a level that completely covers the egg and maybe a little bit extra just for good measure!
Step 2: Break a Yellow Highlighter Open
Here comes the tricky part that needs an adult to help and supervise! Using a pair of very sturdy scissors or snips, cut the plastic covering on a yellow highlighter.
It’s a good idea to cut the highlighter over a bowl or garbage can because it will splatter and make a mess with bright yellow ink if you don’t!
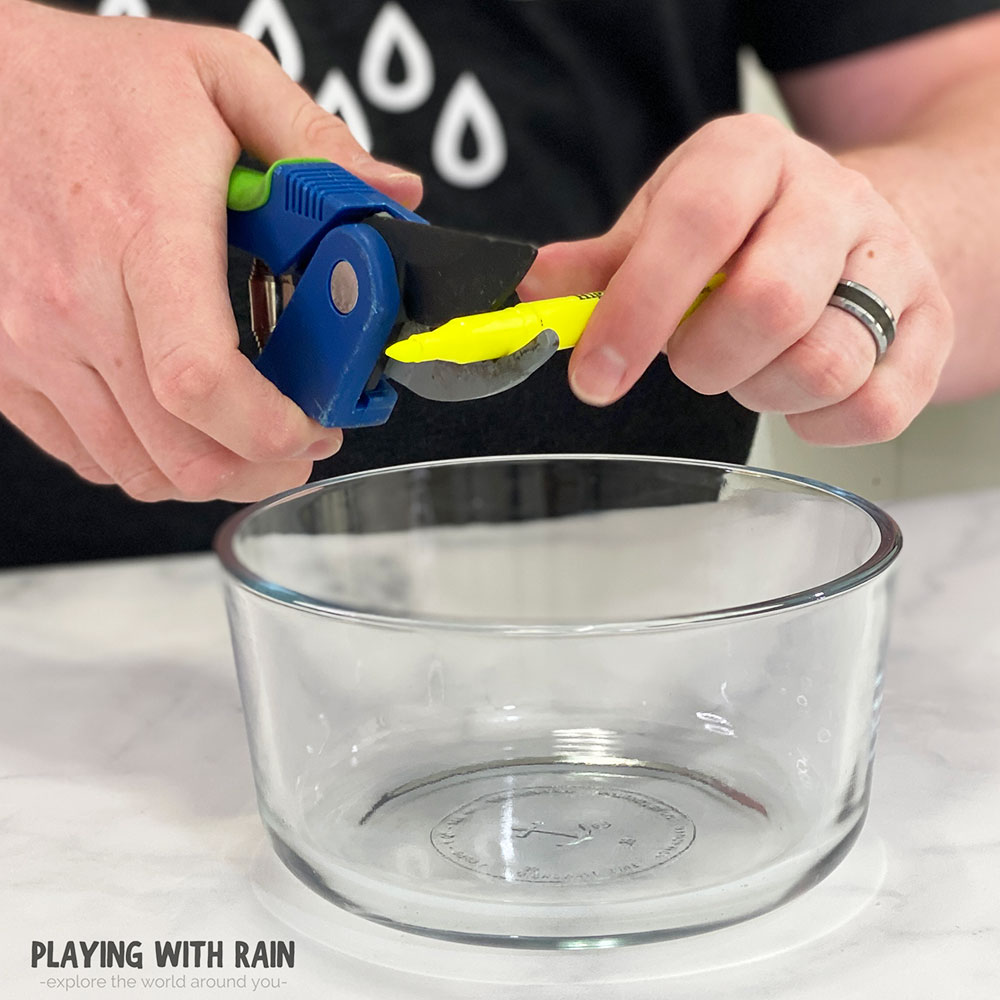
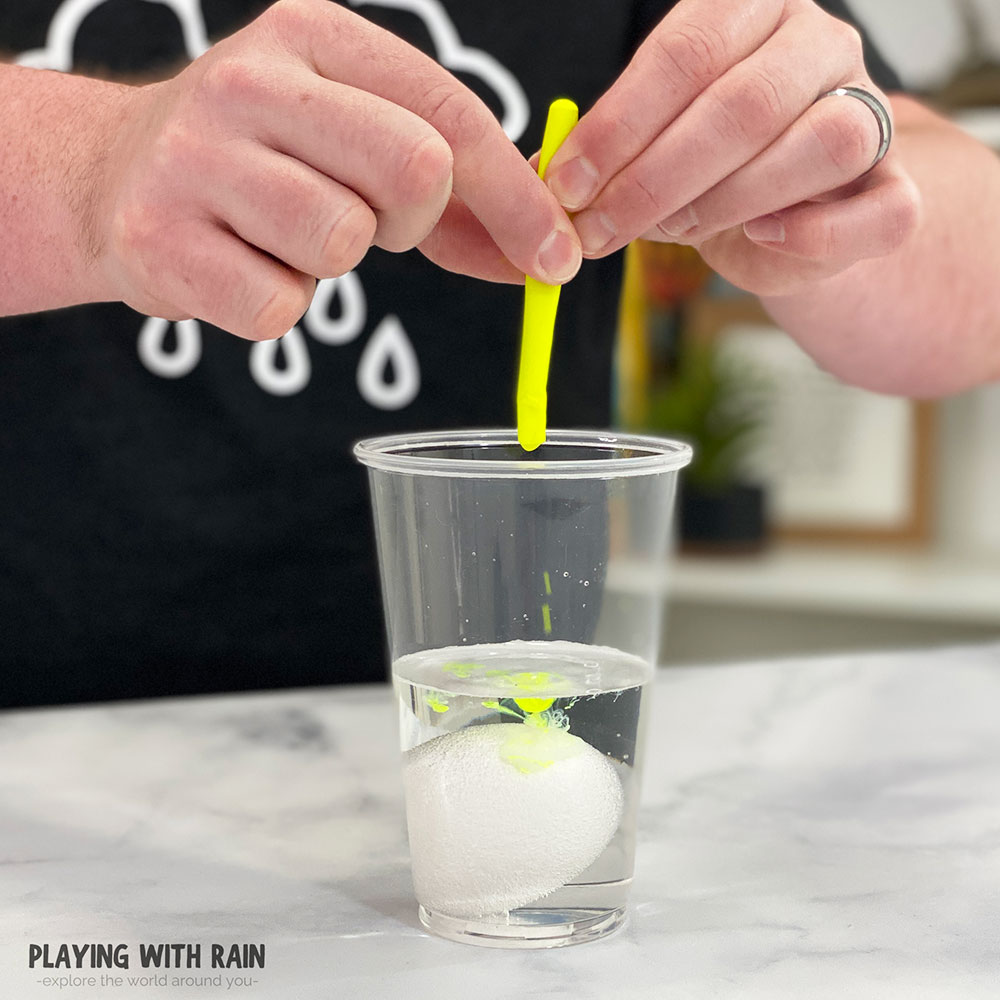
The easiest way to do this is to cut about an inch from the tip of the highlighter. After making the cut in the plastic, pull the ink tube out from the inside of the yellow highlighter.
Then hold the ink tube over the cup of vinegar and squeeze as much of the bright yellow ink out of the tube and into the vinegar.
Step 4: Put a Spoon on Top of The Egg and Wait for Two Days
When the ink has all been squeezed into the cup with the vinegar and egg, the vinegar should turn a cloudy, greenish color. Over time the color will brighten and the egg will absorb some of that color.
The egg needs to stay completely submerged in the vinegar for at least 48 hours for this glowing egg experiment to work properly.
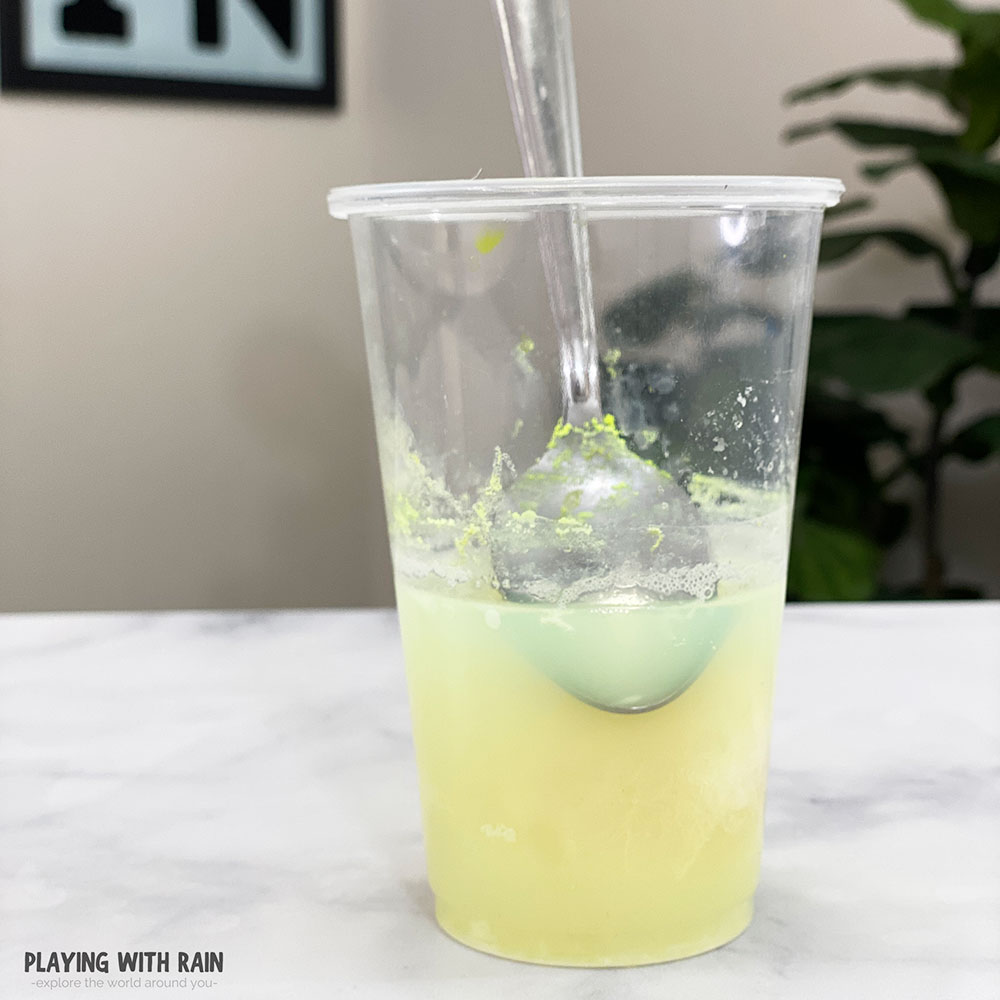
To keep the egg from floating to the top, place a spoon on top of the egg in the cup. Then wait as patiently as you can for 2 or 3 days for the vinegar to dissolve the eggshell and the yellow ink to soak into the egg.
Step 5: Two Days Later, Pull The Egg Out and Wash It With Water
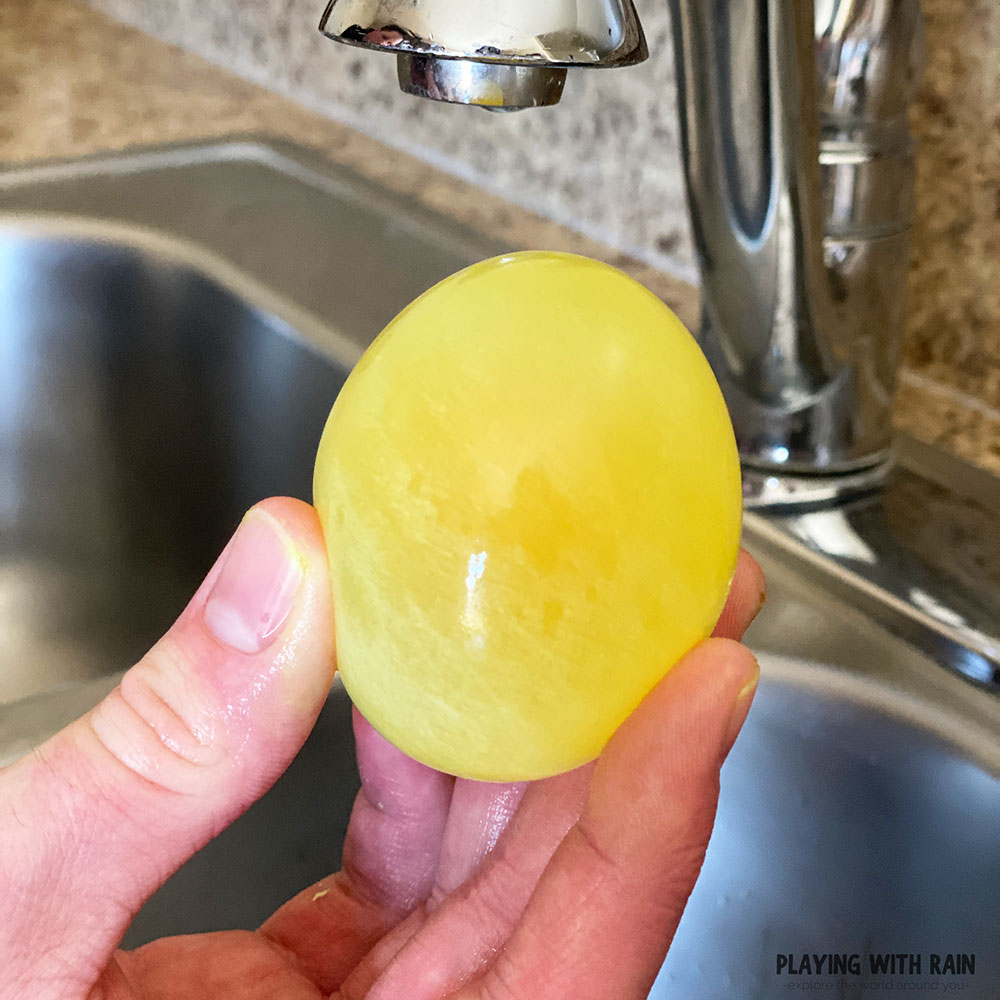
After 2 days of waiting, go ahead and pull the egg out of the greenish-yellow mixture of ink and vinegar and see what it looks like.
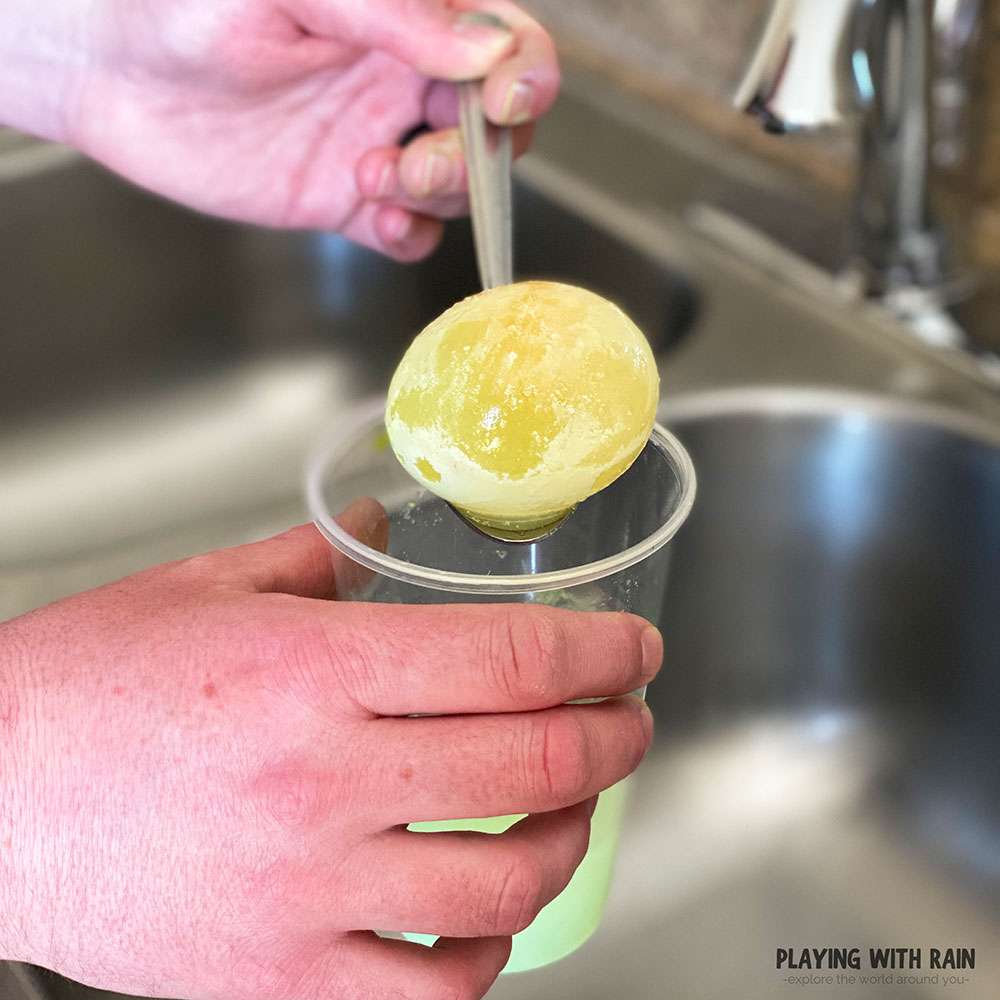
The egg should have transformed from a hard-shelled, raw egg into a very squishy, rubber-like egg. It will also be slightly bigger than the original egg was too!
This is because the vinegar dissolved the shell that is made of mostly calcium carbonate. The semi-permeable membrane that remained allowed vinegar and ink to absorb into the egg and made the egg increase in size.
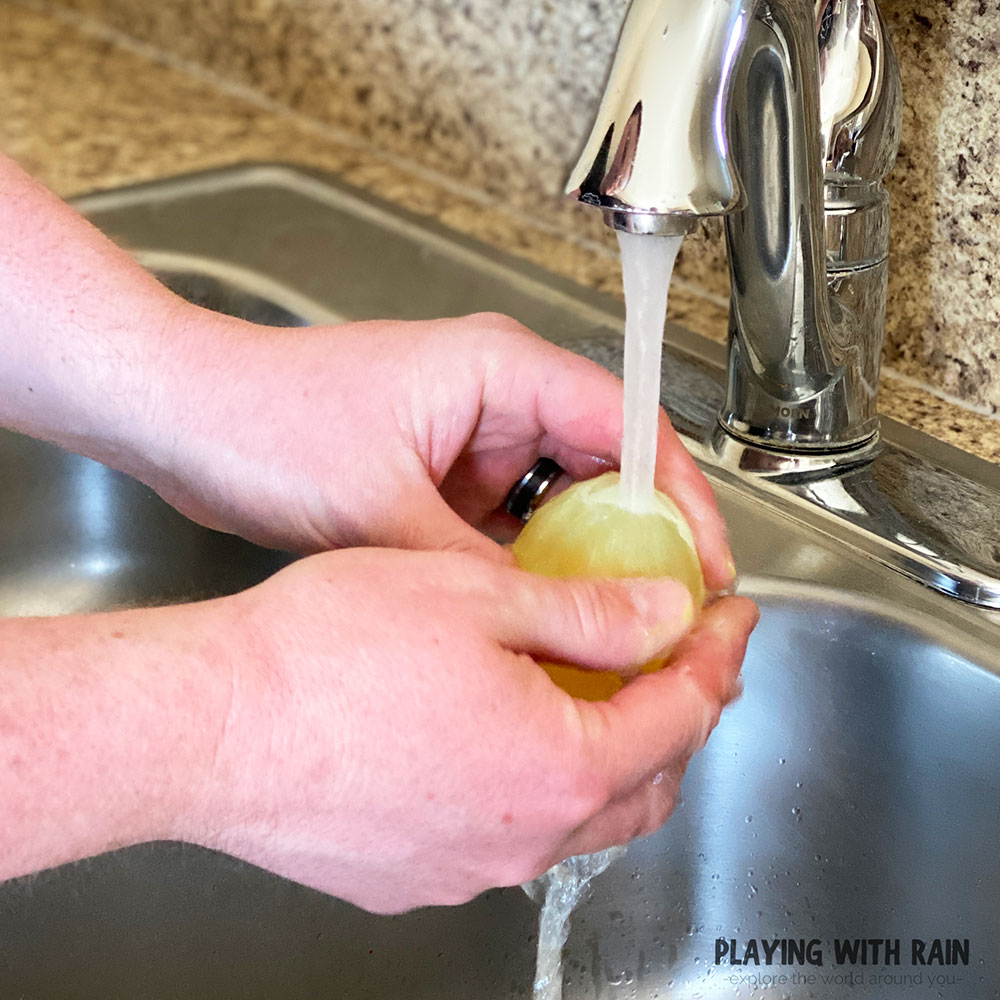
After admiring your egg for a minute or two, wash the egg off under some running water in the sink. You can rub some of the slimy, while residue off the egg. This is actually what is left of the eggshell.
Step 6: Shine a Blacklight on The Egg in a Dark Area and Watch It Glow
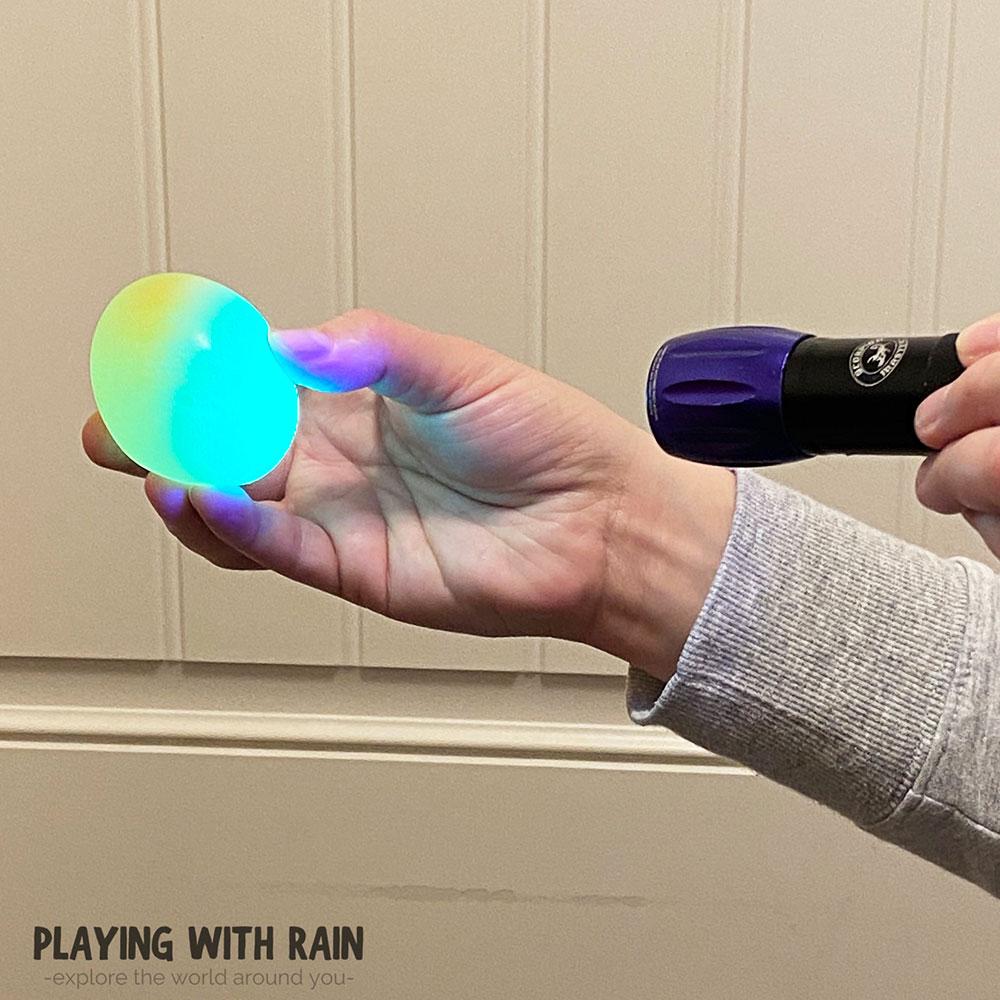
With the egg all cleaned up, it’s time to see if it really glows! With adult supervision, grab a blacklight flashlight and shine the blacklight on the egg.
It’s fun to try this in a lighted area first and notice that even in a lighted room the egg should illuminate to a bright neon green color with the blacklight shining on it.
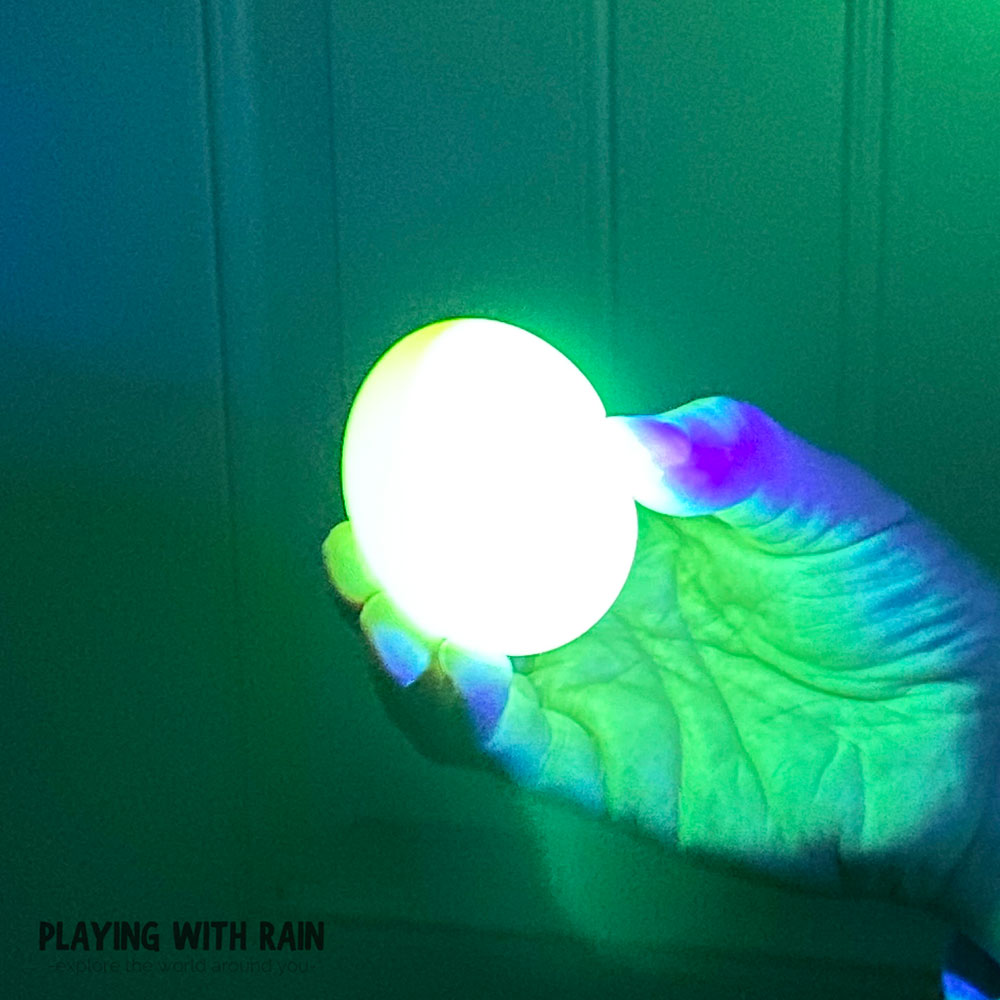
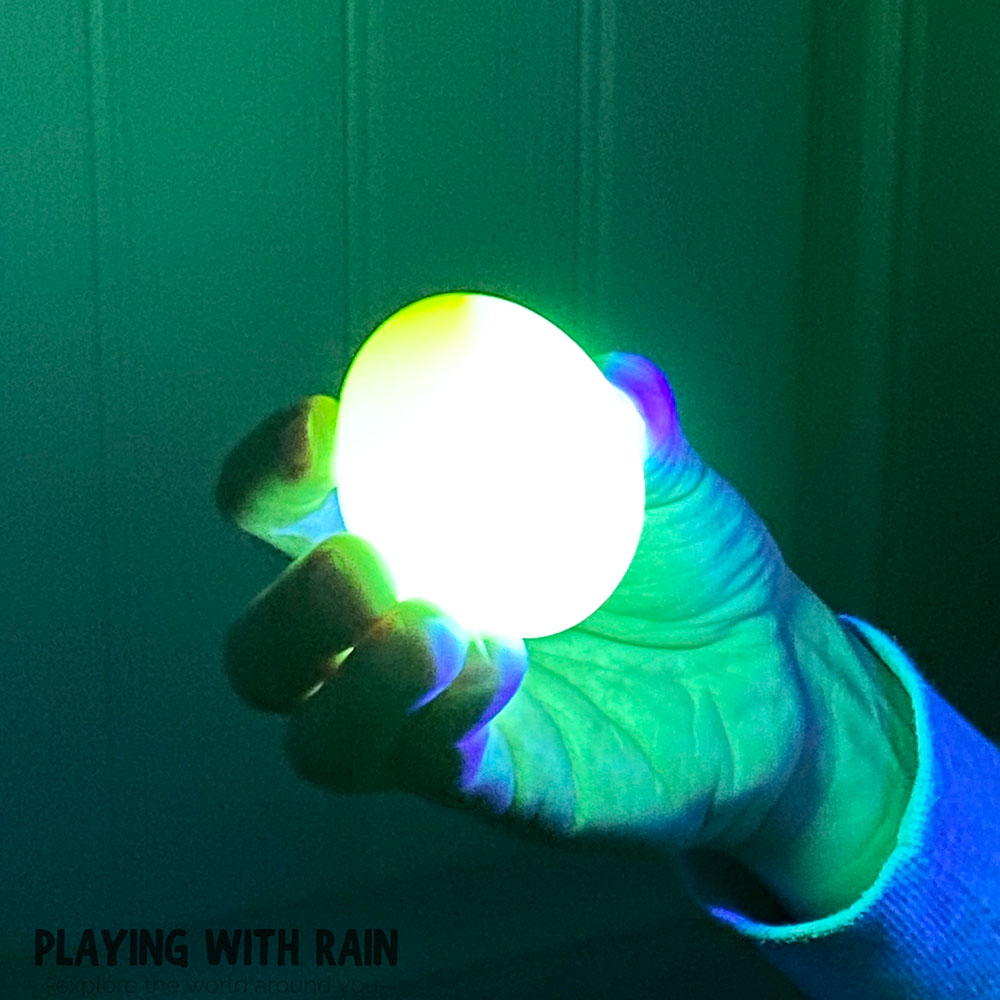
Then turn off the lights or go to a dark closet when you are ready to see this glowing egg experiment in all it’s glory!
With the lights off and the blacklight shining about 6-12 inches away from the egg, it will glow super bright and almost look like a fluorescent green light bulb lighting up the room!
Step 7: Pop The Egg And See If It Still Glows Under a Blacklight
Just to prove to your audience that this really is a raw egg and not some type of glowing bouncy ball, bounce the egg around on a countertop for a while until it pops!
The membrane on the egg is flexible enough to make the egg bounce for a while like in this Bouncy Egg Science Experiment, but if you drop the egg hard enough it will pop open and splatter the egg everywhere!
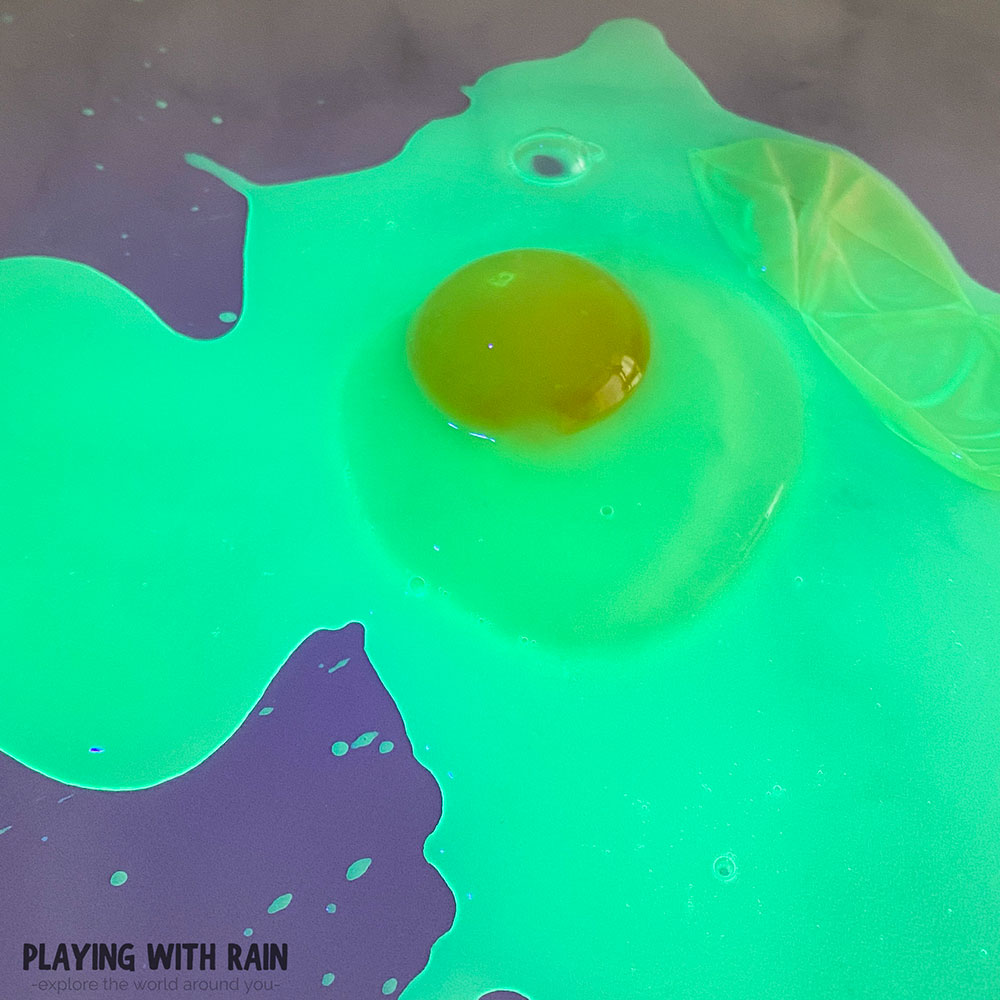
When the egg whites and yolk is in a big puddle and mess on your counter, shine the blacklight on the mess and watch as it continues to glow!
The Science Behind the Rubber Egg
The process of making our glowing, rubber-like egg happened in two steps. The first step is using the reaction of the vinegar and calcium carbonate in the eggshells to dissolve the eggshells.
The calcium carbonate of the egg shell reacts with the vinegar in a very similar way that baking soda reacts to vinegar, but instead of an explosive reaction, we see a very slow reaction as tiny bubbles form on the egg shell.
After a couple of days in the vinegar, the carbon has all been released from the eggshell and it has caused the eggshell to be weakened and dissolved into the vinegar.
The thin membrane between the shell and the actual white and yoke of the egg remains intact and keeps the form of the egg together.
The semi-permeable membrane allows the vinegar and yellow highlighter ink to pass into it, but not out of the membrane.
That is why the egg nearly doubled in size as well as became very squishy after sitting in vinegar for 48 hours.
How Do You Make Glowing Eggs
The second step in this process is the ability for the egg to glow. This happens thanks to the fluorescent yellow ink that is absorbed into the egg.
When the blacklight is shined onto the vinegar and ink-filled egg, the egg will glow in a very bright neon green appearance!
The blacklight emits Ultraviolet (UV Light) that we can’t see with our eyes, but the chemicals inside the fluorescent ink inside the egg absorb the UV light and re-emit that light back to our eyes in a color we can see!
So the transformation of the UV light through the fluorescent ink in the egg and into a wavelength of light that our eyes can see is what makes the egg appear to glow!
PIN THIS EXPERIMENT FOR LATER
thank you this helped me with a science project!
So glad to hear that Mia!