There are several ways to make a cloud in a bottle, but this one is by far my favorite and works the best! It’s time to learn how to do this Cloud in a Bottle Experiment With Rubbing Alcohol.
Get more fun and easy Experiments With Rubbing Alcohol here!
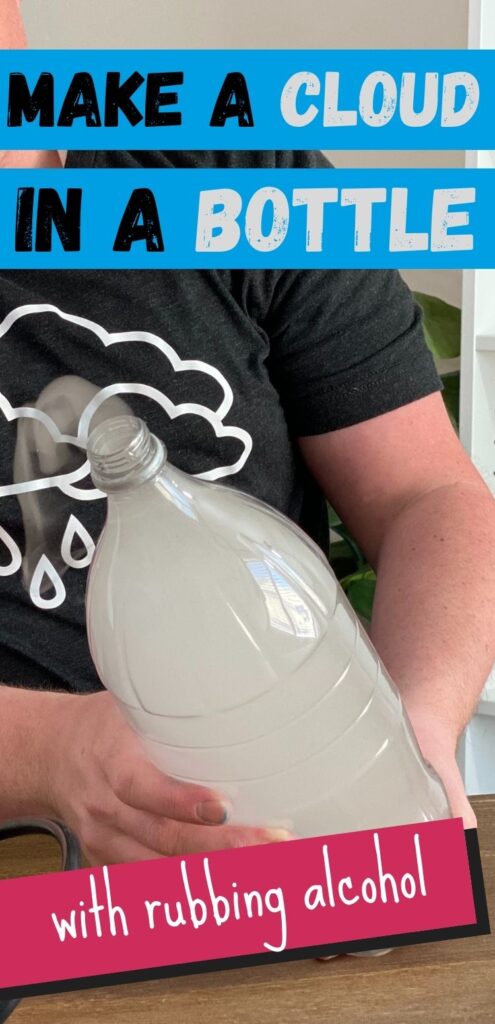
The best thing about this method to make a cloud in a bottle is that it is simple enough to do at home it makes a very visible white cloud!
Cloud in a Bottle Experiment With Rubbing Alcohol
This post may contain affiliate links. As an Amazon Associate, I earn from qualifying purchases.
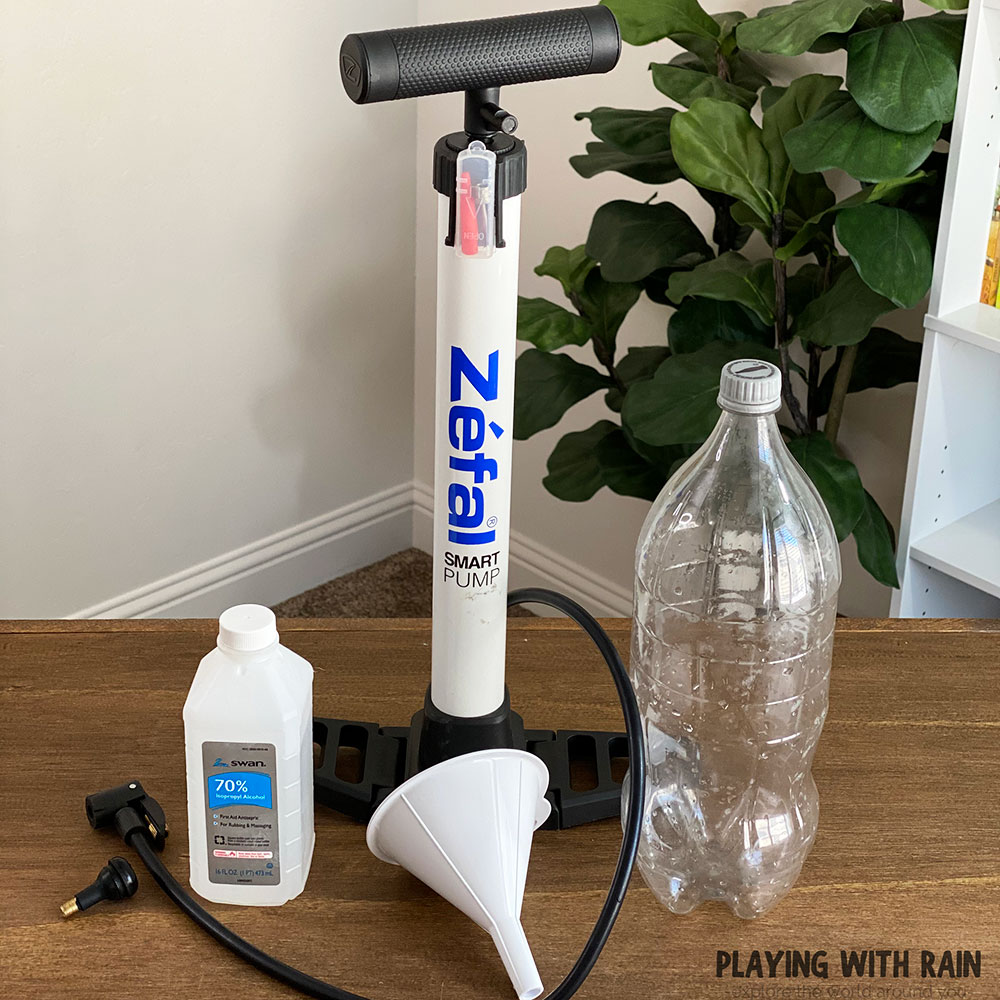
Supplies Needed:
- Sturdy 2-Liter Bottle
- Bike Pump
- Rubbing Alcohol
- Tire Valve Stem
- Funnel
How to Make a Cloud in a Bottle
- Pour a small amount of rubbing alcohol into a clear 2-liter bottle and shake it.
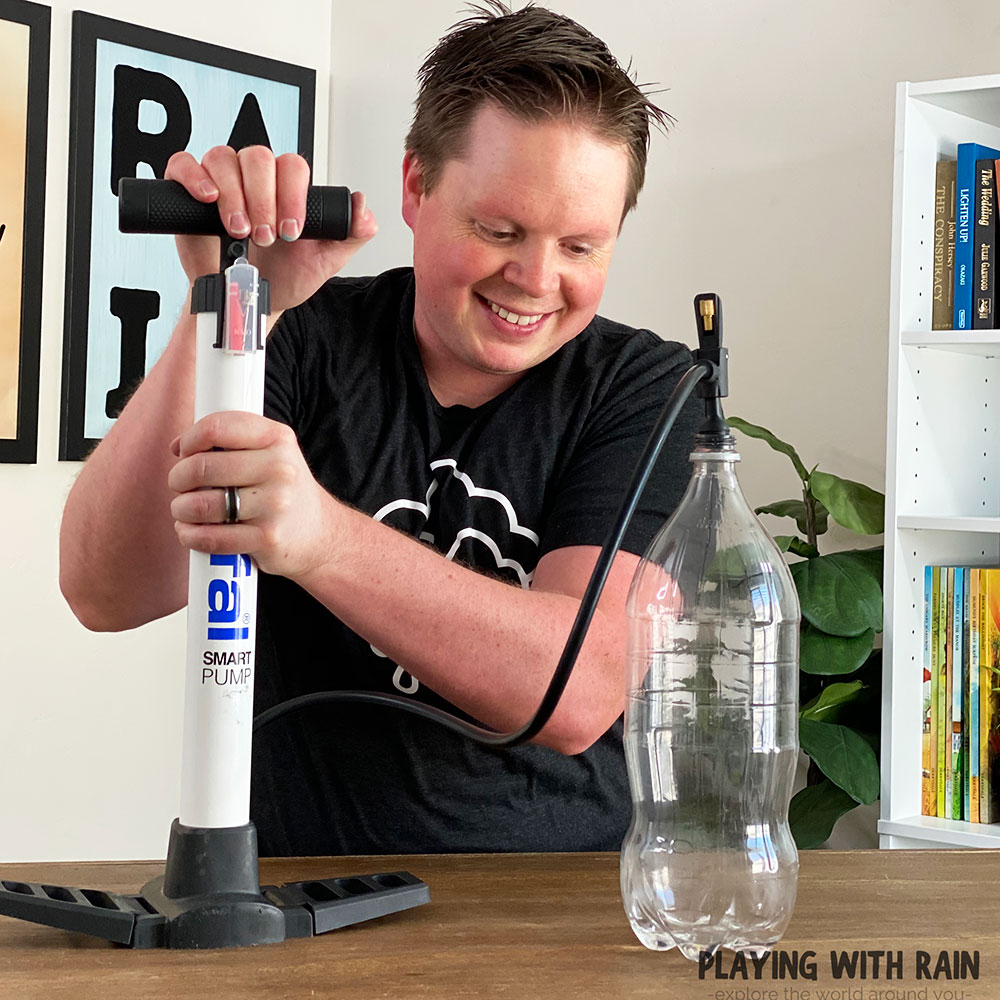
- Connect an air pump to a tire valve stem and insert the valve stem snugly into the top of the bottle.
- Begin pumping air into the bottle.
- When you can feel the pressure increase in the bottle, quickly release the valve and let the air escape.
- Watch and enjoy as your cloud forms inside the bottle!
Step 1: Add Some Rubbing Alcohol Into a Bottle
When you finish the last drop of your favorite soda, keep the 2-liter bottle for this awesome cloud in a bottle experiment!
Just rinse out the bottle and peel the label off to make sure the bottle is nice and clear and easy to see through. Then add just a little bit of rubbing alcohol into your bottle.
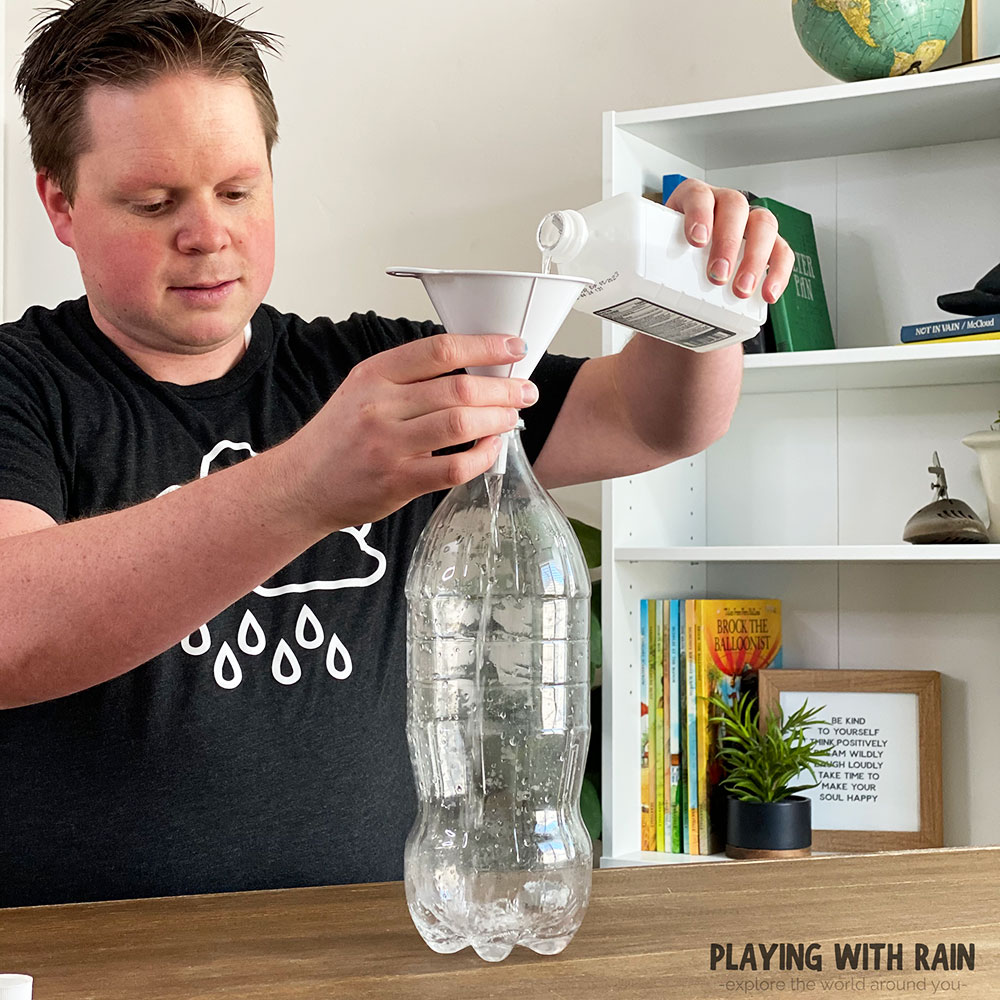
You only need enough rubbing alcohol to swish around and get the inside of the bottle wet, so go very light on how much you pour into the bottle. You may also want to use a funnel to prevent making a mess.
Step 2: Connect the Pump and Valve Stem to the Bottle
A standard foot pump that is used to air up bicycle tires works great for this experiment. You will need to connect a tubeless tire valve stem to the end of the air pump hose.
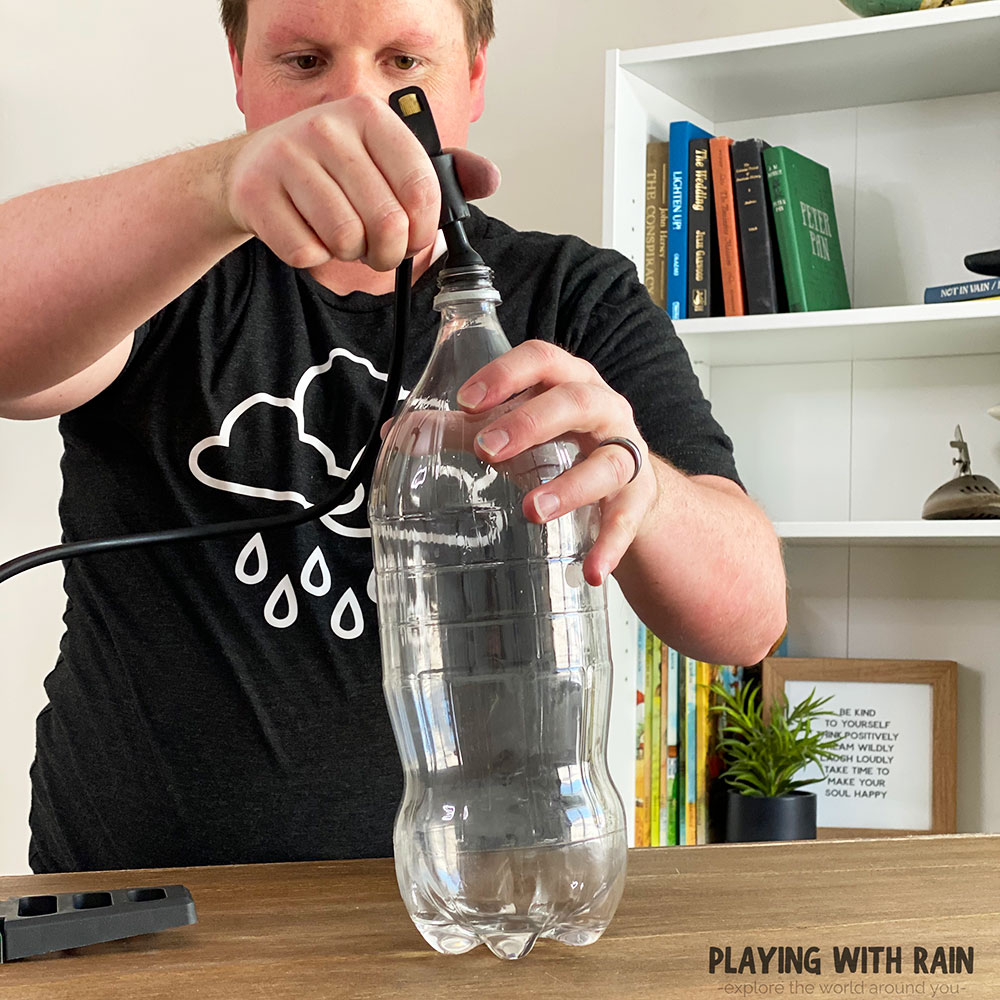
Once your valve stem and air pump hose are connected, then comes the trickiest part of this experiment…getting the valve stem to fit snugly into the opening of the 2-liter bottle!
The only reason this part is so tricky is because the diameter of the rubber valve stem is about the same as the diameter of the bottle opening.
This is a good thing because the idea is that you want it to seal the air inside the bottle, so a snug fit is what we want even though it takes a little elbow grease to get it just right!
If you try to twist the valve stem as you push it down into the bottle opening it usually slides in easier. The bottom line is you want the rubber lip on the valve stem to create a good seal on the bottle.
Another trick is to put the valve stem in the freezer for a little bit before the experiment. The cold air will make the rubber contract smaller and should slide into the bottle easier.
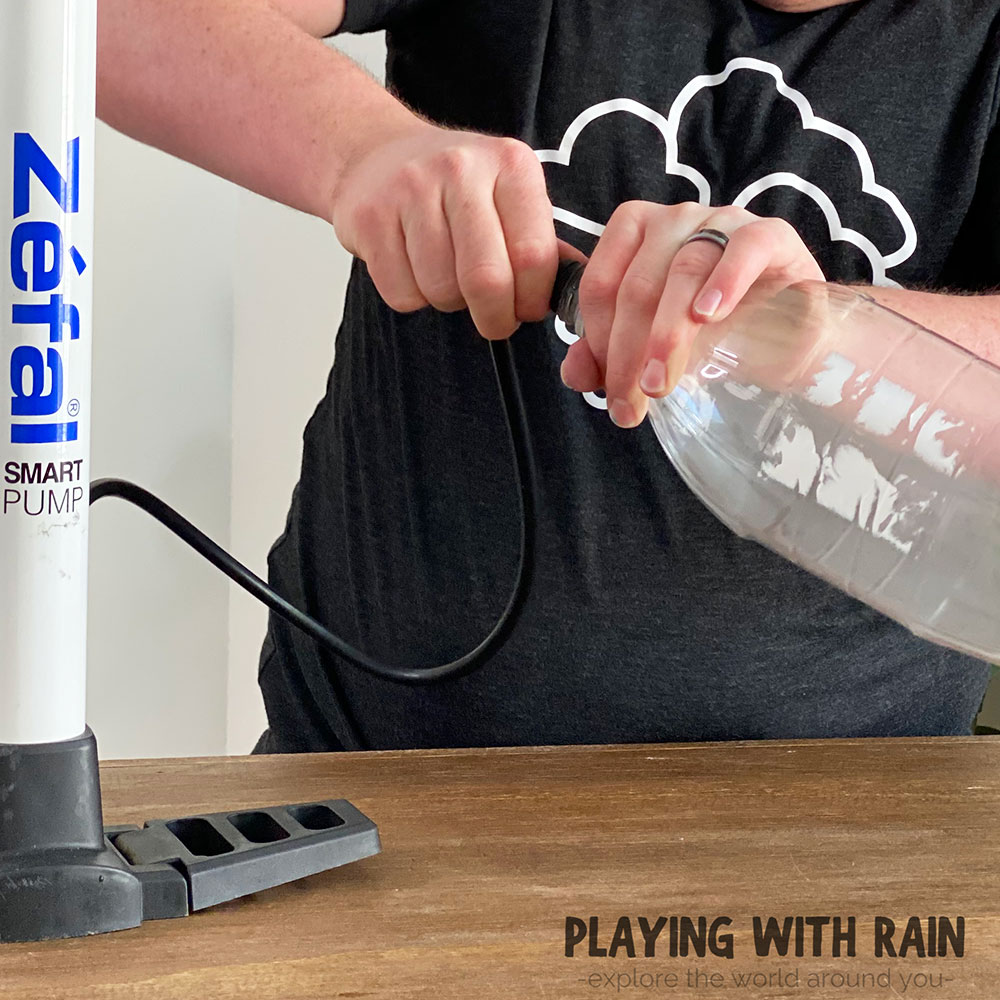
Step 3: Pressurize the Bottle
Okay now that we made it past the hard part, it’s time to start pumping air into your bottle. I prefer to use a bike pump that has a handle you lift up and push down to add air pressure into the bottle.
It can be helpful to have somebody help hold the bottle and valve stem in place while the other person pumps the air. I usually let my 5-year-old daughter help with this part and she loves it!
After 2 or 3 pumps you should start to feel and hear the air pressure in the bottle starting to increase.
If you put one hand on the bottle and try to squeeze it and notice that it is very firm, then you probably have enough air pressure inside the bottle.
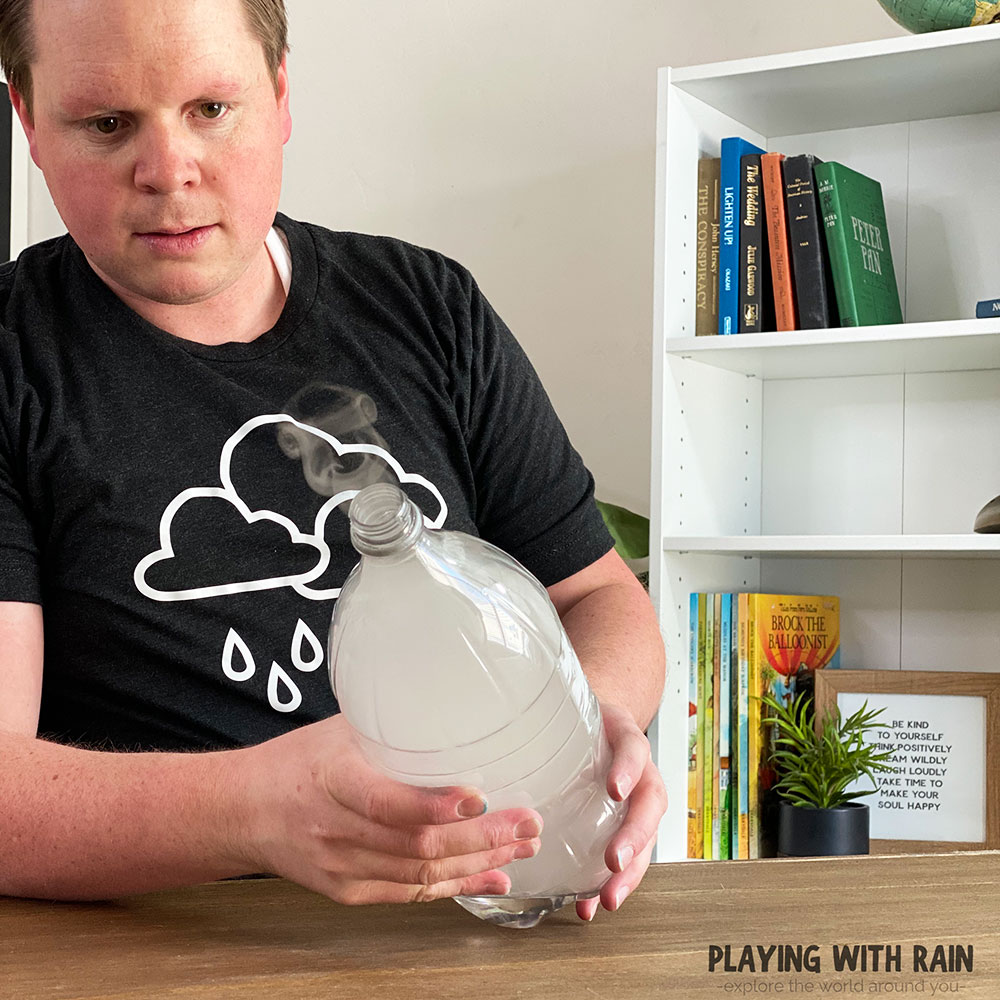
Step 4: Release the Air Pressure
Once you think you have added enough air to the bottle, go ahead and pull the valve stem out of the top of the bottle and let the air quickly escape! Be sure to keep a tight grip on the valve so it doesn’t go flying across the room!
You will hear a pop and swoosh of air quickly rush out of the bottle. This is because the high pressure inside the bottle finally has a way to escape!
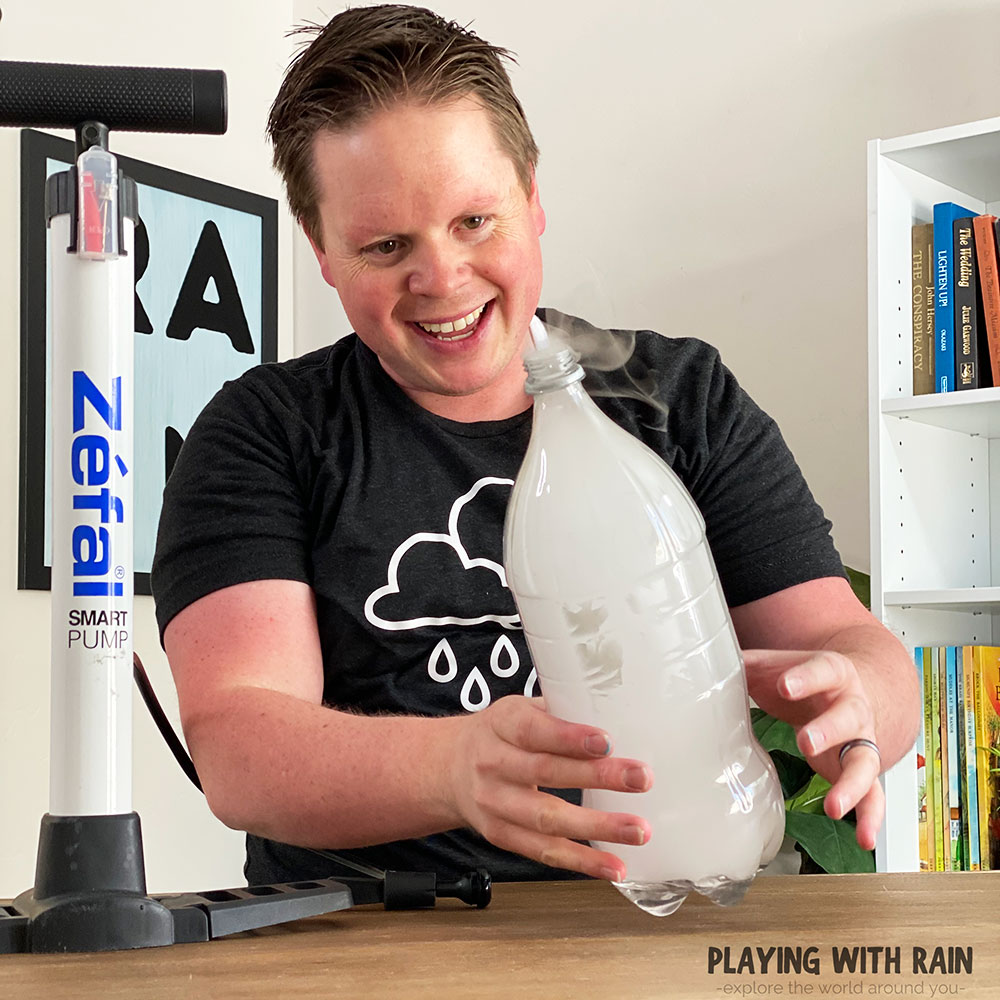
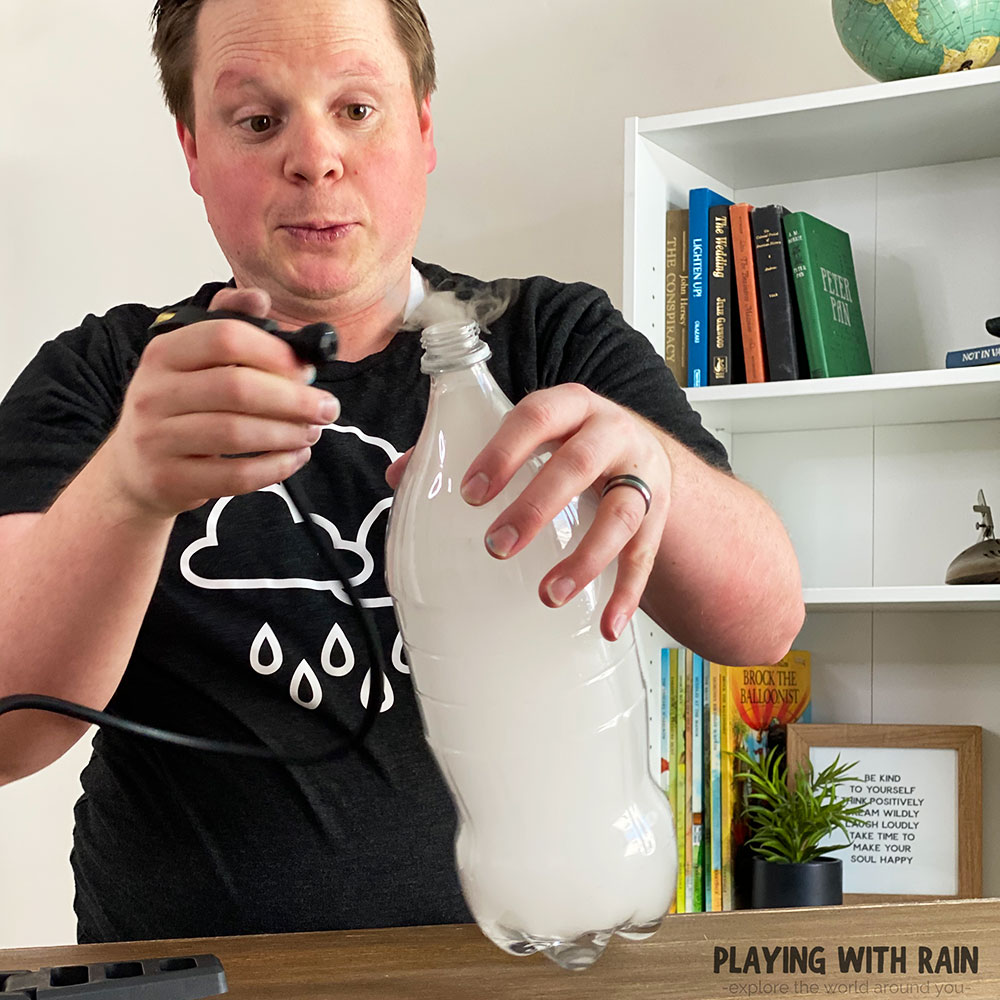
Step 5: Play With Your Cloud!
Just as quickly as the air escapes from the bottle, you will notice a white cloud that forms inside the bottle! Have some fun with the cloud inside the bottle by squeezing the bottle and making “cloud rings” soar into the sky!
Something that I love about this cloud in a bottle experiment is that after your cloud slowly disappears, you can easily make it come back again!
In fact, if you put the valve stem back on the bottle and pump it up again, the cloud will quickly vanish inside the bottle and then come back once the air is released!
Cloud in a Bottle Experiment Explanation
In our cloud in a bottle experiment with rubbing alcohol, the rubbing alcohol acted as the Cloud Condensation Nuclei or CCN for short (We explain this big technical term in a little bit).
Check out How to Make A Cloud in a Bottle (Without Matches) to see how hairspray can also be used as another form of Cloud Condensation Nuclei.
Because rubbing alcohol also is made partly of water, we also had moisture in the bottle. As the water in the rubbing alcohol evaporated it added water vapor inside the bottle.
Then we increased the air pressure in the bottle by pumping it up. High-pressure air sinks and clouds cannot form, but as soon as we released the air, the air pressure dropped and the temperature cooled quickly.
The lower pressure and the temperature drop lets the water vapor condensate onto the rubbing alcohol particles and formed an awesome cloud!
What is Cloud Condensation Nuclei?
To make a cloud in a bottle you need to have some moisture in the bottle, change the air pressure, and have something called Cloud Condensation Nuclei.
Cloud Condensation Nuclei might seem like a big scientific term, but it basically refers to any type of airborne particles such as dust, smoke, or even pollution suspended high up in the atmosphere.
These particles in the sky are what kickstarts the cloud forming process. When there is enough moisture in the atmosphere the invisible water vapor can condense onto these tiny particles to form millions of little water droplets that create a visible cloud!
How does air pressure influence cloud development?
Just like our experiment in the bottle, when the air pressure is high, the bottle remains clear, but when the pressure drops in the bottle, the water vapor condenses onto the tiny particles and creates a cloud.
The same thing happens in the Earth’s atmosphere.
When the air pressure drops, the air rises and cools rapidly, which allows the water vapor to cool and condense into tiny water droplets that create clouds.
PIN THIS EXPERIMENT FOR LATER
Leave a Reply