This super fun and kid-friendly experiment demonstrates the fascinating science behind static electricity. Let’s go ahead and get started with this Balloon Static Electricity Experiment.
Get more fun and easy Static Electricity Experiments here!
This experiment is safe and easy for all ages to enjoy and you only need a few things you probably already have in your kitchen cabinets.
Balloon Static Electricity Experiment
This post may contain affiliate links. As an Amazon Associate, I earn from qualifying purchases.
Supplies Needed:

How to Make Things Float With Static Electricity
- Inflate a large balloon.
- Pour a small amount of rice, oats, sugar, and flour into separate piles on a plate or two.
- Cut a small piece of paper and set it on the table.
- Rub the balloon on your head or shoulder to create static electricity.
- Lower the balloon towards each pile of kitchen ingredients separately to see which one floats to the balloon the best.
- You may need to repeat step 4 to recharge the static of the balloon between making each ingredient float.
Step 1: Blow-up a Balloon
Use your mouth or an air compressor to inflate a balloon to a nice and large size. Be sure to tie it off good to make sure the air stays inside the balloon.
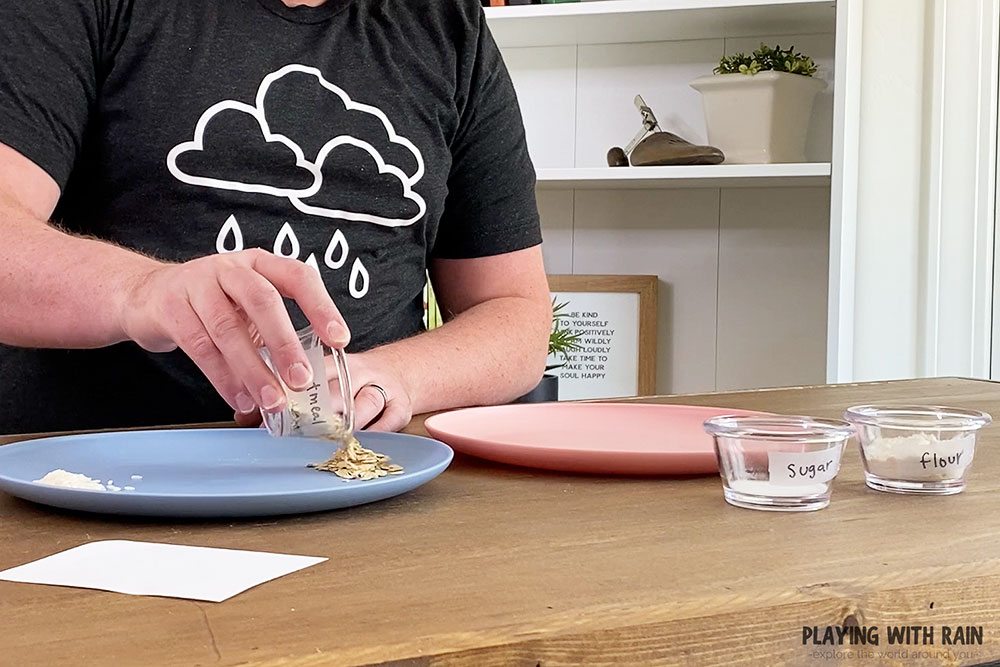
Step 2: Create Small Piles of Rice, Oats, Sugar, and Flour
Arrange a small pile of each of your kitchen ingredients on a plate or on the counter. I ended up easing two plates just to make it easier to space out the individual groups of rice, oats, sugar, and flour.
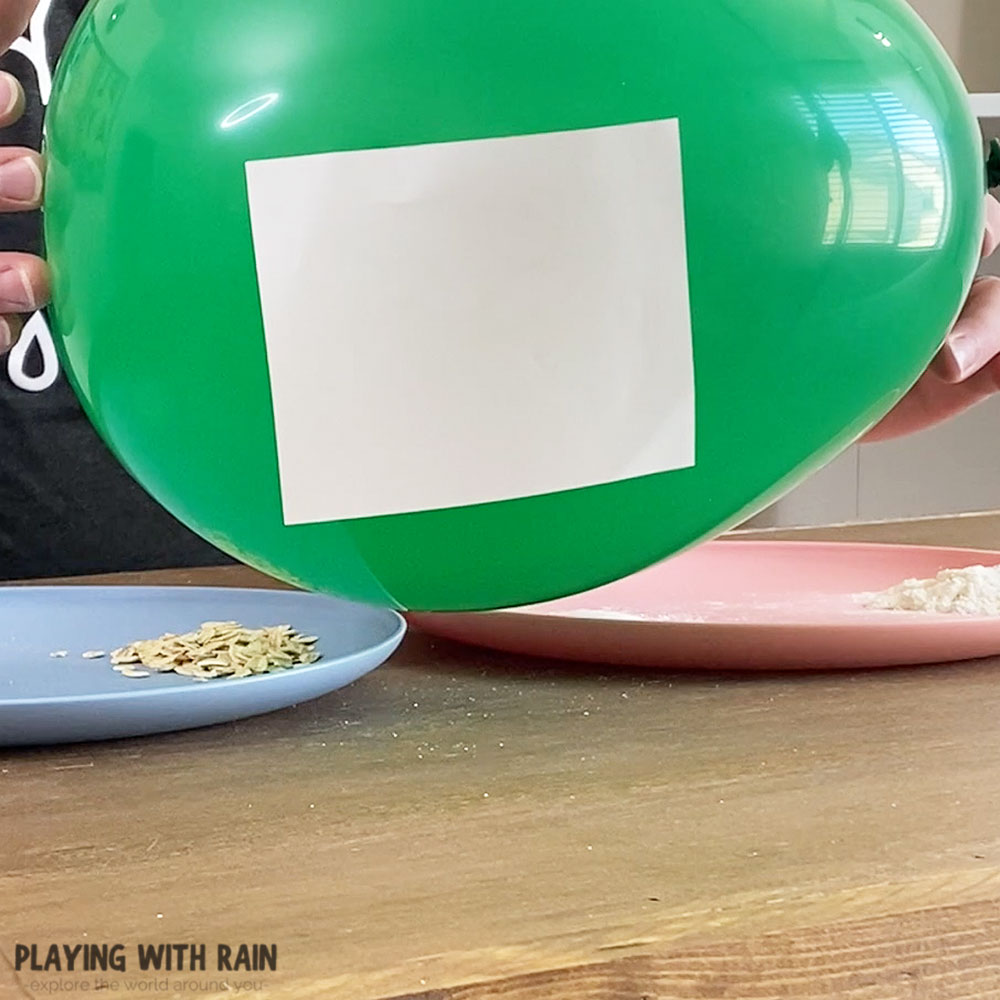
Step 3: Cut a Piece of Paper
One of the items we will be making float in this balloon static electricity experiment is a piece of paper.
A standard size paper might be a little too heavy so I recommend cutting about 1/4 sheet of paper to use for the experiment.
You will want to supervise your children closely while cutting the paper, or you might just want to cut the paper for the little kiddos.
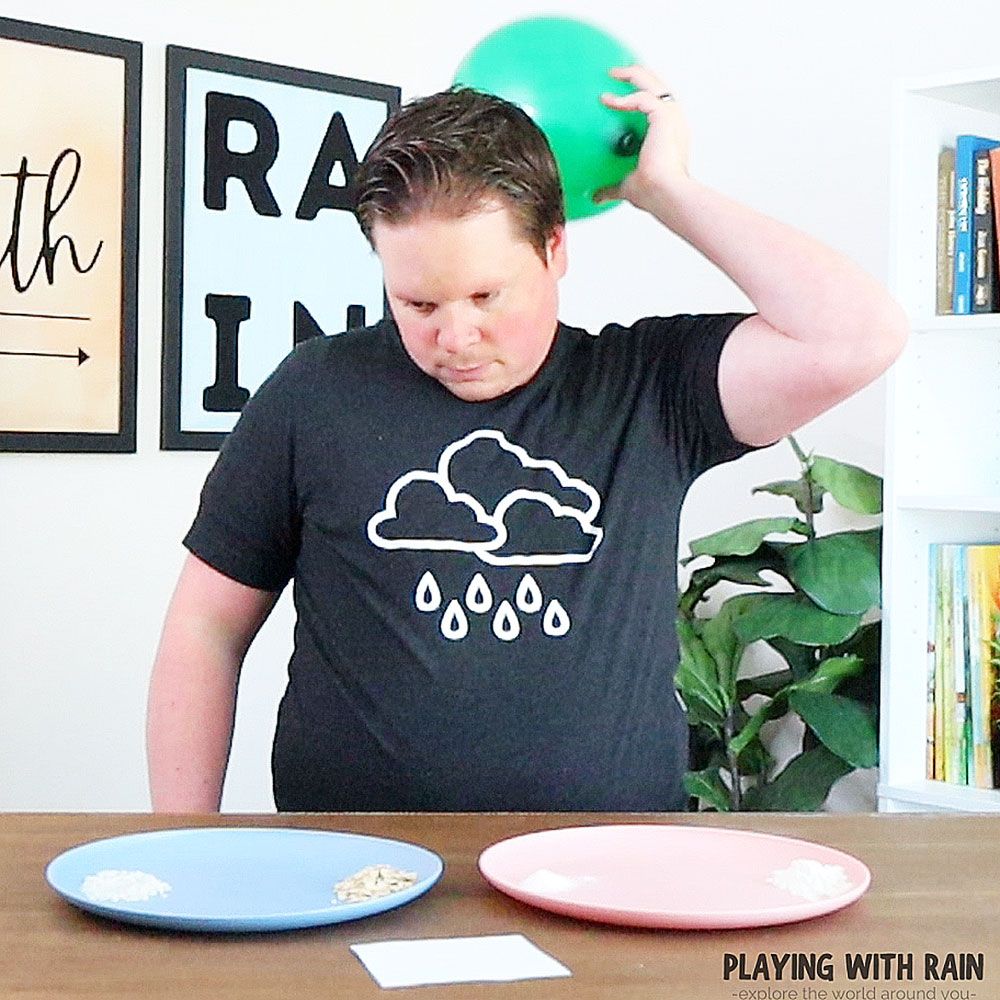
Step 4: Supercharge Your Balloon With Static Electricity
This step should be fairly easy to give your balloon the static electricity charge that we need to make things float.
Simply rub your balloon for a few seconds against the clothes of your shoulder, pant leg, or even on your hair to create a static charge.

If you can feel the hair on your head starting to stand up, then you have enough static electricity built up in your balloon!
One thing to be aware of is that static electricity can cause problems with people who have pacemakers. A good rule of thumb is to avoid rubbing the balloon on your chest if you have a pacemaker.
Step 5: Put Your Electrified Balloon to the Test and See What Floats
It doesn’t matter which ingredient you choose to make float first since we will be repeating this process for all of them.
Gently lower the balloon towards one of your piles of household ingredient piles below.
Hold the balloon so that the side of the balloon is about an inch above whichever pile of rice, oats, sugar, and flour that you choose to test first.
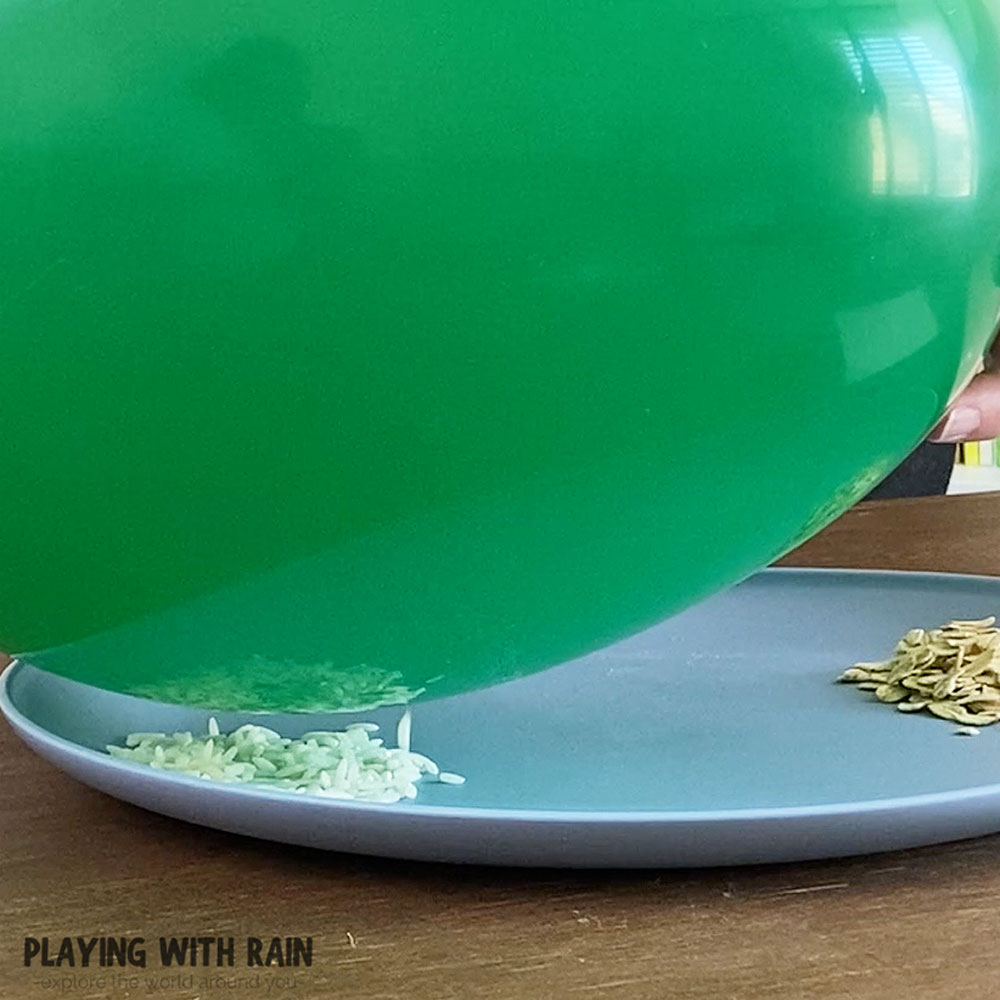
You will notice the difference in the way the rice, oats, sugar, and flour react to the static electricity charges of the balloon.
The rice will dance around and try to attach to the balloon, while the oats will fly up to the balloon and bounce off.
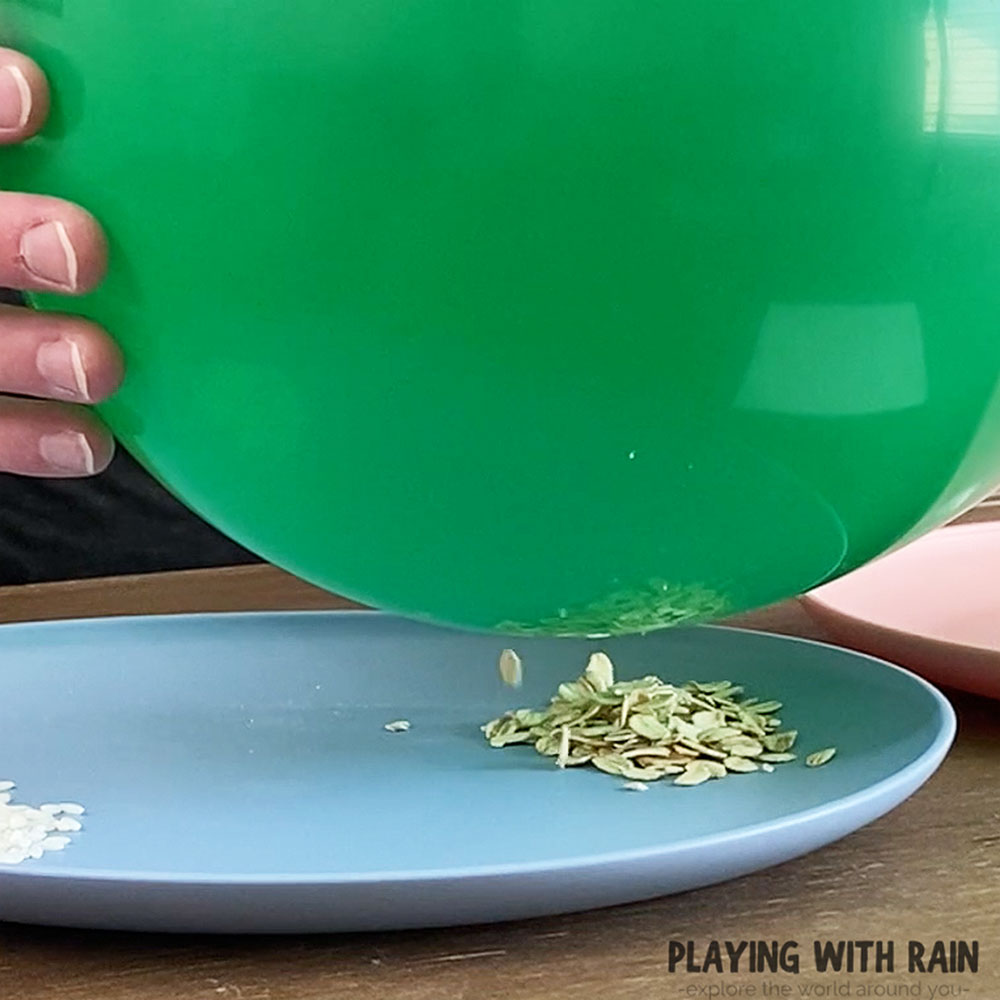
This reaction will continue with the sugar and flour as well, but because each material is a different size and density, the static of the balloon will create a different visual reaction.
The sugar will gravitate towards the balloon and create little sugar towers building from the sugar pile up towards the balloon.
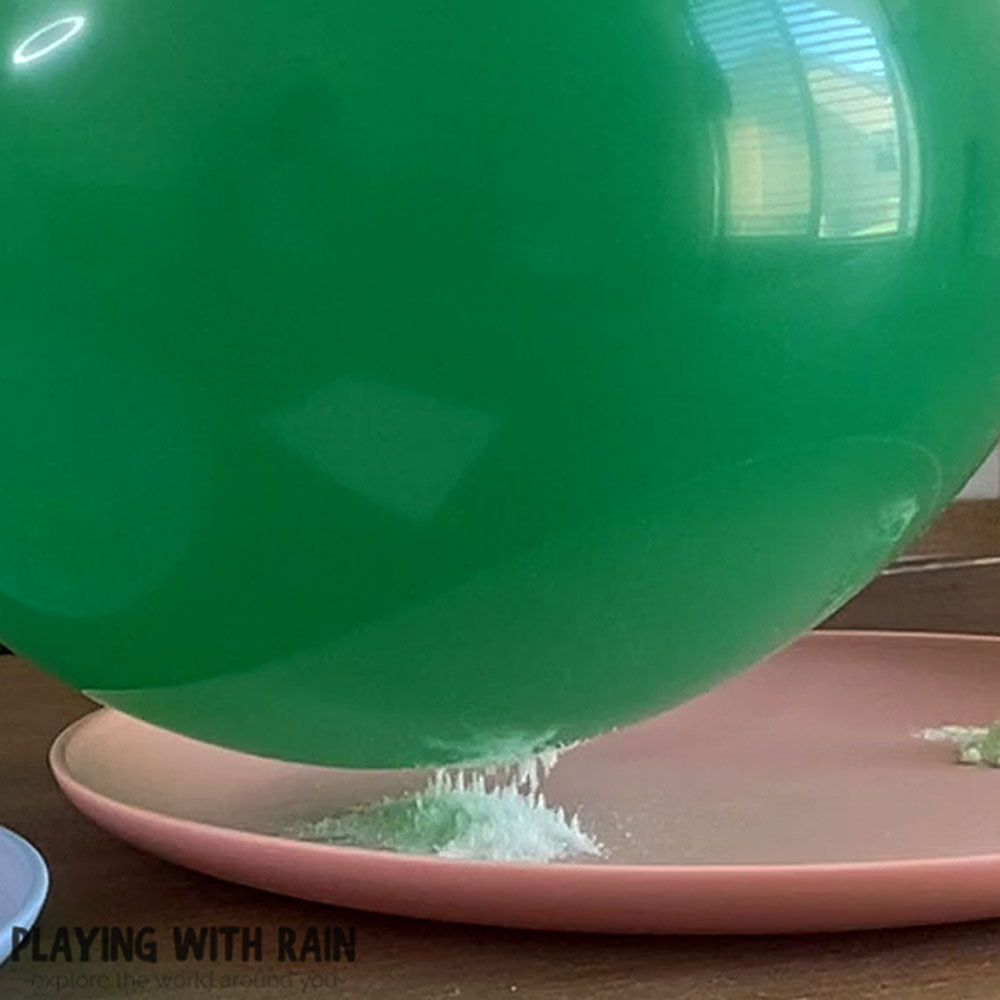
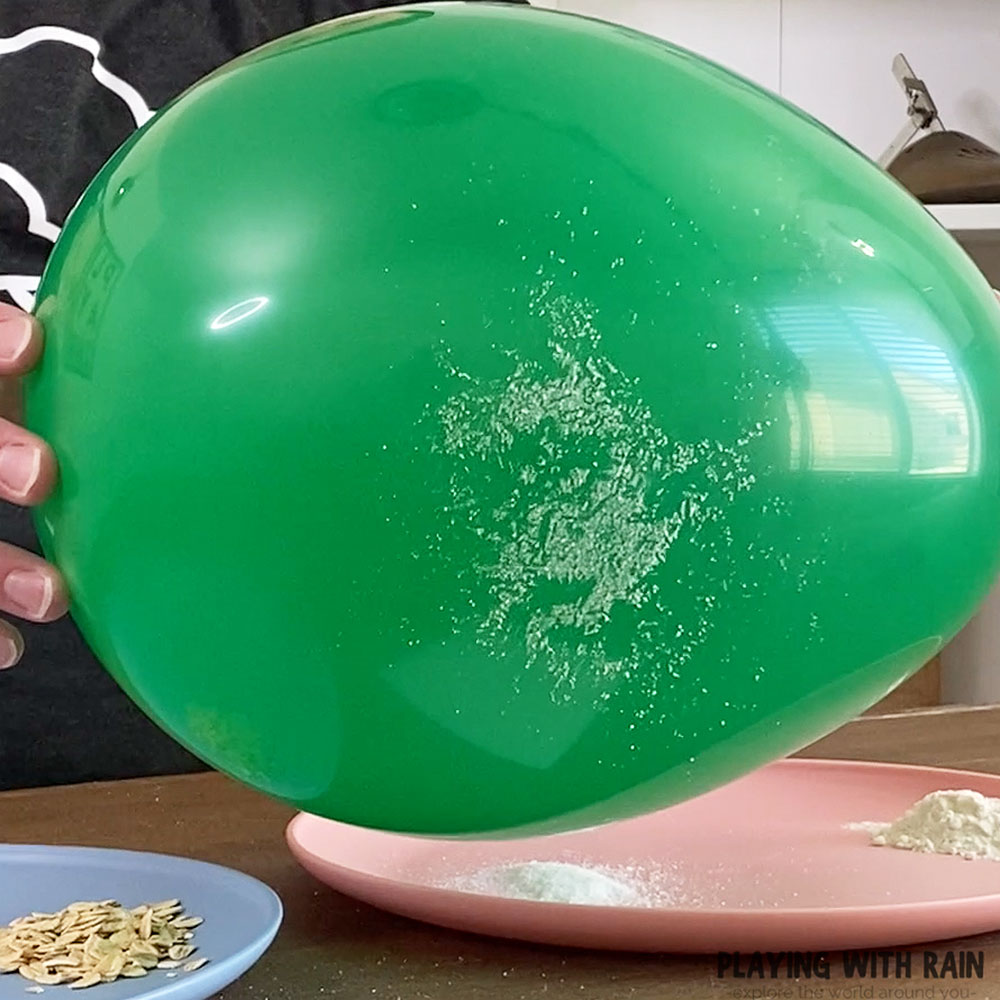
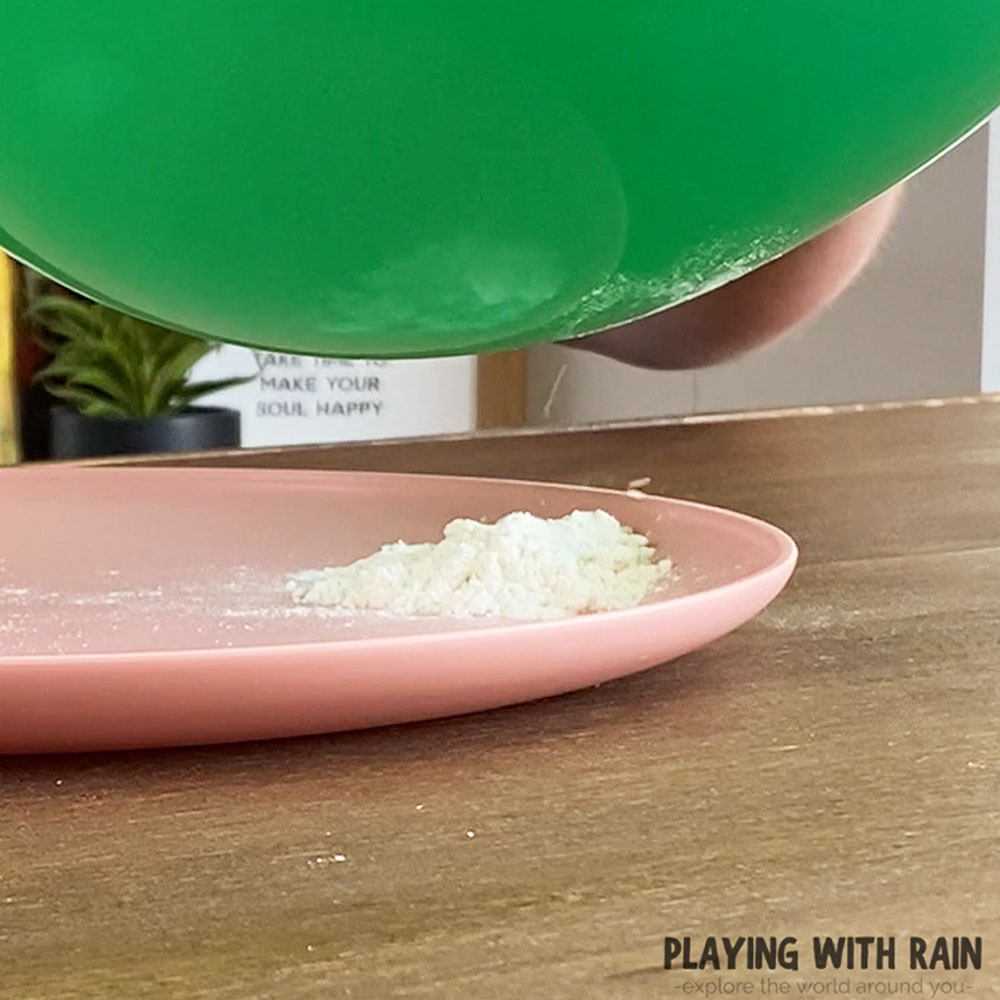
The flour is so light weight and powdery that it will actually accumulate onto the balloon. Soon the part of your balloon directly over the flour will come covered in white flour powder!
You can also use the power of the static charged balloon to pick up a piece of small paper!
Step 6: Recharge The Static of Your Balloon Between Testing Each Ingredient
You will notice that the reaction of the ingredients below your electrified balloon are much more dramatic and exciting for the first few seconds that the balloon is above them.
This is because the balloon begins to lose its electrical charge as the energy is used in attracting the rice, oats, sugar, and flour particles towards the balloon.
To keep the balloon charged with enough static electricity you need to repeat step 4 between testing each different pile of ingredients.
This should keep the balloon charged enough to give you a dazzling show of floating ingredients below the balloon!
Static Electricity Balloon Experiment Explanation:
This static electricity balloon experiment works because of the addition of electrons to the balloon.
Electrons have a negative charge and when enough electrons accumulate on the balloon it will carry a negative charge.
Extra electrons stick to the balloon when the balloon is rubbed against our clothing, hair, or anything else that has electrons. This is why rubbing the balloon on your hair or clothes is a great way to charge a balloon with static electricity.
Now to the question of why a static electricity charged balloon can make things float, or levitate in the air. This phenomenon happens when the negative charge of the balloon is attracted to positively charged materials.
Two of the same electronic charges (a negative and a negative charge or a positive and a positive charge) will repel against each other, but two materials of opposite charges will be attracted to each other.
In the case of our static electricity balloon experiment, the balloon’s negative charge attracted the positive charge of the rice, oats, sugar, and flour particles, which creates the dancing and flying ingredients!
If you want to dig a little deeper into the science behind static electricity, check out this great explanation here.
Is Lightning Static Electricity?
Lightning is a very dramatic and sometimes deadly way that static electricity is discharged. Lighting is created from the buildup of static electricity inside a cloud.
Tiny water molecules and even ice particles bounce around and bump into each other inside clouds. As these tiny drops of water and ice collide they create a static electric charge.
The positive charges created from the water and ice collisions move to the top of the cloud, while the negative charges fall to the bottom of the cloud.
Positive electric charges also begin to build on the ground below a storm cloud.
Keep in mind the opposite charges between the top, bottom of the cloud and the ground are attracted to each other. It is only a matter of time before lightning strikes!
The majority of lightning strikes actually occur within the clouds and is referred to as cloud to cloud lightning.
Cloud to cloud lightning happens when the positive charges at the top of the cloud are attracted to the negative charge at the bottom of a cloud.
The dangerous, but less frequent lightning is referred to as cloud to ground lighting. The positive charges on the ground find the path of least resistance to connect with the negative charges at the bottom of the cloud.
Check out this great resource from The National Weather Service for more great information on lightning and lightning safety.
Leave a Reply