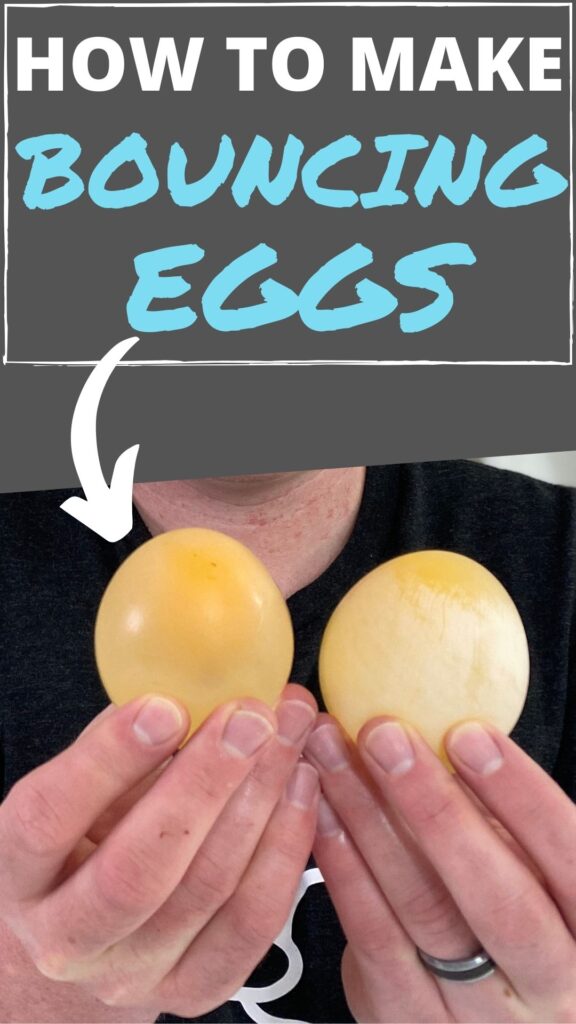
This Bouncy Egg Science Experiment is one that will amaze both kids and adults! Wait until you see how easy it is to turn a raw egg into a bouncing, rubber-like egg using household supplies!
Find more Vinegar Experiments here!
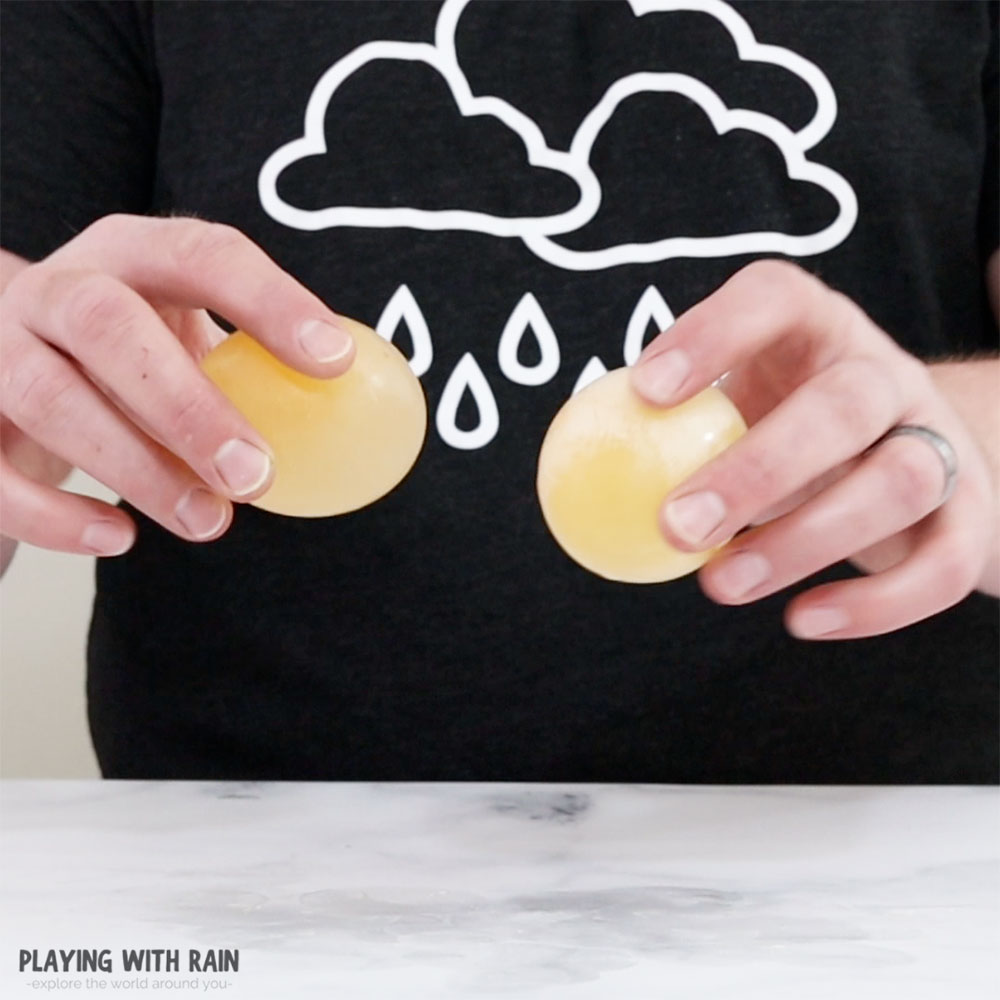
The science behind how to make a bouncy egg is almost as fascinating and fun as playing with and bouncing the egg around!
Bouncy Egg Science Experiment
Supplies Needed:
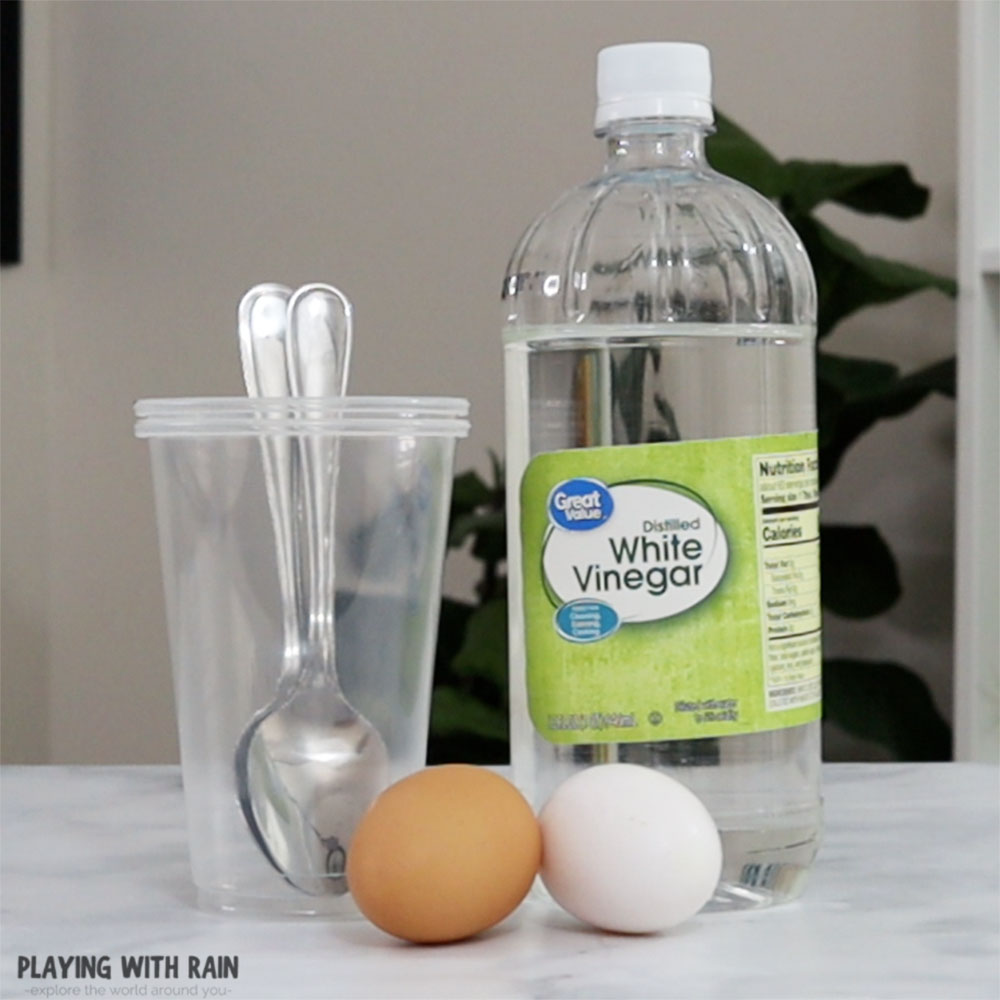
- 1 Raw Egg (you can use more if you want)
- 1 Tall Clear Cup
- White Vinegar
- Spoon
How to Do The Bouncing Egg Experiment
- Place a raw egg inside a clear cup.
- Pour enough vinegar into the cup to cover the egg all the way.
- Place a spoon or other heavy object on top of the egg to keep it from floating.
- Let the egg soak in the vinegar for 2 days.
- Gently wash the egg off under cold water.
- Lightly bounce the egg on the counter and see how high you can bounce it before it pops!
Step 1: Set a Raw Egg Inside a Cup
Let’s get started with this super cool science experiment by gently placing a raw egg into a glass or plastic cup. For the best results, use a clear cup so that you can witness the science happening inside the cup!
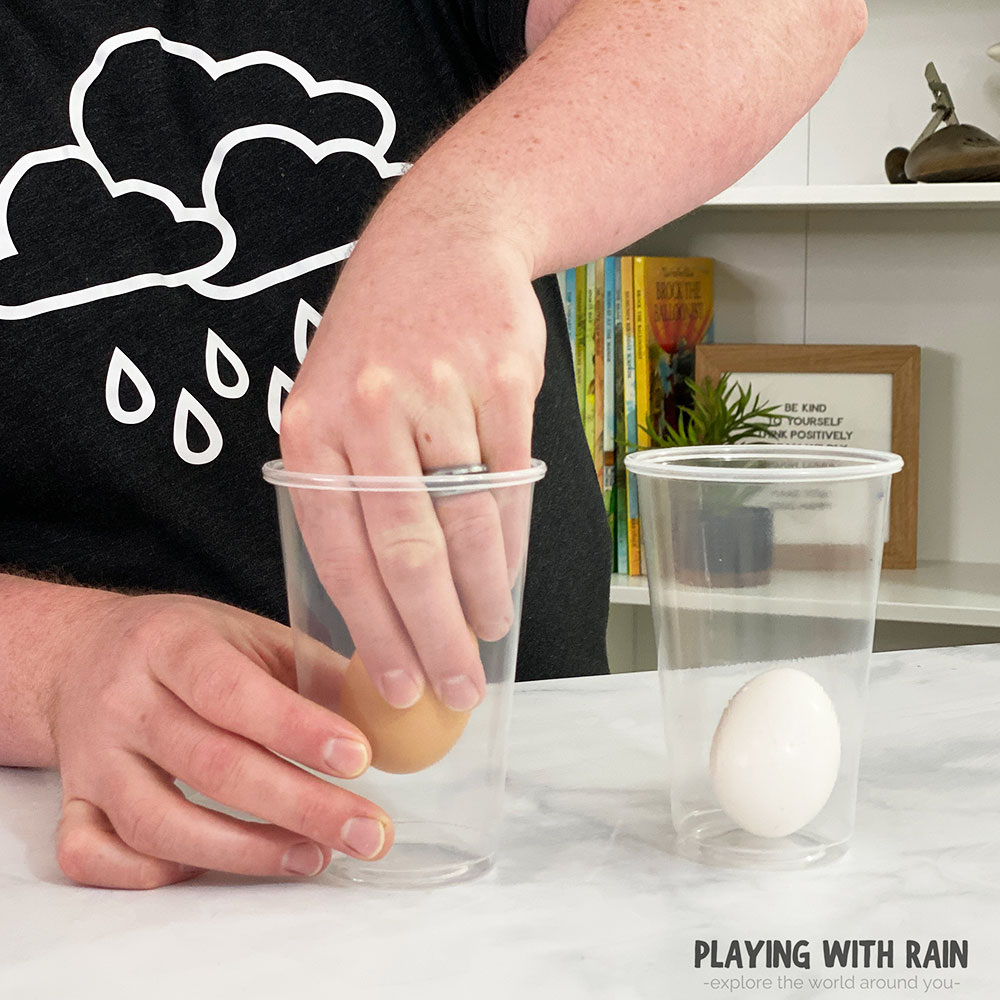
Be very careful placing the egg into the cup to prevent the shell from cracking or breaking.
We actually decided to use a white egg and a brown egg for this experiment to compare the differences. It was neat to see how they both resulted in bouncy eggs, but they did look slightly different.
Step 2: Add Some White Vinegar Into the Cup
Now pour some white vinegar into the cup. You want to add a generous amount of vinegar to the point that the egg is completely covered in vinegar.
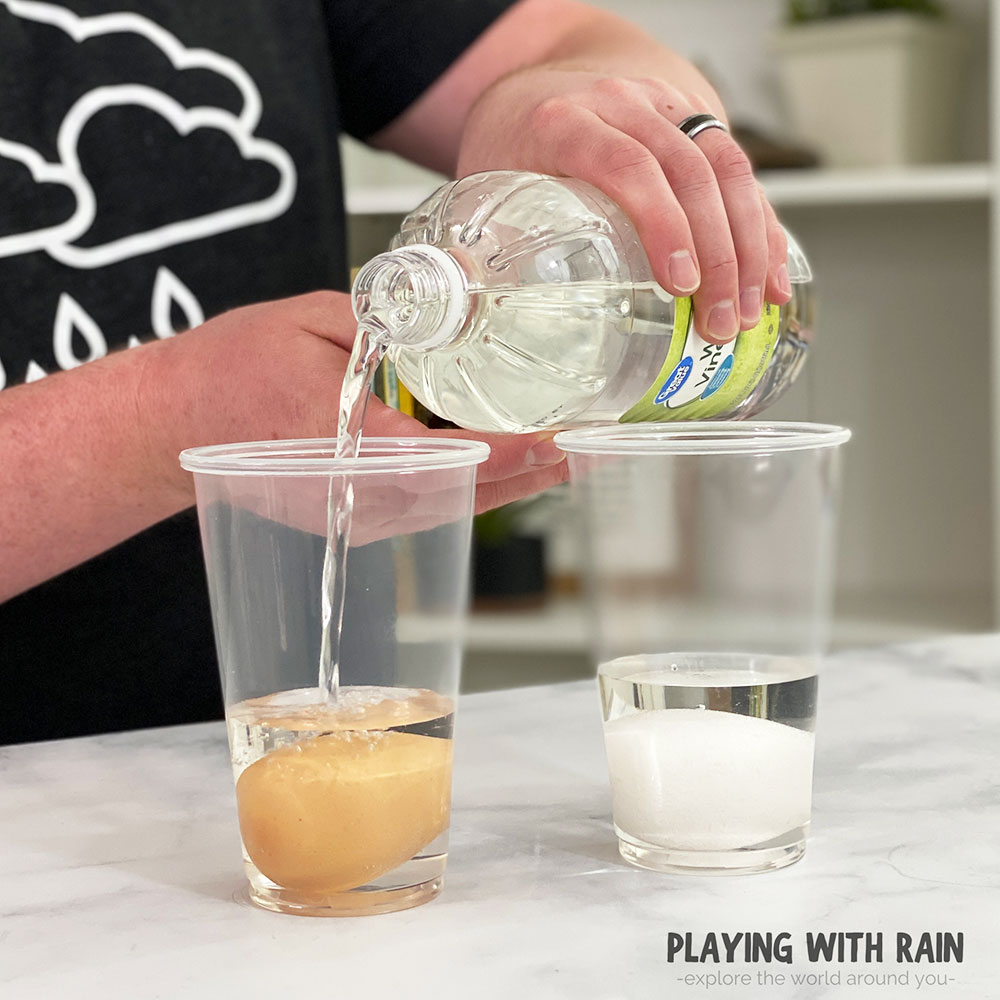
It’s even a good idea to pour enough vinegar to a level about an inch above the top of the egg. This will make sure the egg stays submerged during the waiting process.
Step 3: Put a Spoon on Top of the Egg to Keep it Sunk
After you have covered the egg with vinegar inside the cup, grab a large spoon or something small and heavy to place on top of the egg in the cup.
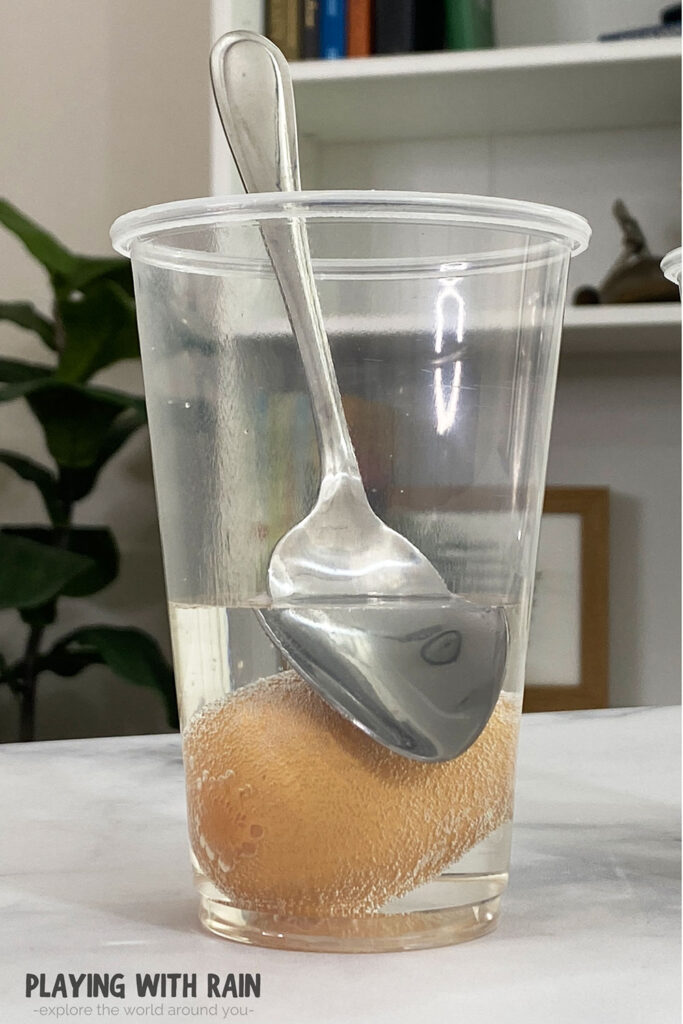
This will prevent the egg from floating to the top of the vinegar and will play an important role in making sure you get a really good bouncing egg!
If you want to add a glowing twist to this bouncy egg experiment, stop at this step and follow the rest of the steps in this Glowing Egg Experiment, or keep on going to make your incredible bouncy eggs!
Step 4: Wait Patiently For 2 Days While The Egg Soaks in Vinegar
This next step is definitely the hardest part of this bouncy egg science experiment, but it is totally worth the wait!
Once you have secured the egg in the cup of vinegar, set it in a place that is safe from curious children and pets and wait for two days for the vinegar to work its magic on the egg.
It’s a good idea to periodically check on the egg and make sure the spoon hasn’t shifted and that the egg is still completely submerged in the vinegar.
Also, try to rotate the egg so that the same part of the egg is not touching the side of the cup.
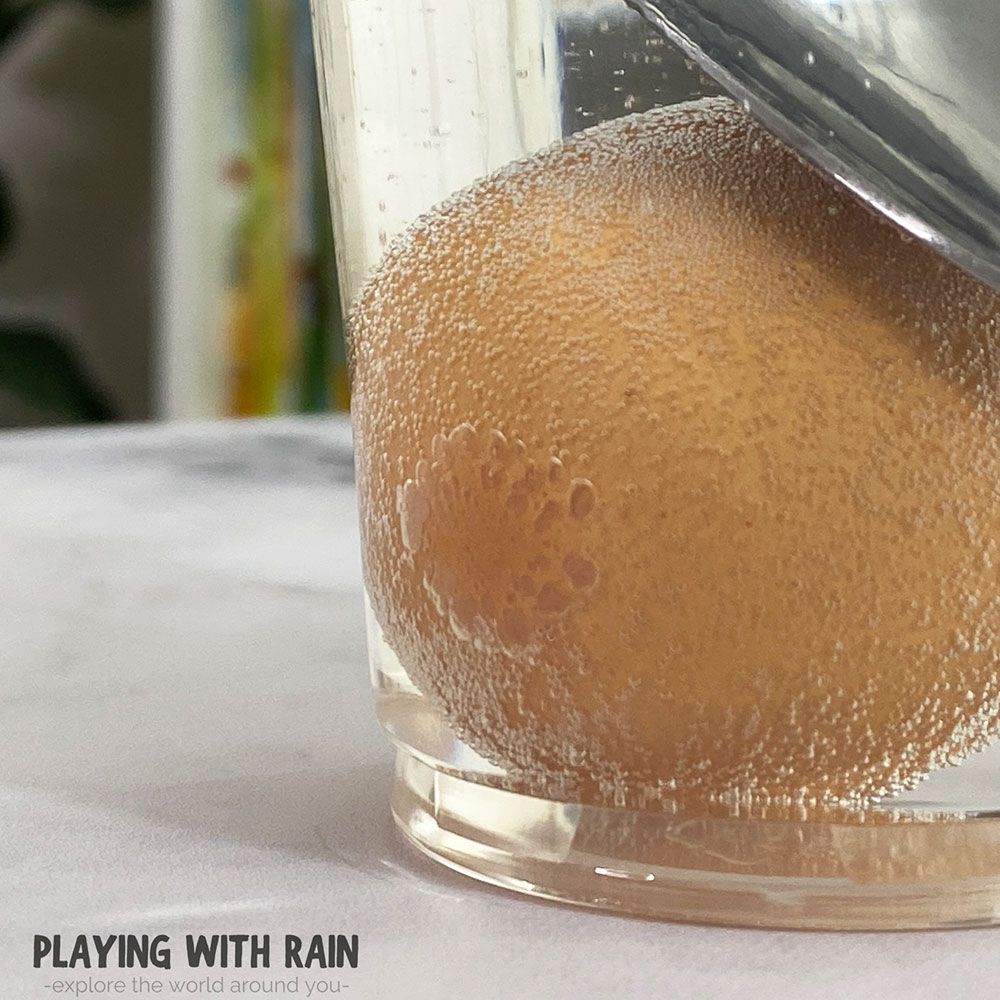
You will notice little tiny bubbles forming on the shell of the egg and eventually the egg will start to become almost transparent as the vinegar dissolves the shell and leaves the membrane intact on the egg.
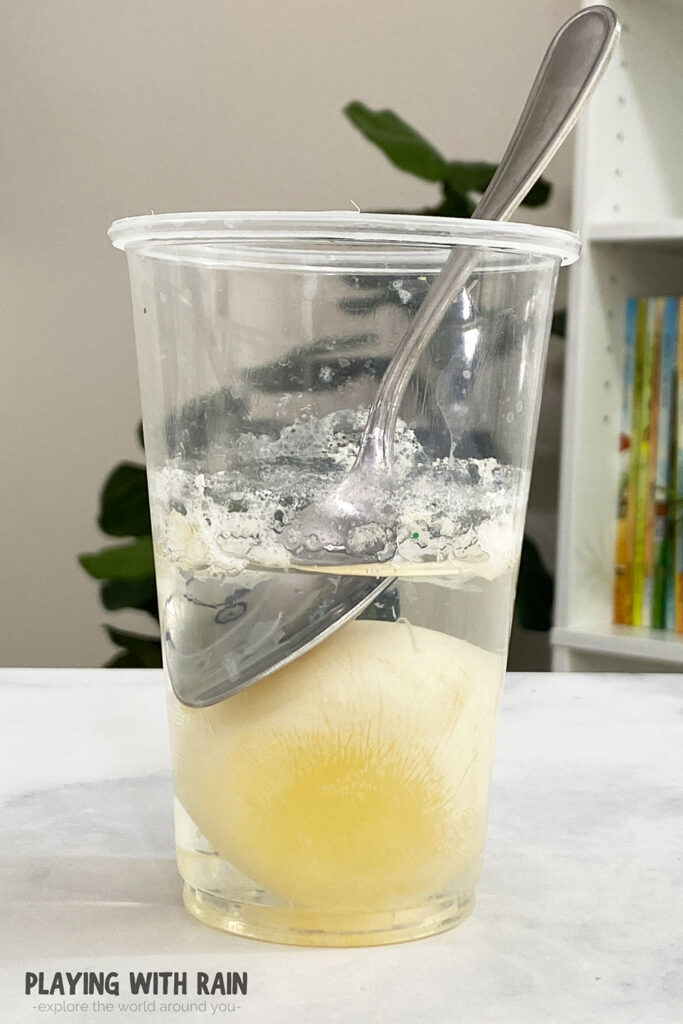
If you decided to use two eggs like we did (a white egg and a brown egg) then this is a fun step to compare the differences now that the shells have dissolved.
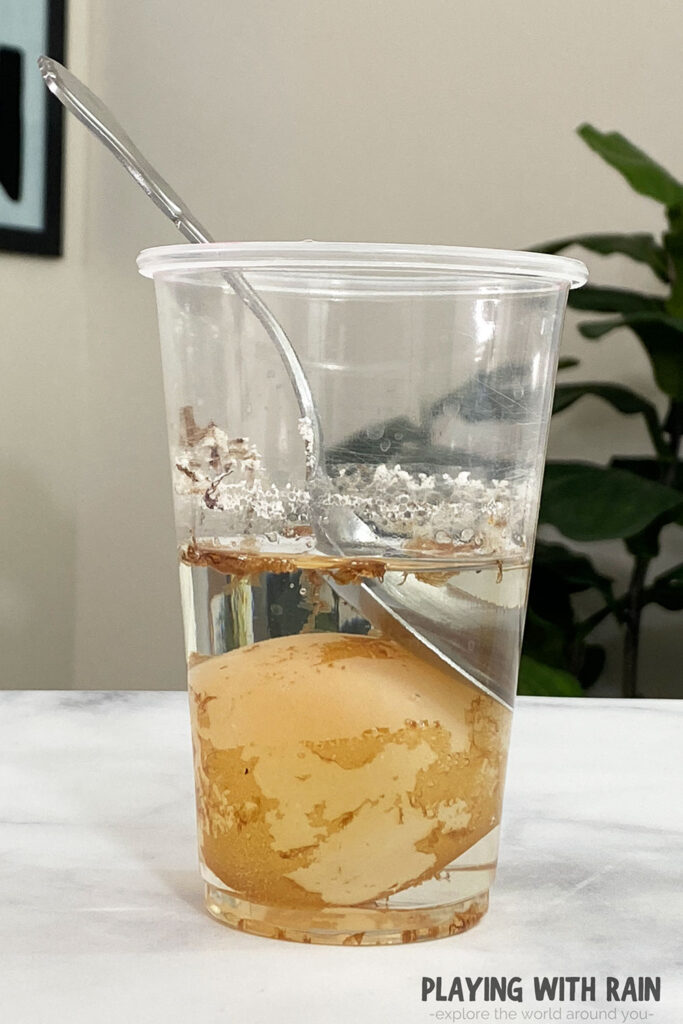
From our experience, the brown shelled egg still had a darker tint to it when the shell dissolved, but it was actually more transparent and easier to see the yoke inside than the white egg.
The white shelled egg left a bit of white residue on the membrane that made it a little bit harder to see through the flexible and transparent membrane.
Step 5: Wash The Egg With Water
Now that you have patiently watched and waited for your egg to transform from a hard-shelled egg to a rubber-like bouncy ball for two days, give it a good rinse in some water!
As you gently pull the egg out of the vinegar it will feel a little bit slimy and squishy. Rinse it off with water to get some of the leftover residue from the dissolved shell to come off the membrane.
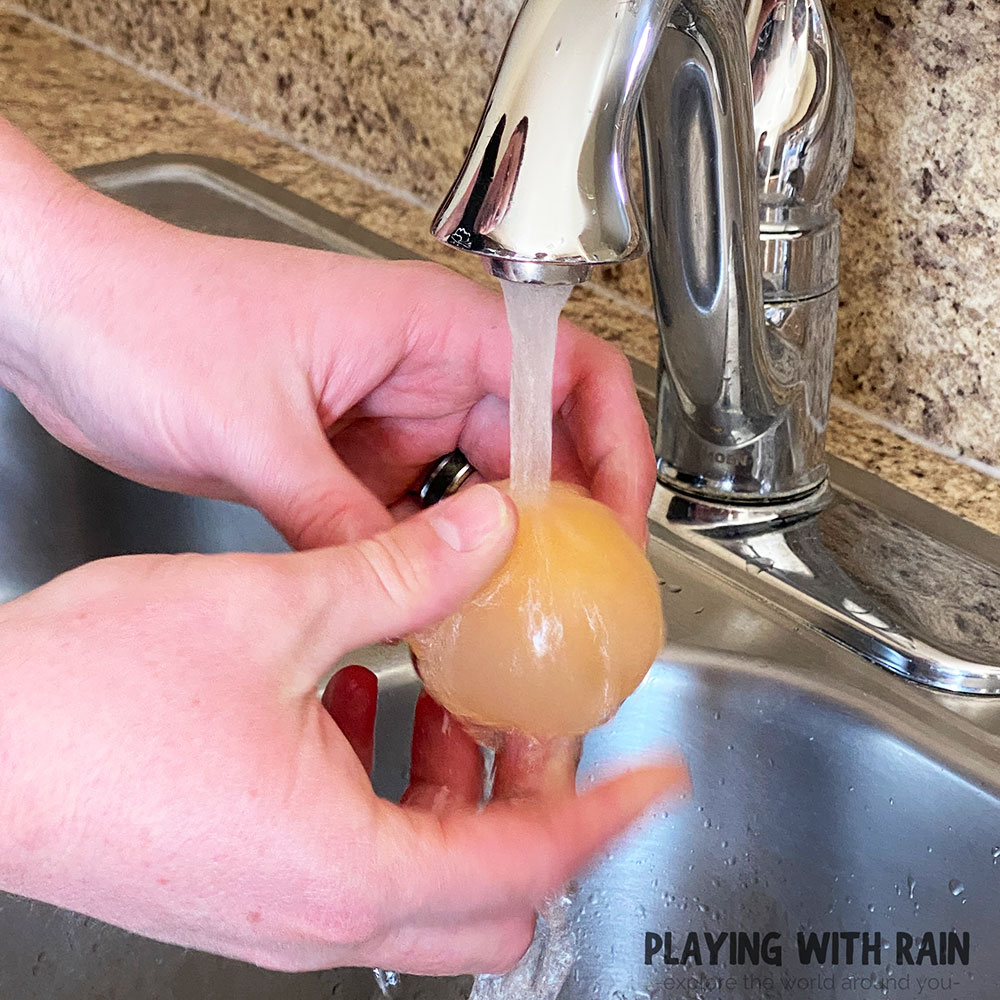
You might want to use your fingers to gently rub the slimy residue off while running the egg under the water. When the egg is cleaned it should feel rubbery and bouncy, but won’t be gross and slimy anymore!
Step 6: Play With Your New Bouncy Egg
Okay, you have earned your chance to play with your new bouncy egg! Just make sure you have any items you care about cleared off the counter and begin bouncing and squeezing your egg!
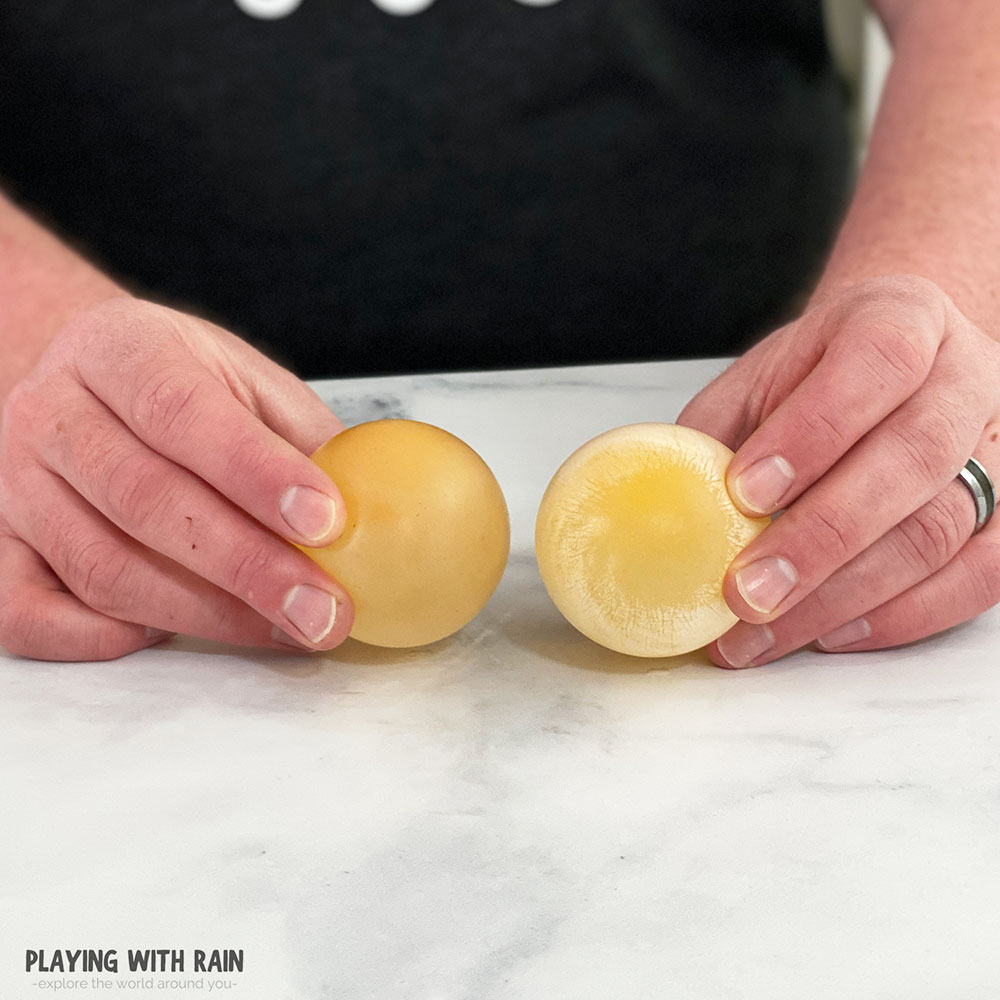
You can even challenge your friends to see who can drop their egg from the highest height without it bursting open!
You will soon discover that although the egg is bouncy and flexible, it is still fragile enough to burst if you bounce it too hard!
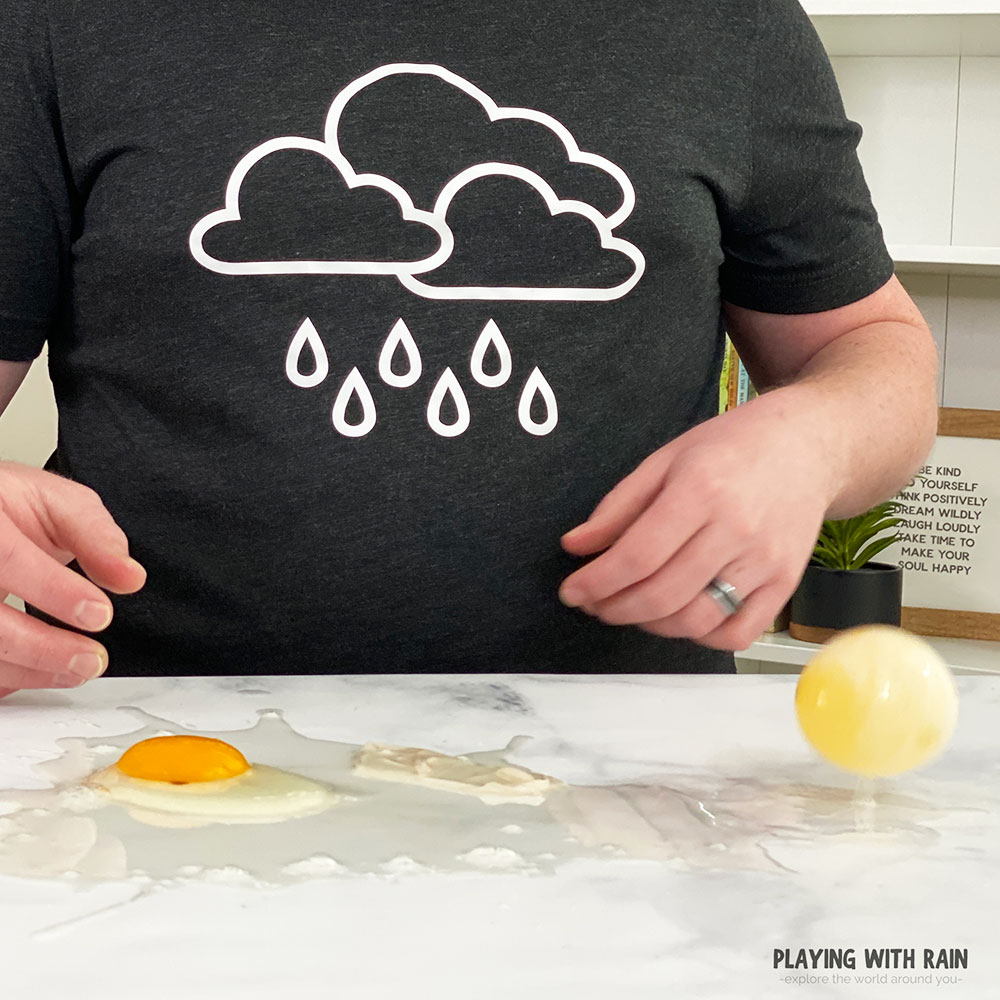
I think I was lucky enough to bounce mine from about 6 inches off the countertop before it burst and left a sticky egg mess on the table.
Science Behind the Bouncing Egg Experiment
The magical science behind turning a raw egg into a bouncing egg is thanks to the reaction of the vinegar with the calcium carbonate that the egg shell is made of.
The calcium carbonate of the egg shell reacts with the vinegar in a very similar way that baking soda reacts to vinegar, but instead of an explosive reaction, we see a very slow reaction as tiny bubbles form on the egg shell.
If you are looking for the more explosive version of the classic baking soda and vinegar reaction check out this Baking Soda and Vinegar Balloon Experiment, but for now let’s get back to how to make a bouncy egg!
The carbon dioxide in the egg shell is released in the reaction with the vinegar and this is what creates the little tiny bubbles all over the surface of the egg shell.
After a couple of days in the vinegar, the carbon has all been released from the egg shell and it has caused the egg shell to be weakened and dissolved into the vinegar.
The thin membrane between the shell and the actual white and yoke of the egg remains intact and keeps the form of the egg together.
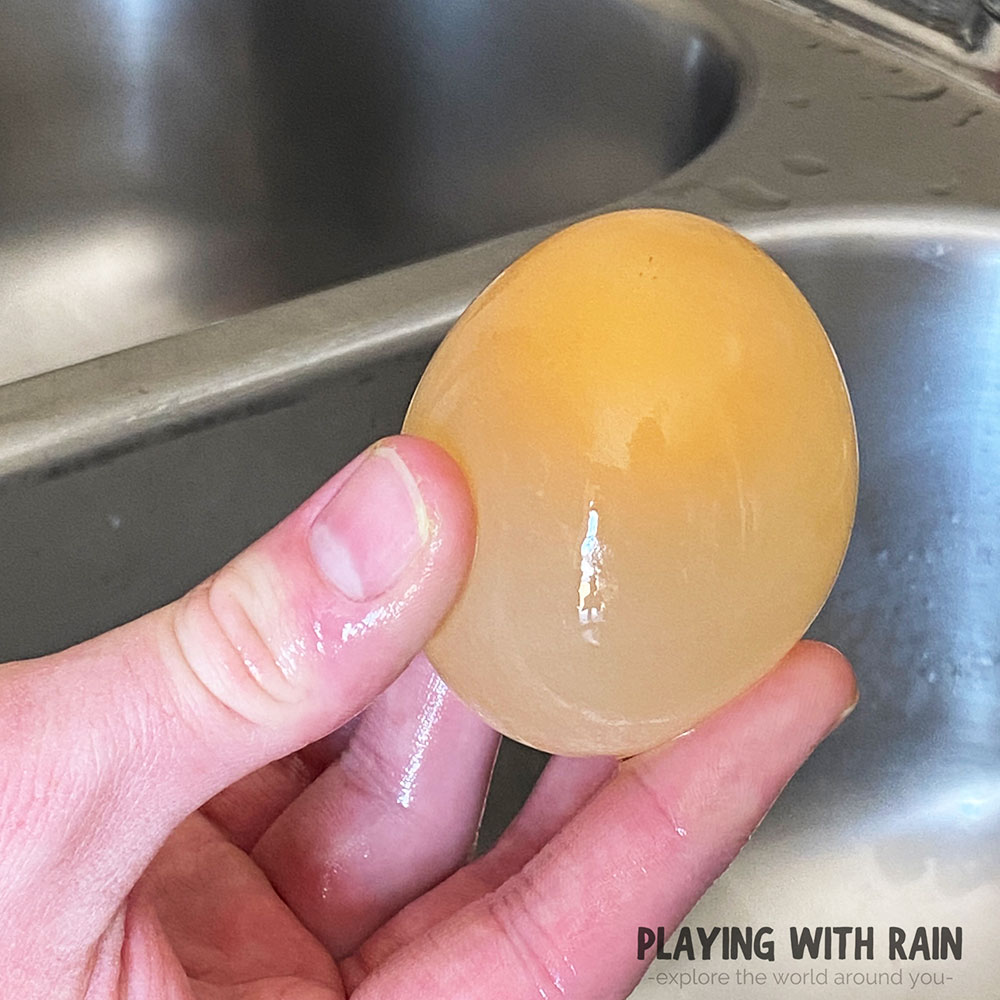
The membrane allows the vinegar to pass into it, but not out of the membrane and that is why the egg nearly doubled in size as well as became very squishy after sitting in vinegar for 48 hours.
So without the hard shell on the outside, the flexible membrane is exposed and gives the egg the ability to bounce and feel like rubber…until it is bounced too hard and it pops!
PIN THIS EXPERIMENT FOR LATER

Leave a Reply