If your kids are begging to go see the waves crashing at the beach and you cant take them there, I have the next best thing for them right here! Let’s dive in and learn how to make an ocean in a jar!
Get more fun and educational Weather Experiments for Kids here!
I love how simple and easy this science experiment is to do, and how it can keep kids entertained for hours watching their very own ocean in a jar!

How To Make An Ocean In A Jar
This post may contain affiliate links. As an Amazon Associate, I earn from qualifying purchases.
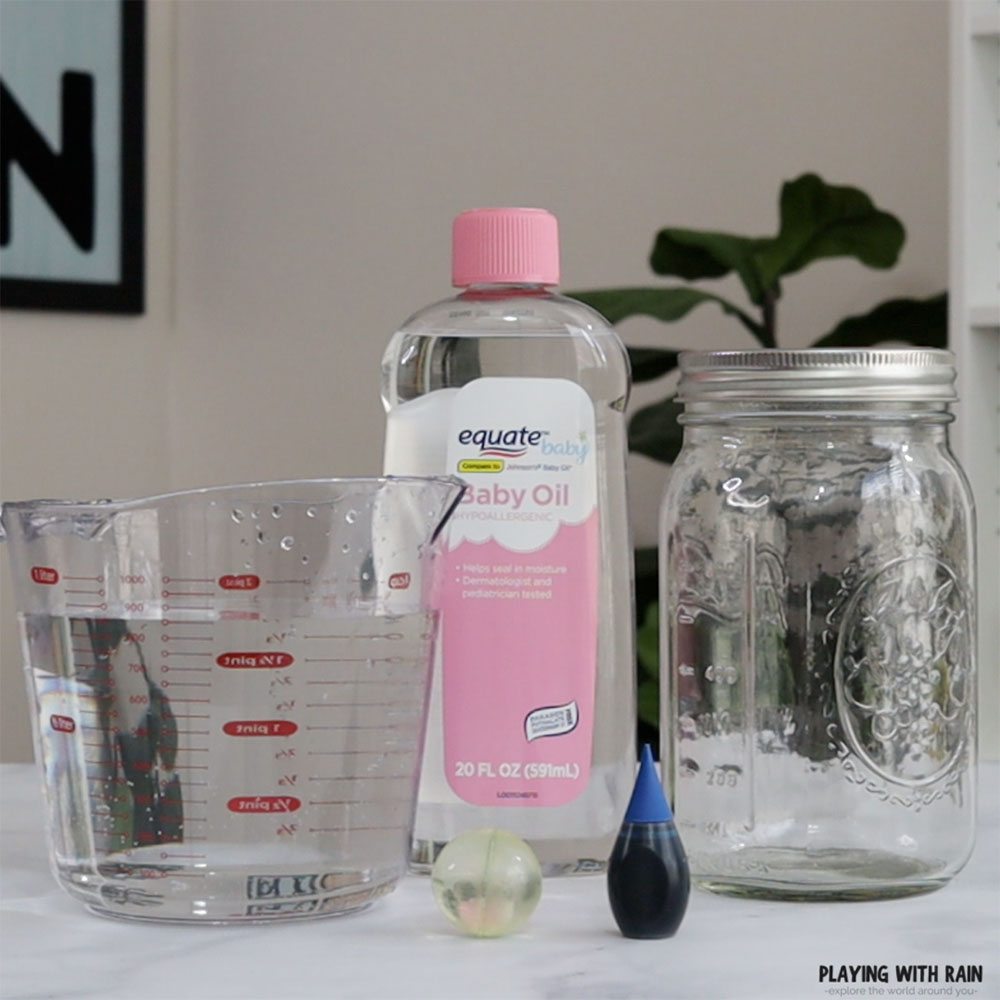
Supplies Needed:
- A Clear Jar and Lid
- Water
- Baby Oil
- Food Coloring
- Small object or toy (optional for floating)
Ocean In A Jar Science Experiment
- Put some blue food coloring into a jar.
- Fill the jar 3/4 full with water.
- Fill the rest of the space in the jar with baby oil.
- Drop a small toy that will float in the water (optional).
- Screw the lid on tightly!
- Rock the jar back and forth and watch the waves in the ocean!
Step 1: Put Some Blue Food Coloring Into A Jar
Let’s get started with this fun ocean in a jar experiment by adding some blue food coloring into an empty glass jar.
You really can use any color you want, but we wanted our ocean to look as realistic as possible so we went with the blue!
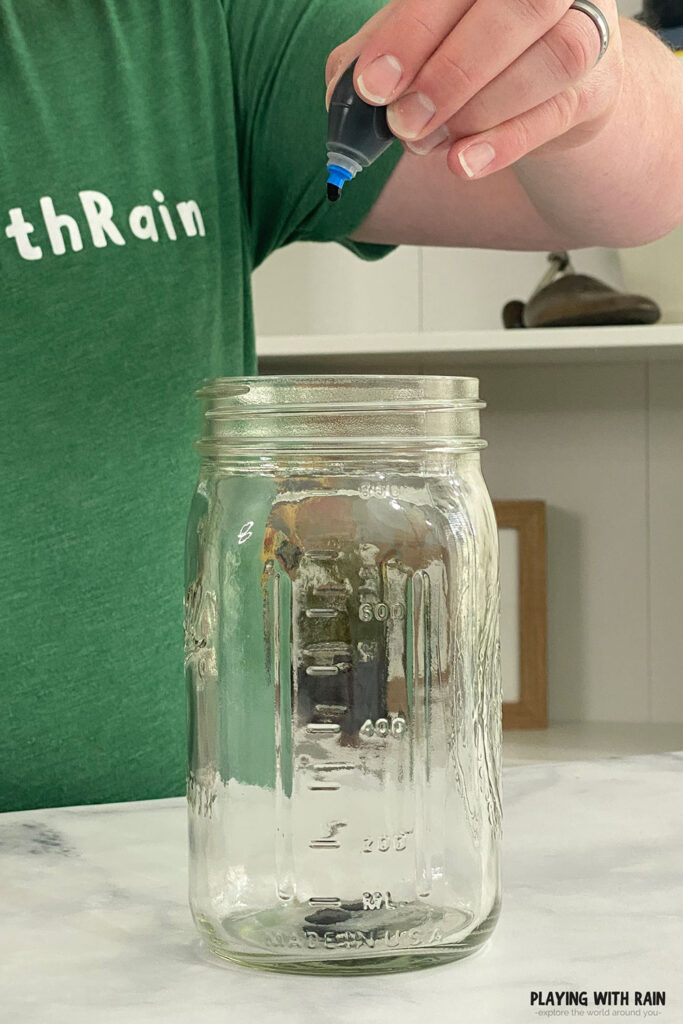
Don’t be afraid to be generous with the coloring and put several drops into the bottom of the jar.
Step 2: Fill The Jar 3/4 Full With Water
Now pour water into the jar until it is about three quarters of the way filled with water.
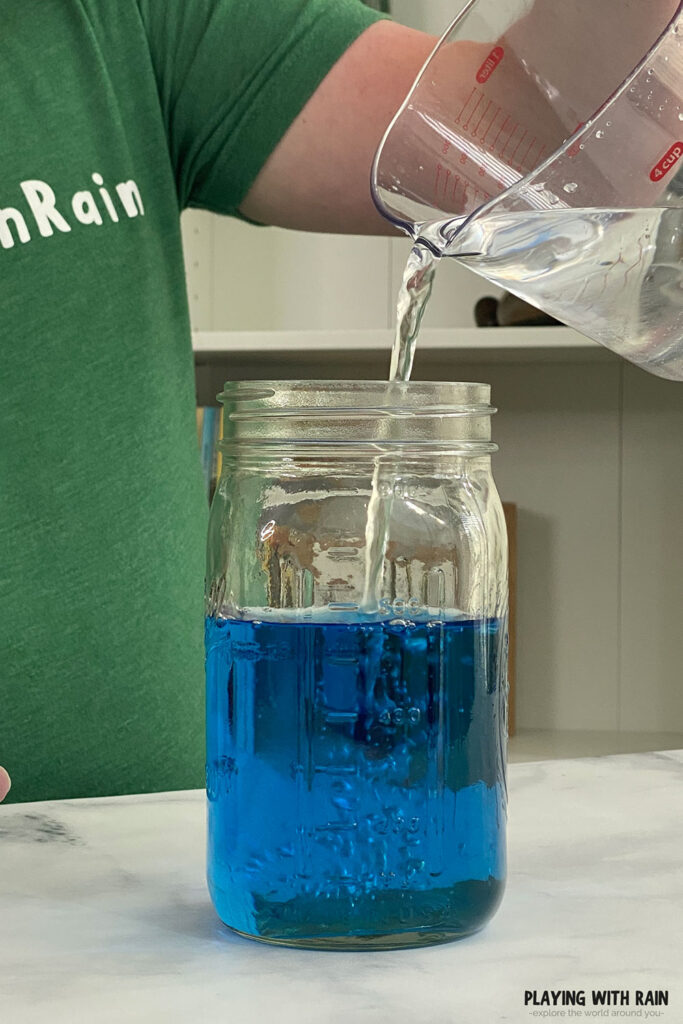
As the water pours into the jar, it will naturally mix in with the food coloring and turn the water a deep ocean blue color!
Step 3: Pour In Some Baby Oil
Fill the rest of the jar almost all the way to the top with baby oil.
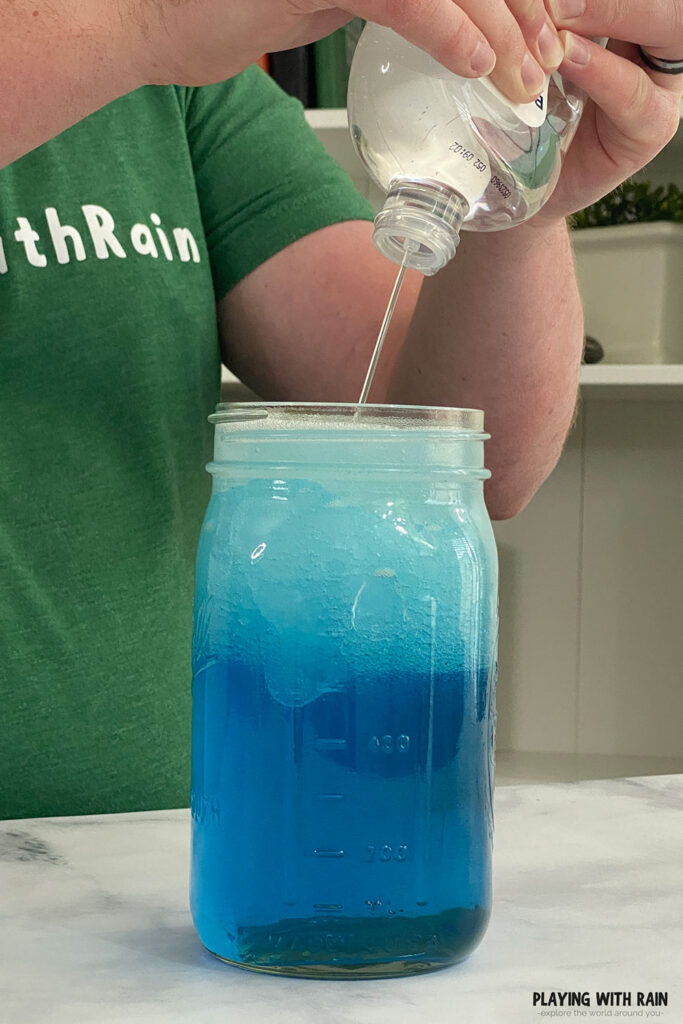
You can also use vegetable oil, but we prefer the clear look of the baby oil compared to the yellow look of vegetable oil.
Step 4: Place a Small Toy In The Jar
This step is totally optional, but we thought it would be kind of fun to put one of the kids small toys in the jar and watch it float on the ocean!
We used a little bouncy ball and gently set it in the top of the jar once it was filled with water and oil.
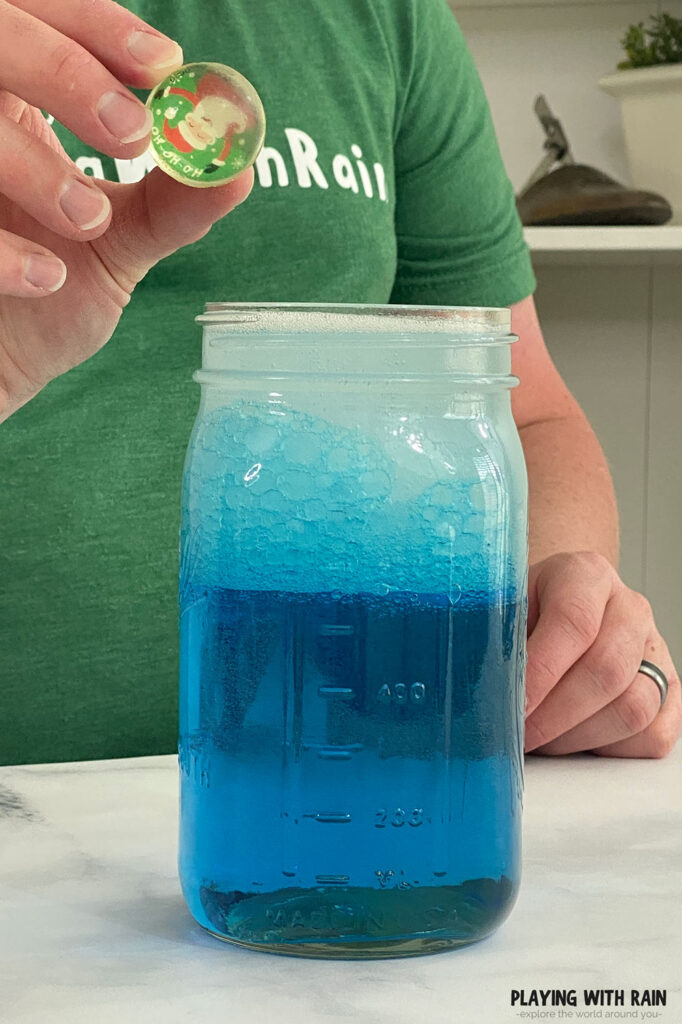
The bouncy ball was less dense than the water, but more dense than the oil so it sunk through the layer of oil and floated on the water.
The density of the toy will determine if it sinks or floats, which could turn into its own density experiment like this Floating Orange Experiment.
Step 5: Screw The Lid On Very Tight
Now its time to put the lid on the jar to seal the ocean inside!
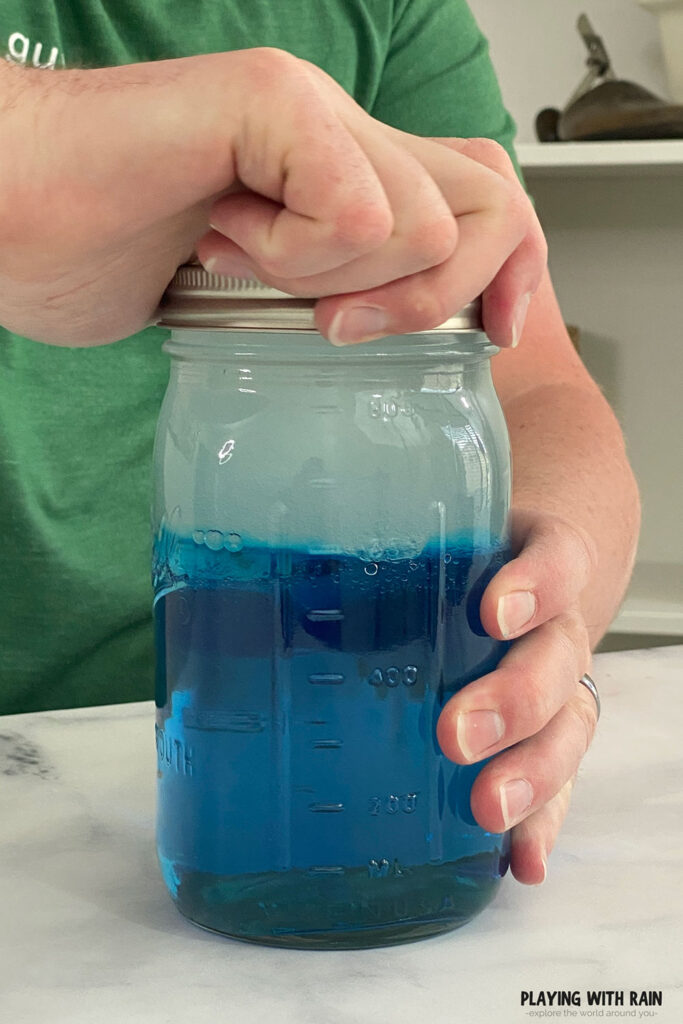
It’s very important to tighten the lid as much as you can to prevent the ocean from leaking out of the jar and making a big mess!
Your kids might even want to keep their ocean in a jar as a long term toy, but in that case, you might want to glue the lid on with a hot glue gun!
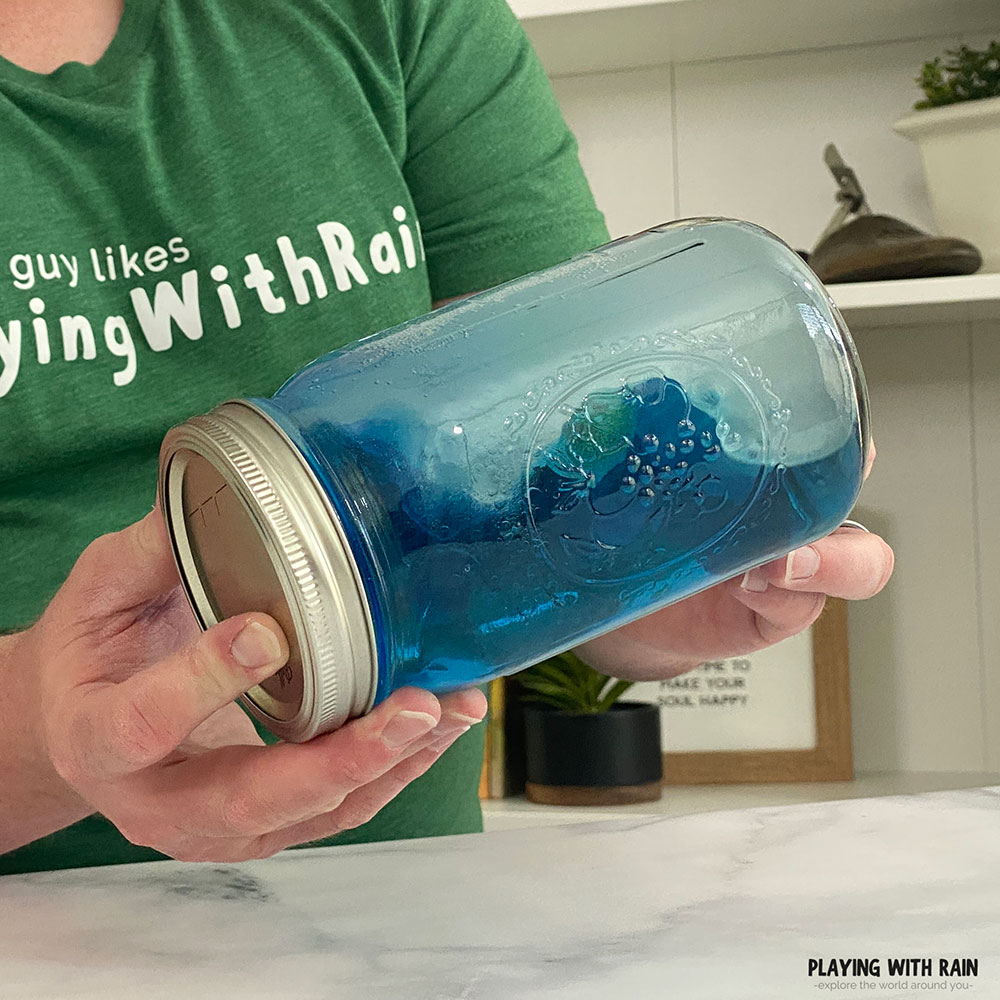
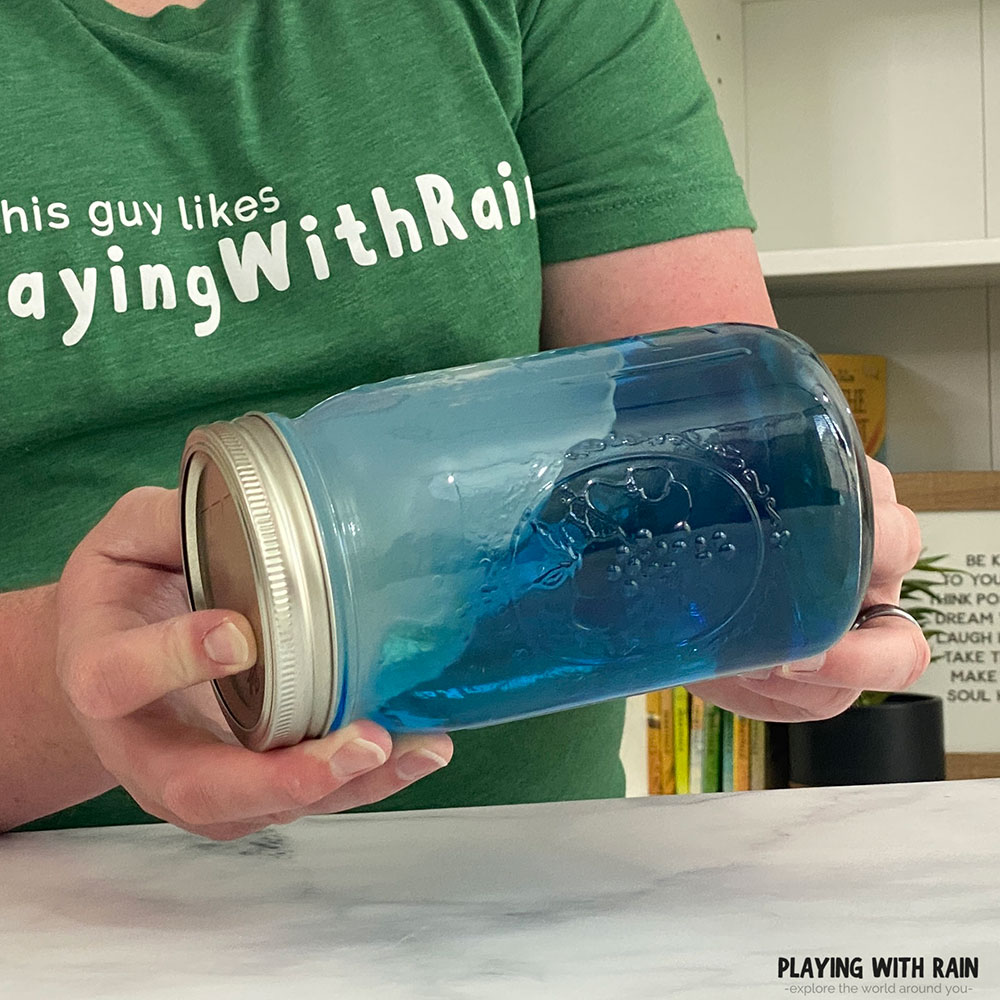
Step 6: Rock The Jar And Make Waves
Now hold the jar sideways and gently rock it back and forth until you get some nice ocean waves crashing back and forth!
If the oil in the jar looks a little bit foggy or cloudy, you can let the jar sit for a few minutes and the air bubbles will settle out of the oil.
When the oil is clear and transparent again, begin moving the bottle back and forth again to watch the waves swoosh back and forth in your ocean!
Ocean In A Jar Explanation
This ocean in a jar experiment works because the blue water in the jar acts as the water in the ocean, while the baby oil is like the air above the ocean.
The oil is lighter and has a lower density than water, so it floats on top of the water as air does above the ocean!
The little toy in the jar can act like a small boat or ship floating on the ocean too!
PIN THIS EXPERIMENT FOR LATER.
Leave a Reply