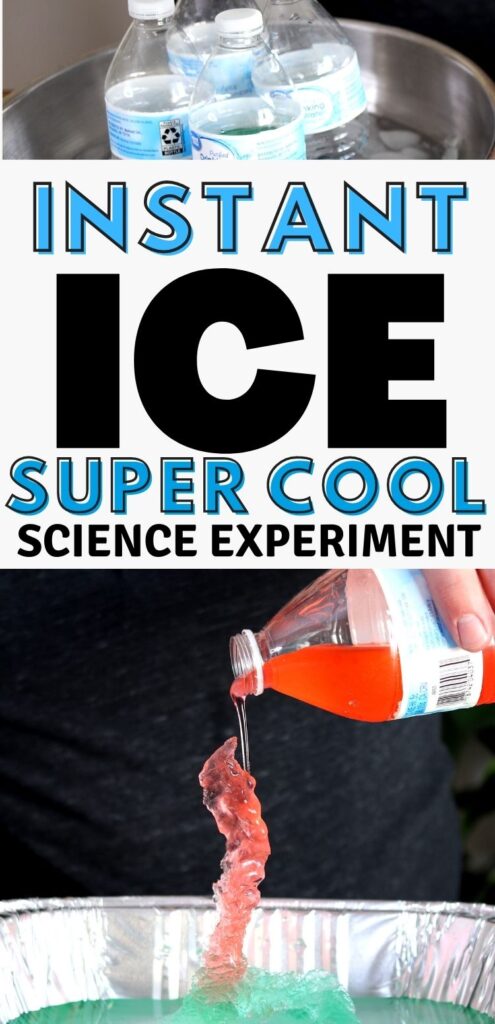
The best thing about this super cool experiment is that it is fun for both adults and children, and can be safely done with just a few things you likely already have at home! Here is How to Turn Water Into Ice Instantly.
Get more easy and entertaining Weather experiments for kids here!
PIN THIS EXPERIMENT FOR LATER
I first stumbled upon this fascinating phenomenon on a family camping trip when pulling out an ice-cold bottle of water from the cooler and the water instantly froze!
This post may contain affiliate links. As an Amazon Associate, I earn from qualifying purchases.
How to Turn Water Into Ice Instantly
Gather Your Materials:
- 2 or more bottles of water
- Rock Salt
- Large bowl filled with ice (or you can use a freezer)
- Thermometer
- Frozen plate of water
- Food coloring (Optional)
Steps:
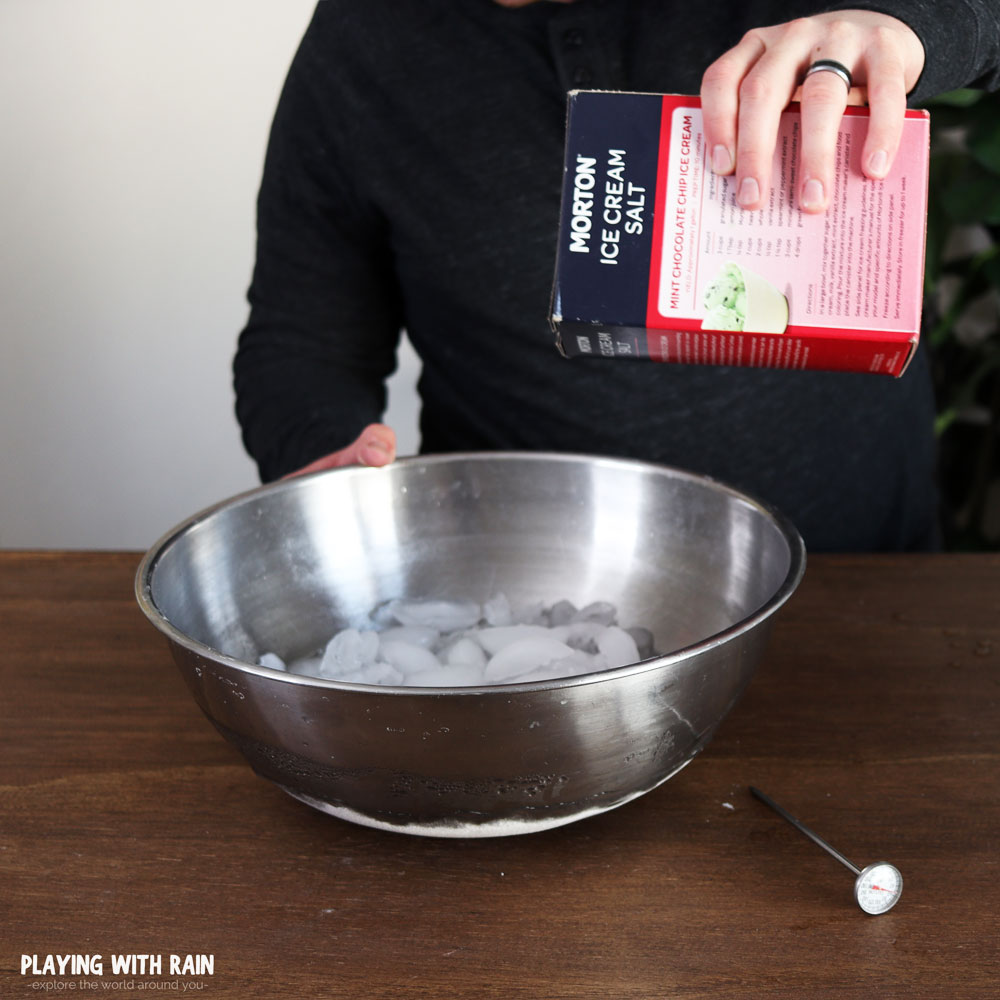
- Fill a large bowl with ice cubes, rock salt, and your bottles
- Fill the bottom of a plate with water and stick it in your freezer
- Place a thermometer into the ice near the bottles and wait about 30 minutes for the temperature to drop
- Slowly pull the bottles out of the ice and flick one bottle to watch ice instantly form inside
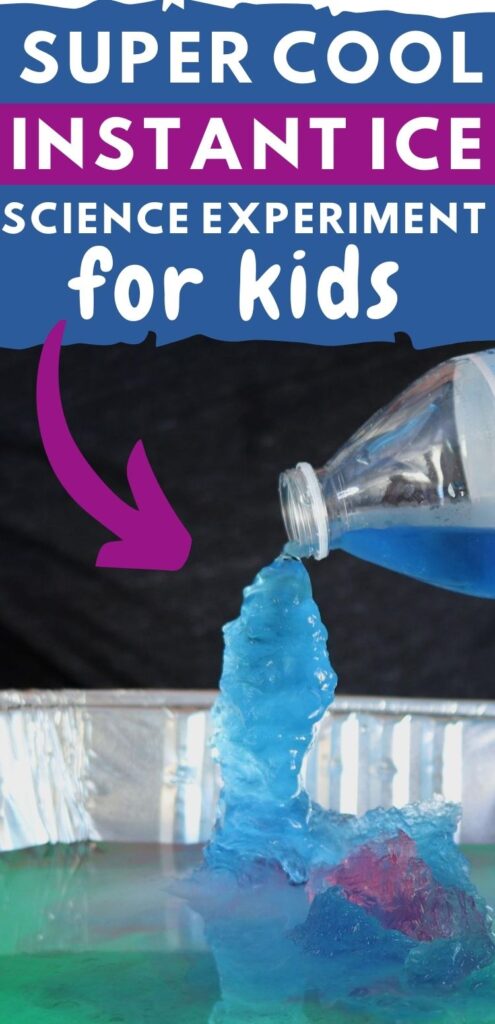
- Use the other bottle to slowly pour onto the plate of frozen water to create an ice pillar
- Optional Twist: Add some food coloring to make an ice rainbow
Step 1: Fill your bowl with ice, rock salt, and water bottles
You will want to use the biggest bowl you can find for this experiment and fill it all the way to the top with ice cubes. Scatter a generous amount of rock salt over the top of your ice and push your bottles into your icy bowl.
Adding the rock salt is crucial to this experiment being successful because it lowers the freezing point of the ice below 32°F and creates an icy water mixture that will supercool your water bottles to the perfect temperature.
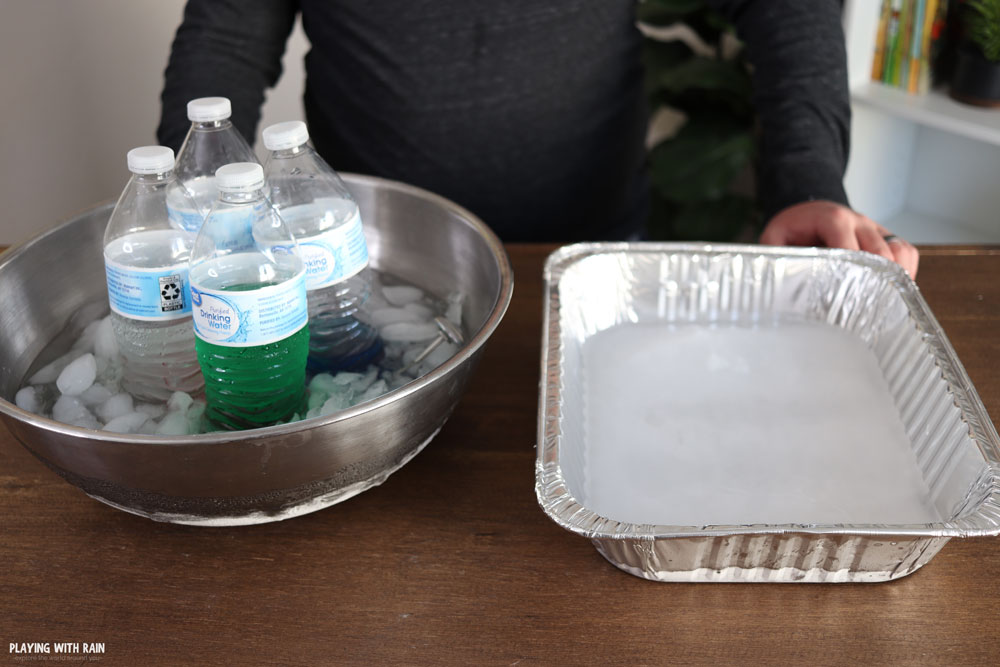
Make sure your water bottles are standing upright in your sub-freezing mixture with only the top couple inches of the bottle showing for maximum cooling to take place inside the bottle.
Note: You can also put your water bottles in the freezer for this step instead of using the rock salt and ice in the bowl, but the timing for when your bottles are at the right temperature will be more tricky to figure out.
Depending on the make, model, and temperature of a freezer, supercooling your water bottles can take anywhere from 90 minutes to around 4 hours.
Using the ice in a bowl method, your water bottles should be ready within about 30 minutes.
Step 2: Fill the bottom of a plate with water and put in the freezer
This step is optional, but also resulted in the very favorite part of the experiment for my kids! Doing this step now and freezing a plate of water will allow for the perfect foundation to build ice pillars with your supercooled water.
Step 3: Put a thermometer in the ice and watch the temperature drop
Any type of cooking or baking thermometer should work for this step, as long as it can get wet and cold! Try to wedge the thermometer right between your bottles into the icy mixture you created.
The ideal temperature you want to achieve is about 17°F in your bowl. This temperature is the perfect balance of creating your supercooled water that is below freezing, but mysteriously not frozen yet!
It usually takes around 30 minutes to get your bottles to the right temperature with this method. You will want to monitor the ice periodically and it won’t hurt to top it off with a little more rock salt and ice if needed.
After its been 30 minutes, an easy way to check to see if your bottles are ready to make some instant ice is to look for some condensation that has frozen around the top outside of the bottle.
If you can see or feel a thin layer of moisture that has frozen on the outside portion of the bottle that is above the icy water, and if your water inside the bottle is still liquid, then you should be ready to have some fun!
Step 4: Carefully pull your bottles out of the bowl and make some ice
Now we are finally to the fun and exiting part we have all been so patiently waiting for! It’s time to slowly and carefully pull your bottles out of the bowl (or freezer if you are doing that method).
The reason you want to be very careful not to disturb the water is because all it takes is some shaking or a jolt of energy to kickstart the water molecules into the freezing process in the supercooled water you have created.
Once your eyes are glued to the bottle and everyone can see, you can give your bottle the boost of energy it needs to instantly freeze inside! To do this you can either give the bottle a good flick, or whack it on the table.
You should see the liquid water inside the bottle instantly freeze to a slushy icy drink that would be delicious on a hot summer afternoon!
Step 5: Make an ice pillar with your other bottle and frozen plate of ice
Now if you thought watching the bottle of water in your hands instantly freeze was super cool (no pun intended), just wait until you see what we are going to do now!
Go ahead and pull the plate out of the freezer that we filled with water at the beginning of this experiment. The water on the plate should now be frozen and the perfect foundation to build an ice pillar!
Take the lid off your bottle that has been supercooled and slowly pour it onto your icy plate below. What happens!!?
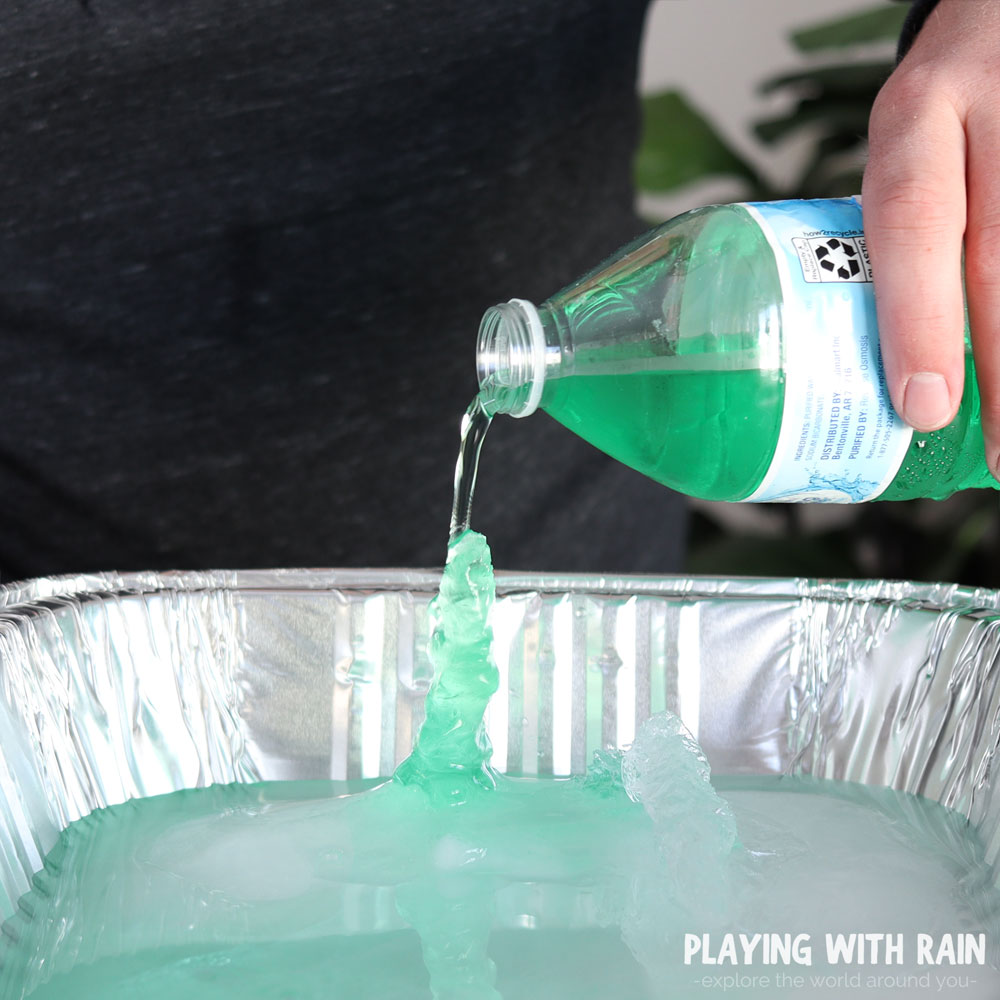
As soon as the water contacts the ice below it should instantly begin to freeze and create a towering ice pillar that will continue to grow as you pour the water onto it!
You can also do this in a different way by pouring supercooled water into a glass and then instantly freezing it by placing an ice cube in the water in this How to Freeze Water Fast experiment!
This process is very similar to when freezing rain occurs outside and everything becomes coated with an icy mess. We will learn more about how that happens in a little bit too, but first lets have some more fun!
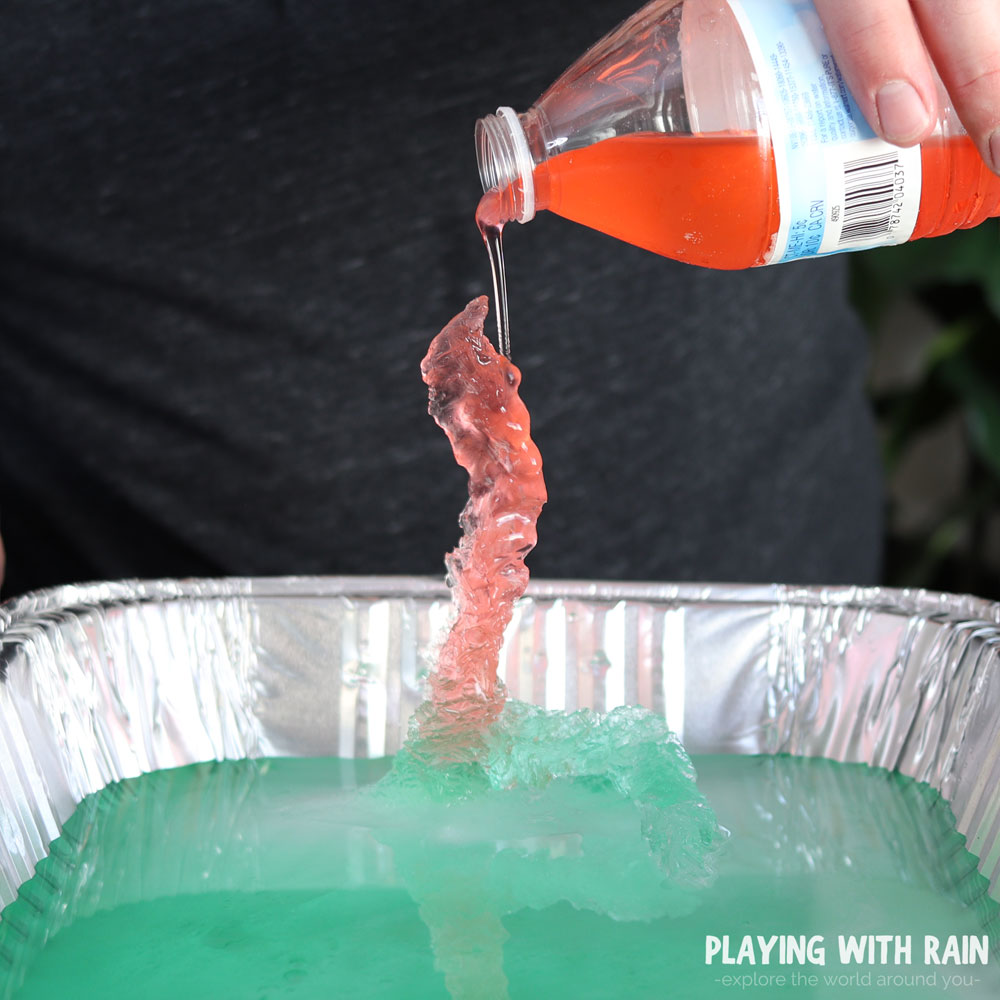
Step 6 (Optional): Try adding some food coloring and more bottles to make an ice rainbow
If you are like me when you just witnessed this amazing phenomenon with supercooled water, then you probably want to keep doing this again and again!
So let’s do it all again, but instead of 2 supercooled water bottles, you can try freezing 4 to 6 of them. Before entering these bottles into the freezing process you will also want to add some food coloring to each bottle.
It is important to add a few drops of different colored food coloring to your bottles before they get supercooled. If you wait to add the drops until after the water is below freezing, you could trigger the ice to form prematurely.
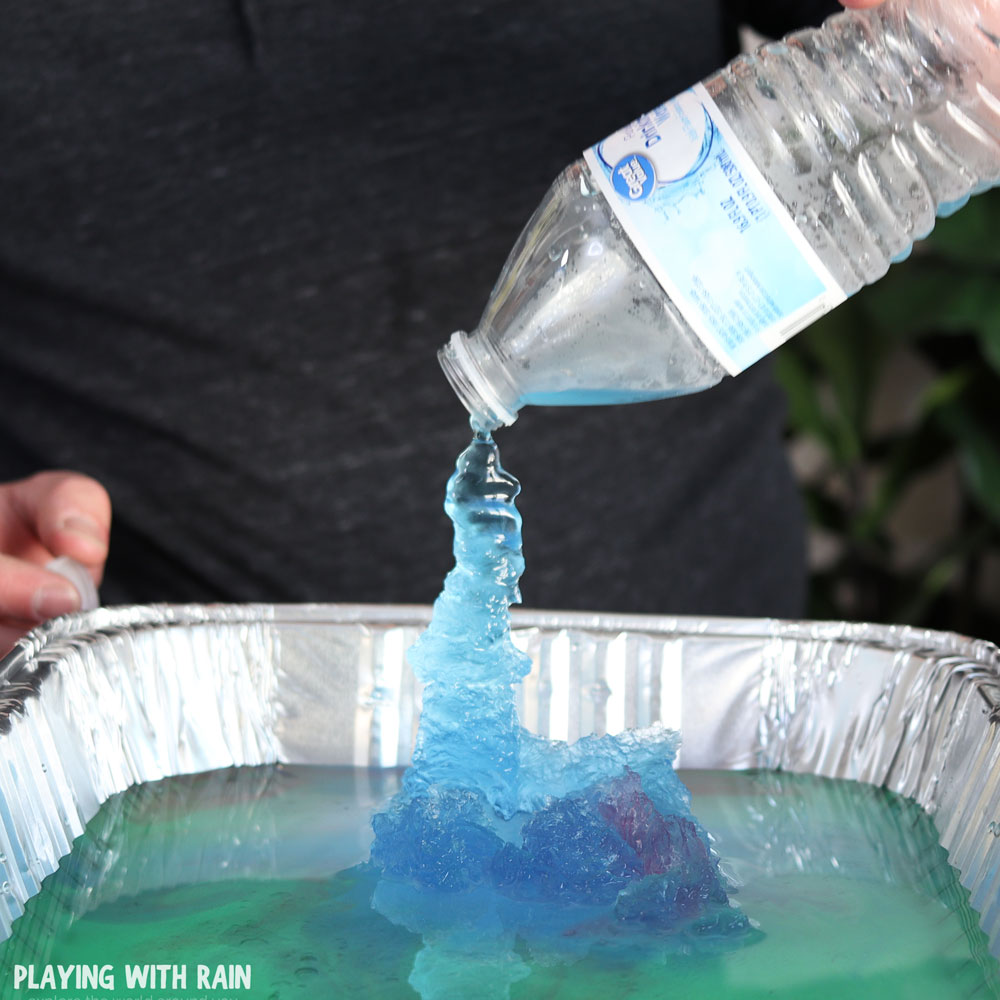
After adding your food coloring to 4-6 bottles, repeat steps 1-3 to get your bottles of water supercooled. Then pour all of the bottles onto the frozen plate of ice and watch your rainbow of ice pillars form.
You might want to have your lab assistants (kids) help with this part. They can even have a competition to see who can grow the tallest ice tower!
How Does Water Freeze Into Ice?
Liquid water typically freezes into a solid form of ice when the temperature of the water drops at or below 32°F. This is the temperature that water molecules slow down enough to stick to each other and form a solid crystal.
From this experiment, we learned that water does not always follow the rule of freezing at 32°F though. Under the right conditions, purified water that does not have impurities and minerals can drop below the freezing point and remain a liquid and is referred to as supercooled water.
How to Supercool Water
Supercooling a liquid happens when it is cooled below it’s freezing point without it becoming a solid. In this case the purified water will do this in the freezer or the bowl of ice because there are no impurities to help form the ice crystals.
Just like in our experiment 3 Easy Ways to Make a Cloud in a Bottle we learned that water needs a particle to nucleate onto to create a cloud, water also needs a particle to nucleate onto to freeze into ice.
This is why supercooling water can only happen with purified water, or water that has been through reverse osmosis. Normal tap water has minerals and impurities that will allow water to crystallize into ice at 32°F.
What causes freezing rain?
Freezing rain is a great example of supercooled water in the atmosphere. This fascinating weather phenomenon occurs when warm air (above freezing) rises up and over cold, (below freezing) air at the surface.
As the precipitation falls out of the clouds into the warmer air, it melts and becomes all rain until it reaches the thin layer of cold air near the ground. This cold layer of below freezing air near the ground supercools the rain drops.
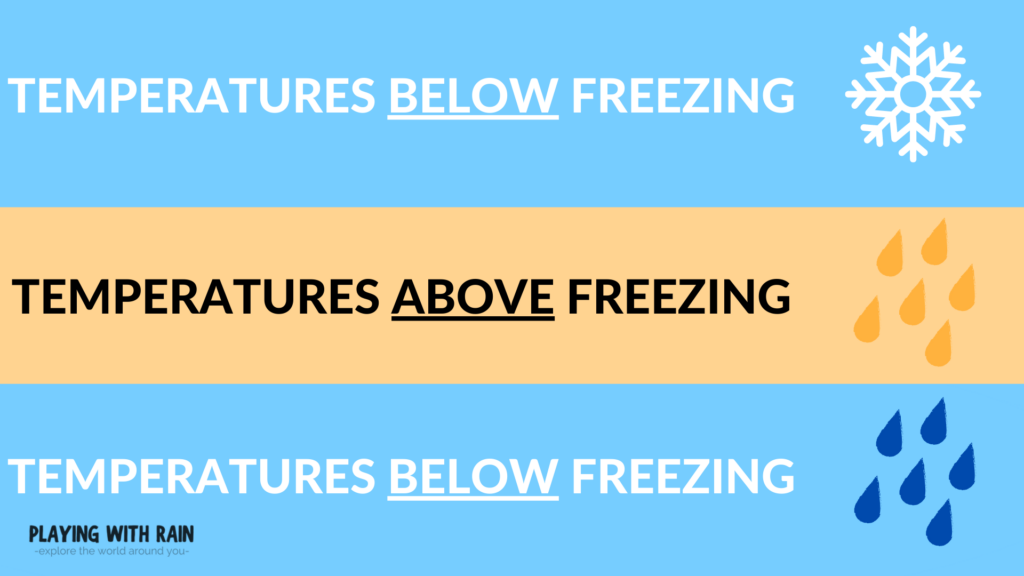
Even though the raindrops have been supercooled to a temperature below freezing, they do not have time to freeze during their short trip through the shallow layer of cold air.
These below freezing supercooled raindrops then freeze immediately on contact with anything they contact at the surface including cars, roads, trees, sidewalks, etc. Freezing rain storms are often called ice storms and can make very dangerous winter conditions.
PIN THIS EXPERIMENT FOR LATER
Leave a Reply