Making these paper flowers that bloom in water will keep your kids entertained while teaching them some cool science too! It’s time to gather a bowl of water and some art supplies and make some Magic Blooming Flowers.
Get more Science Experiments For Kids here!
This is a great learning activity for kids that is super fun to do around Valentine’s, Springtime, or really any time of the year that you want flowers!
Magic Blooming Flowers
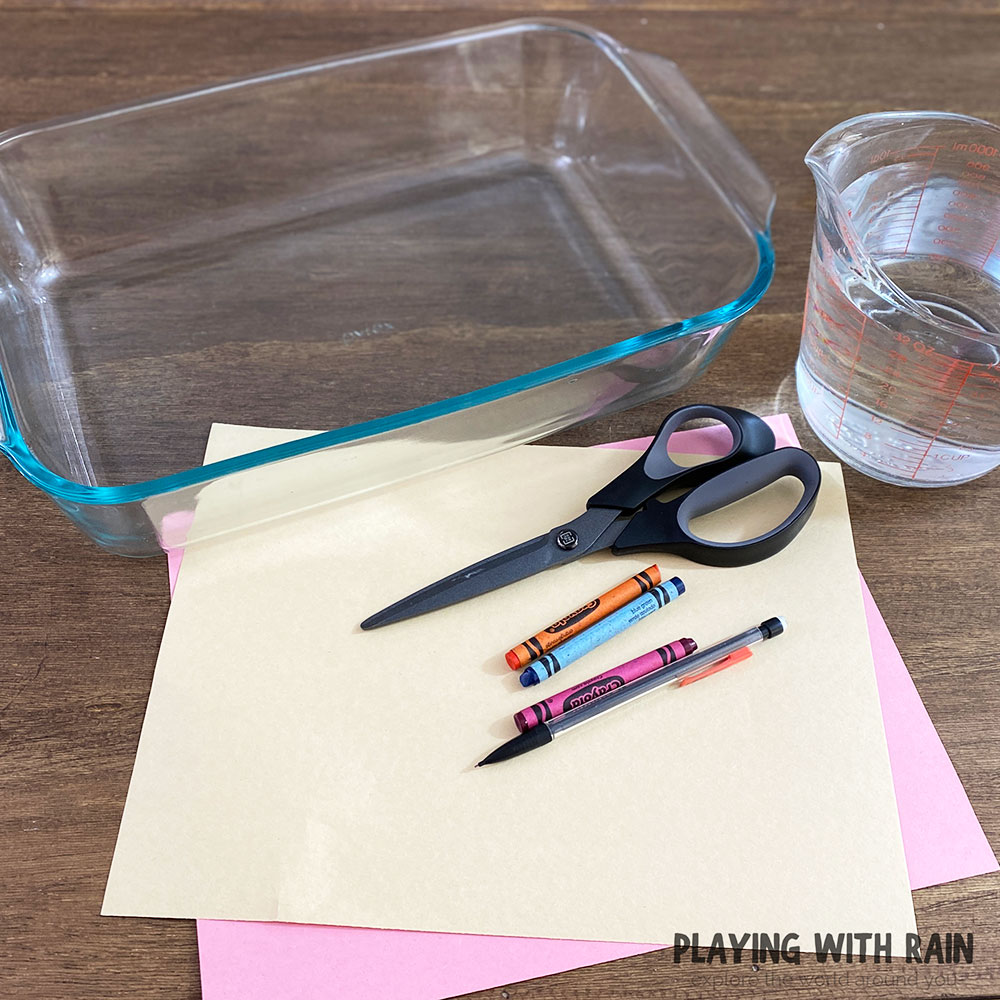
Supplies Needed:
Blooming Flower Magic Trick
- Draw and color some flowers on paper.
- Carefully cut the flowers out with scissors.
- Fold the petals of each flower inward towards the center of the flower.
- Place them in water and watch the petals unfold and the flowers bloom!
Step 1: Try Out Your Art Skills
If you are anything like me, this will probably be the most challenging part of this experiment! I am no artist, but luckily I have two little girls and a wife that love to make pretty flowers with their art skills!
You can use any kind of paper for this experiment, but we found the construction paper gave us the best blooming flower results.
So go ahead and grab some colored pencils, markers, or crayons and let’s get to work making some paper flowers! The easiest way to do this is to trace a few flowers with large petals and then let the kids color them how they would like.
Let their imaginations run wild and they can create all sorts of different types of flowers. We ended up with sunflowers, daisies, and roses at our house.
The flowers can be as big or small as you want, but the important thing is to make sure that they have plenty of individual petals that can be folded up!
Step 2: Cut The Flowers Out
Once the flowers have all been designed and colored, go ahead and cut them out of the paper.
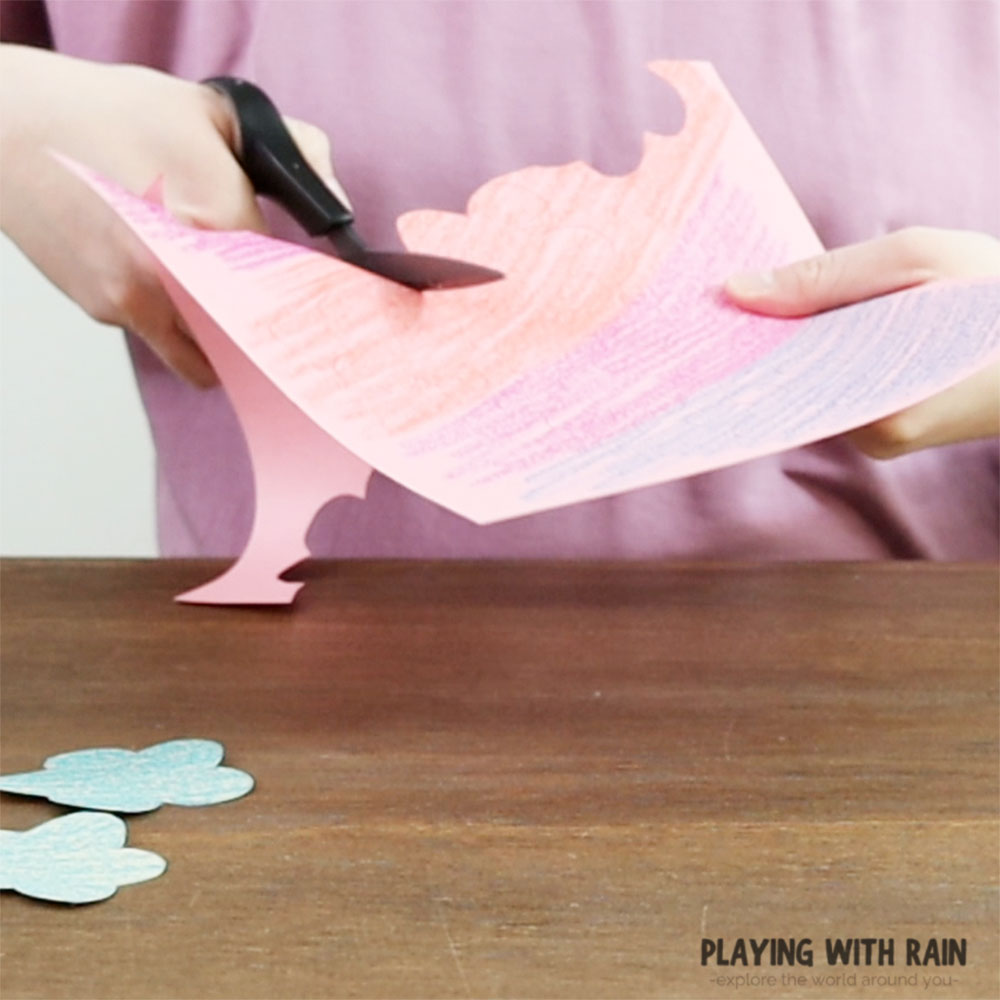
The wonderful thing about this experiment is how kid-friendly it is, but the kids will definitely need some adult help and supervision while cutting out their colorful little flowers.
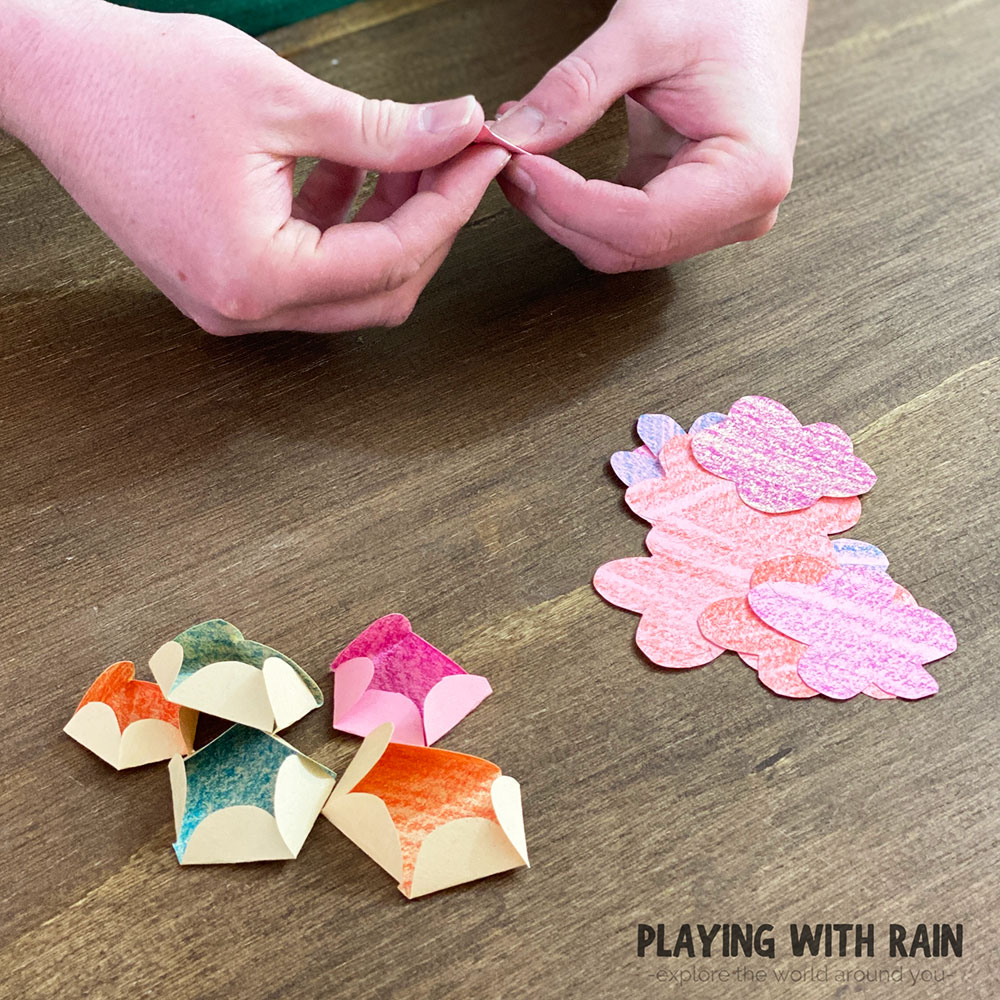
Step 3: Fold The Petals
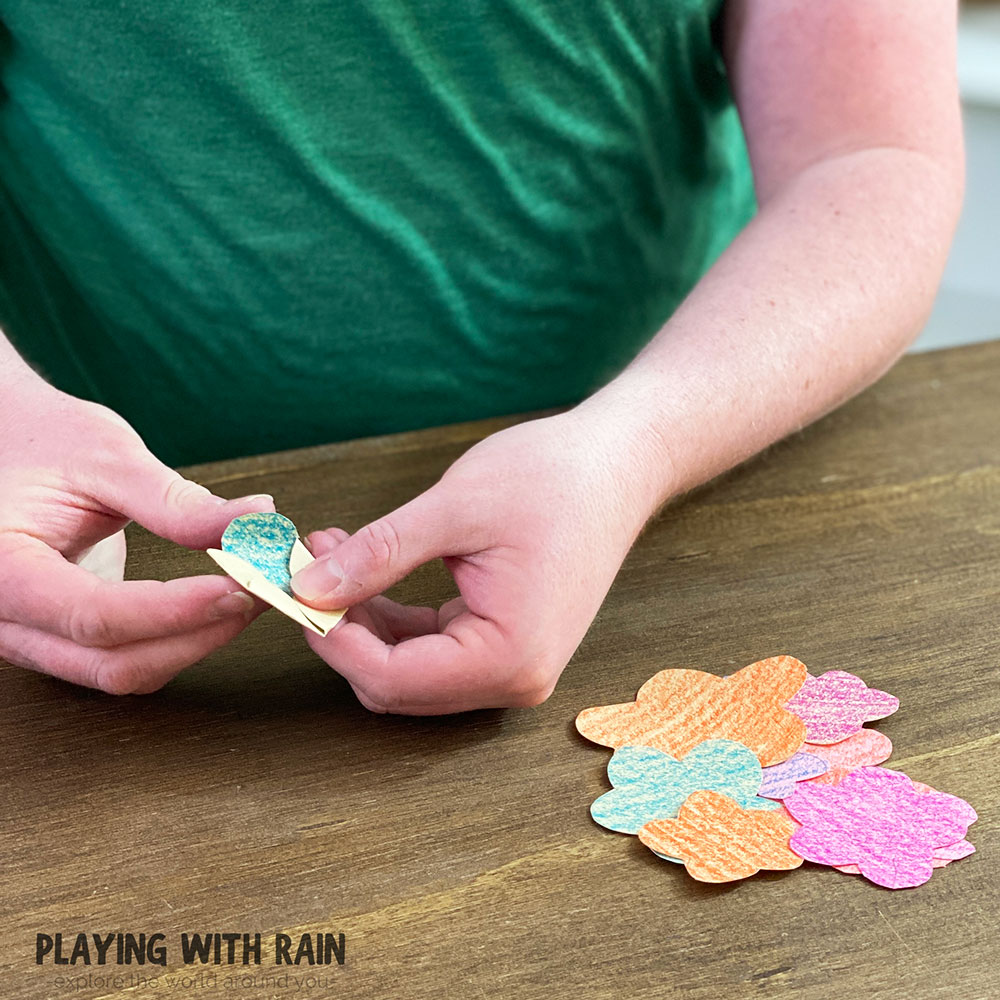
Now it’s time to fold each individual petal of the flowers in towards the center. You want to crease the fold as much as possible to help the petals stay folded towards the center of the flowers.
When you are done folding them the flowers will look more circular and smaller, like a budding flower getting ready to open up and bloom!
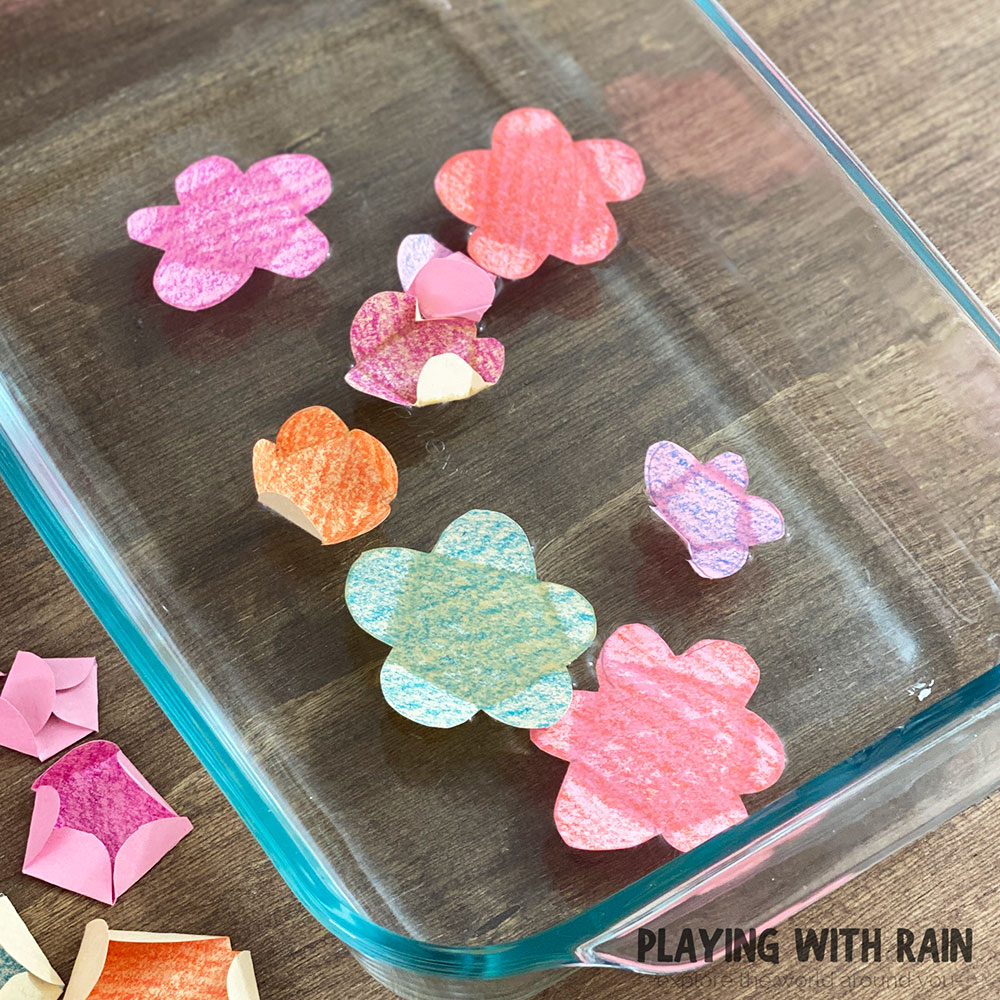
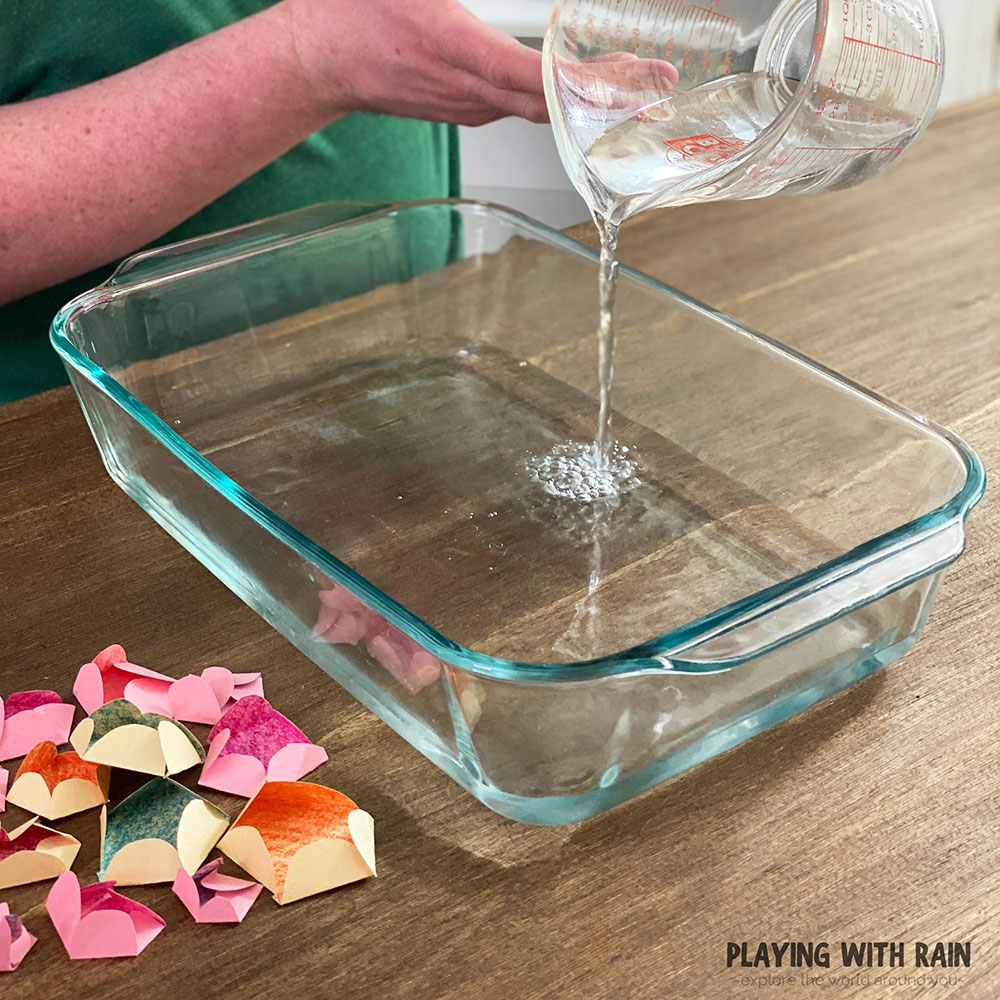
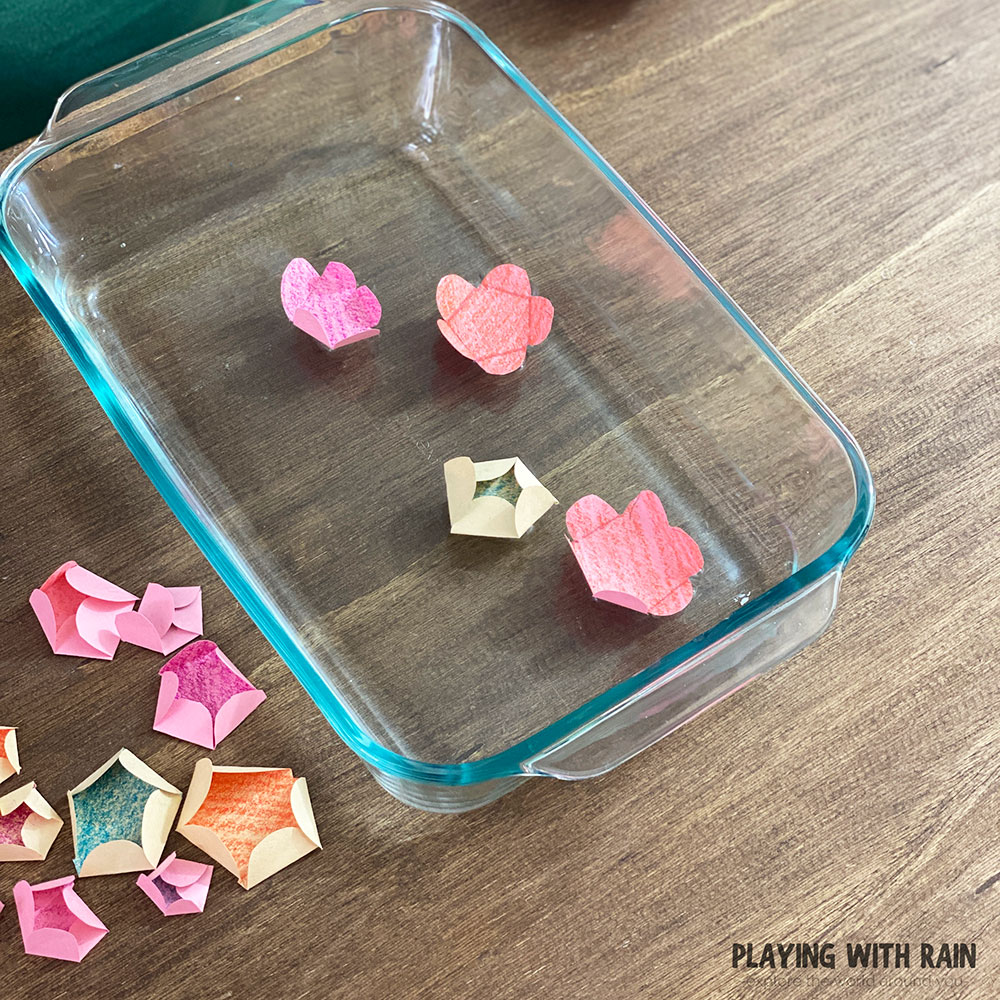
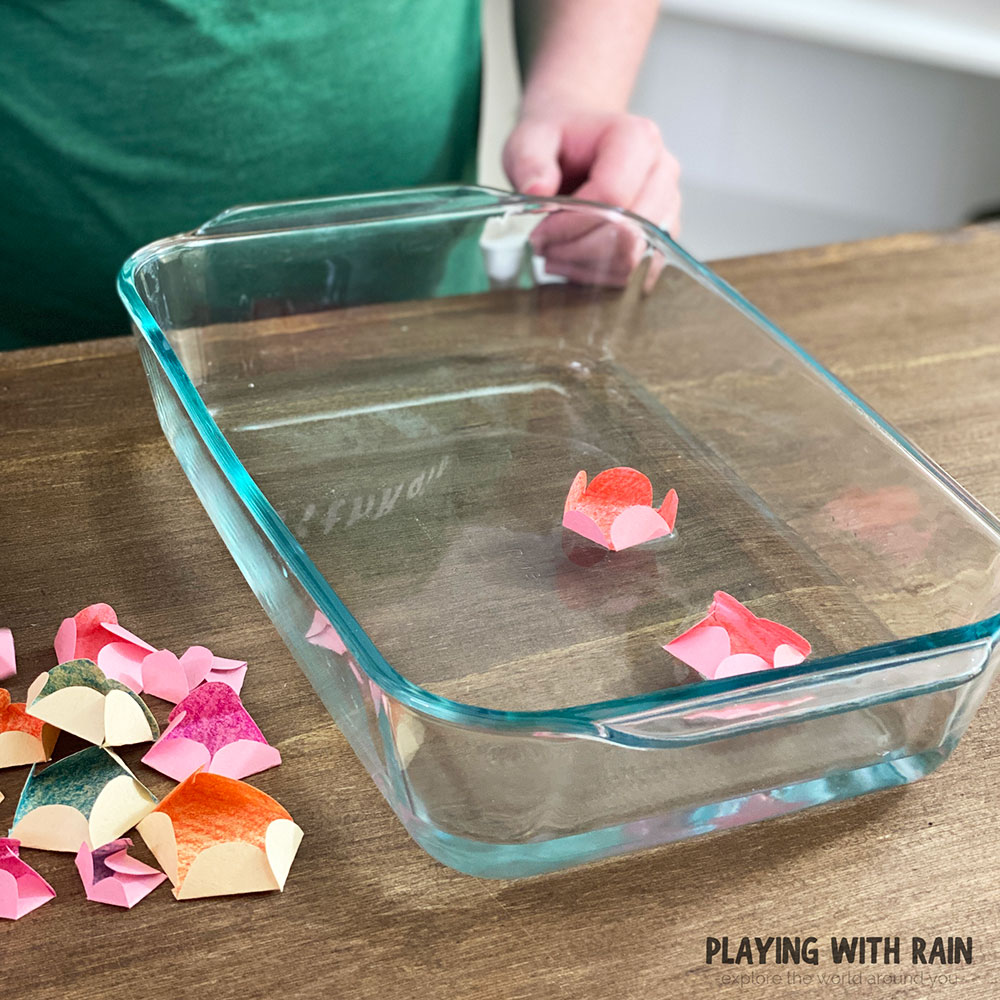
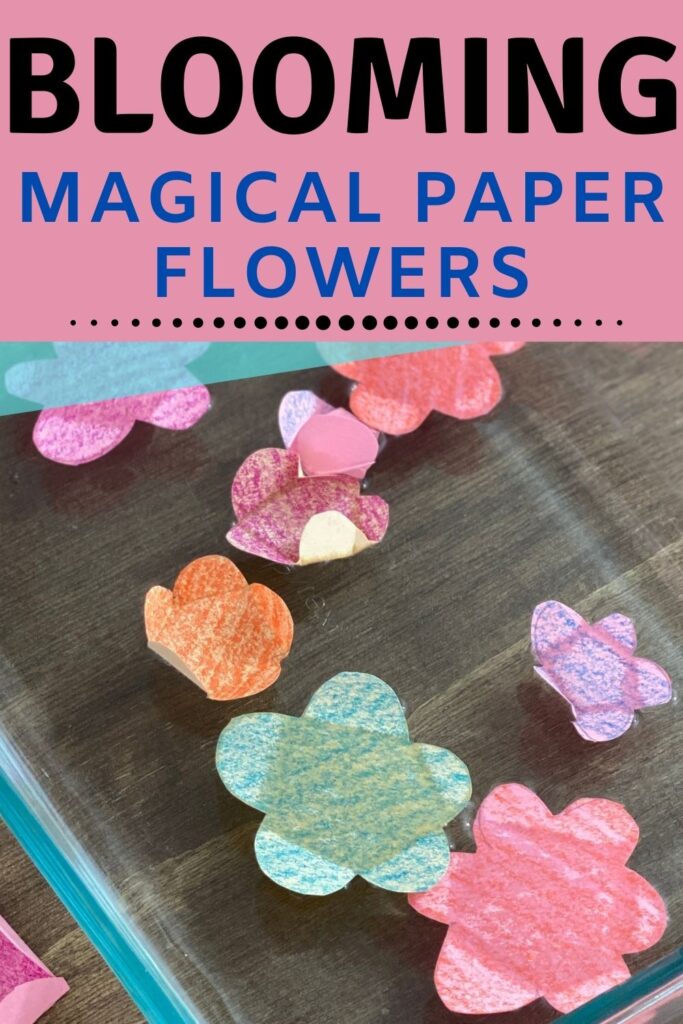
Step 4: Place the Paper Flowers in Water and Watch Them Grow
Depending on the size of the paper flowers you created, you may want to fill a large bowl or pan with water. This will give your flowers plenty of room to spread out without sticking to each other when they bloom.
Watch and enjoy as each flower slowly opens up and blooms after it is placed in the water!
Some flowers may take longer than others, but after a few minutes, Spring will have sprung inside your home with a beautiful display of magical paper flowers!
Why do Paper Flowers Bloom in Water?
The magic or science behind how these paper flowers bloom in water is thanks to the cellulose fibers that the paper is made of. As the tiny little fibers in the paper quickly absorb water, they expand and allow the creases to open up.
As the folds in the paper open up, the flower petals will spring back into their original position and bloom into a beautiful flower!
This fun and exciting STEM activity for kids can be used will all kids of paper, but the results will be slightly different.
We tried all kinds of paper from very thin tissue paper to very thick cardstock paper.
The thin tissue paper absorbs the water quickly and blooms into a flower almost immediately, while the thicker cardstock paper takes a minute or two to fully blossom.
PIN THIS EXPERIMENT FOR LATER
Leave a Reply