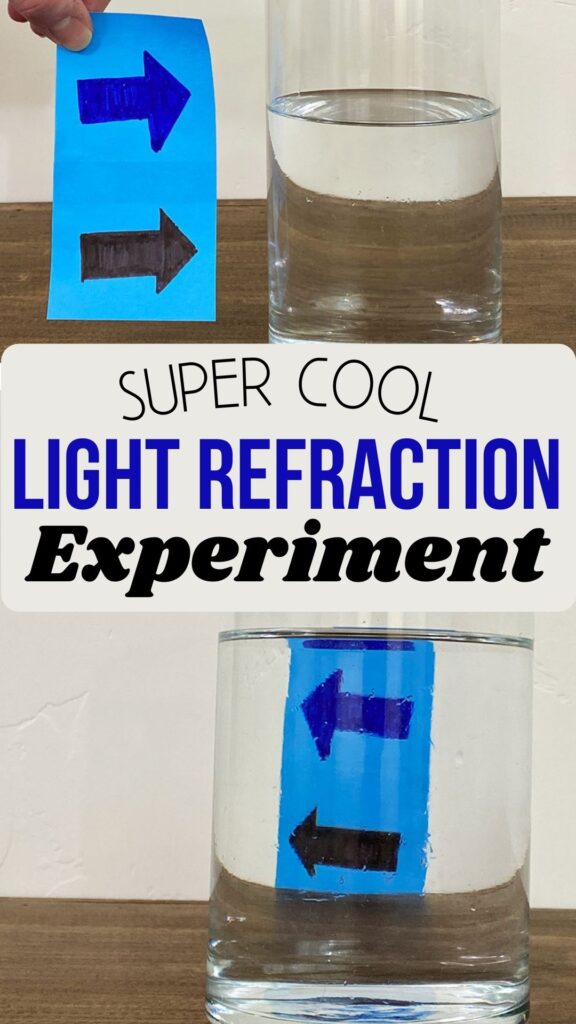
This Light Refraction in Water experiment is one of the most simple, but yet very tricky experiments I have done yet! You won’t believe your eyes when you see an image flip in the opposite direction when placed behind a glass of water!
Find more Fun Water Experiments here!
PIN THIS EXPERIMENT FOR LATER
The materials and set up for this experiment are so simple that anyone can do it, but the science behind it is super fascinating!
Light Refraction in Water
This post may contain affiliate links. As an Amazon Associate, I earn from qualifying purchases.
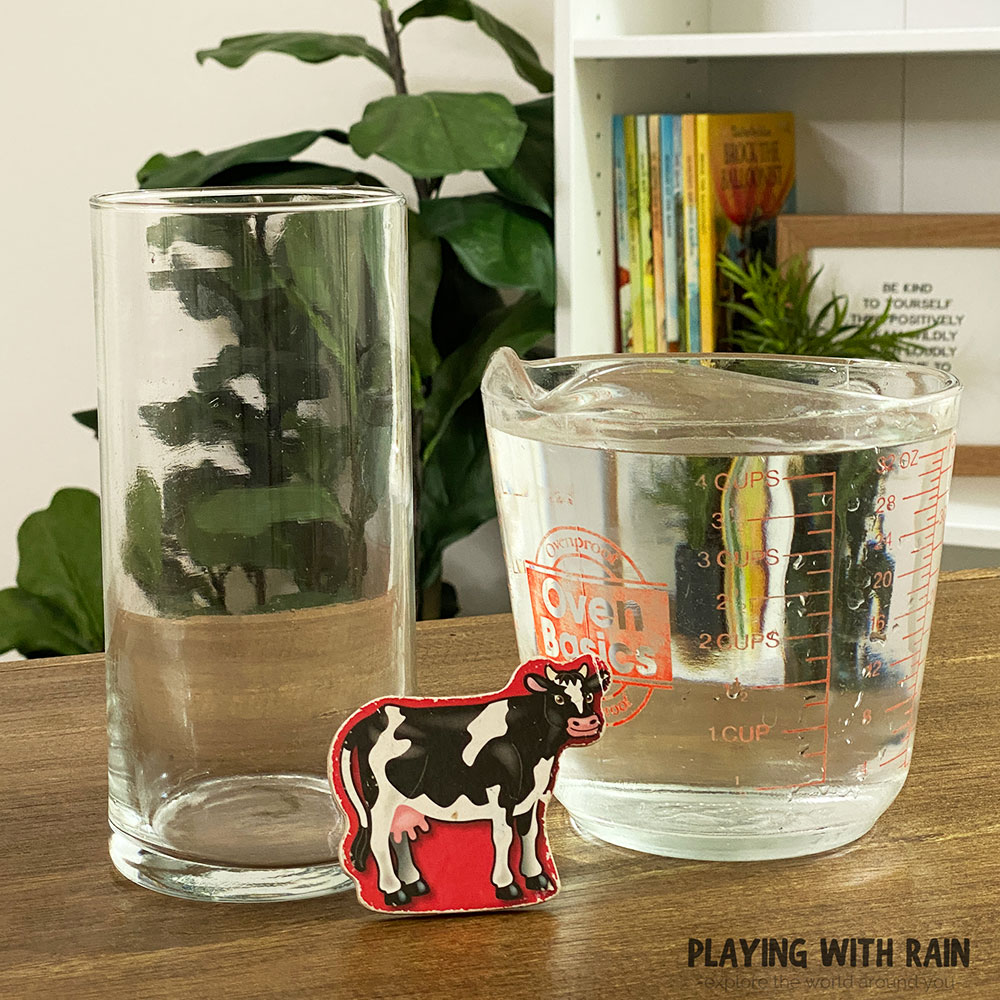
Supplies Needed:
- Tall Clear Glass
- Water
- Picture, Image, etc.
How Does Light Refract In Water?
- Pour water into a clear, tall glass or jar.
- Move an image (picture, drawing, arrows, etc.) behind the glass.
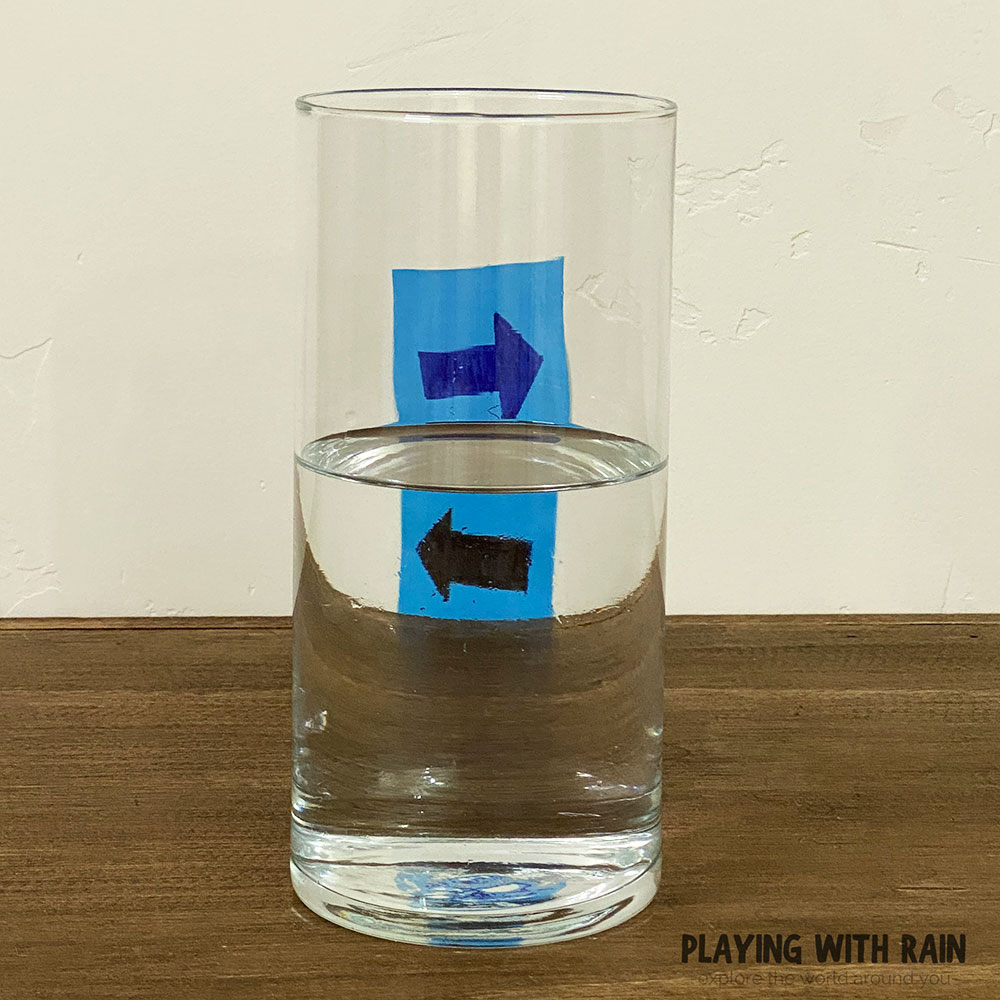
- Watch what happens as the image is reversed when seen through the water!
Step 1: Fill a Clear Glass With Water
The most critical part of this experiment is to make sure that you can witness the science happening in the water. For this to happen you need to use a clear glass cup or jar that is very clean.
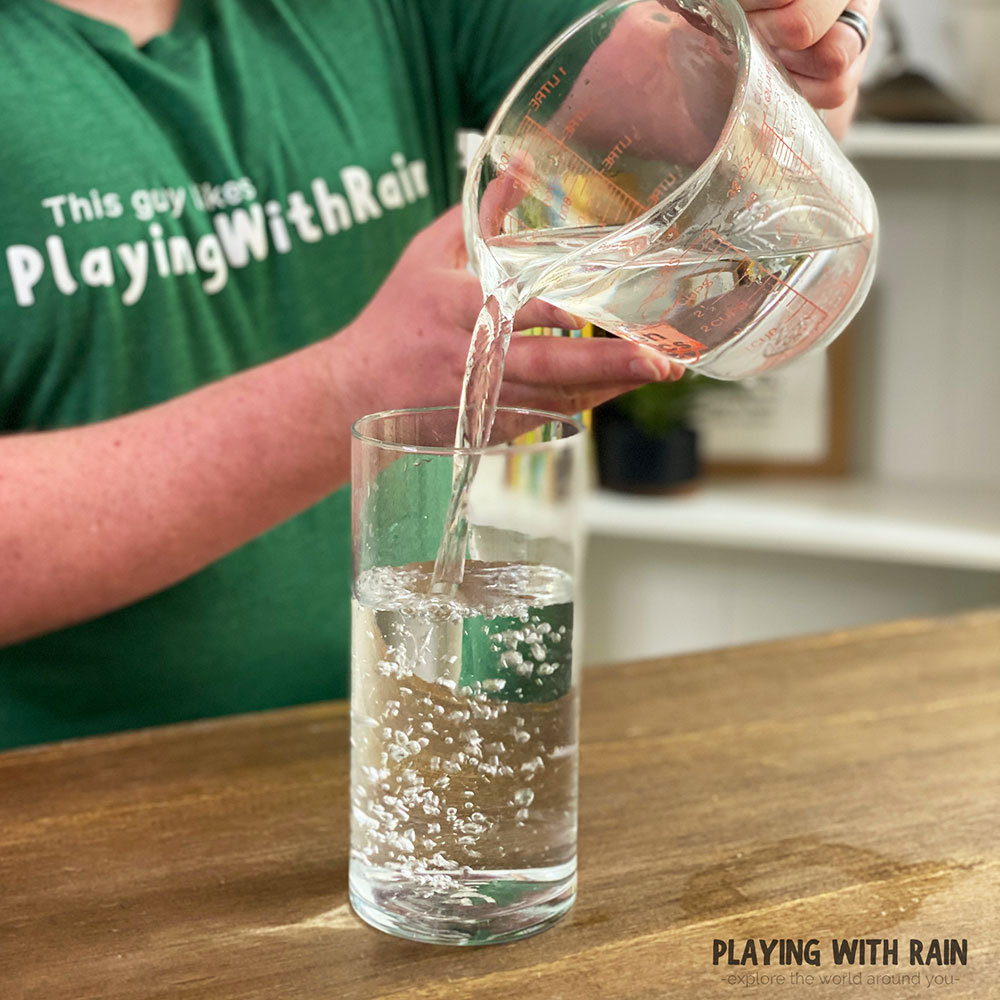
Then pour enough water to fill your glass about half full. This will give us enough water to create the illusion of our image being reversed, while also letting us see that the water is what does the trick and not just the glass.
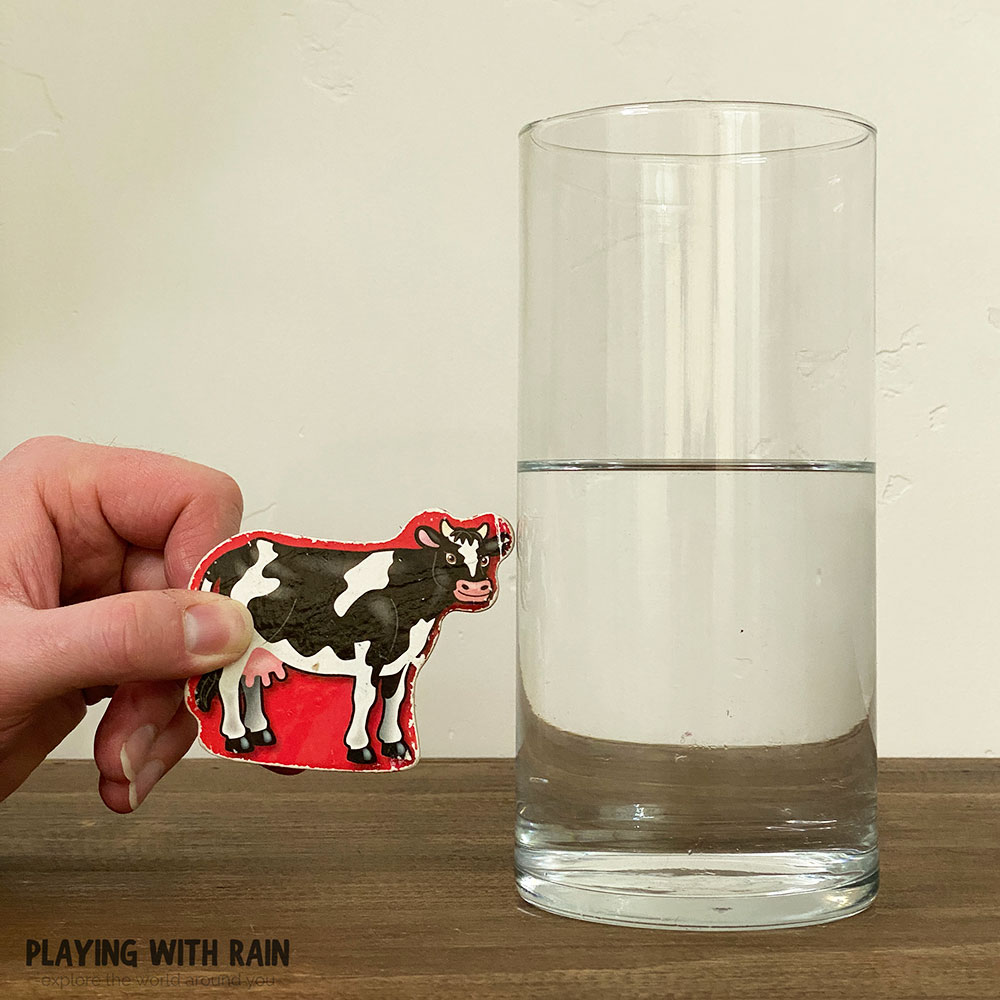
Step 2: Place an Image Behind the Glass of Water
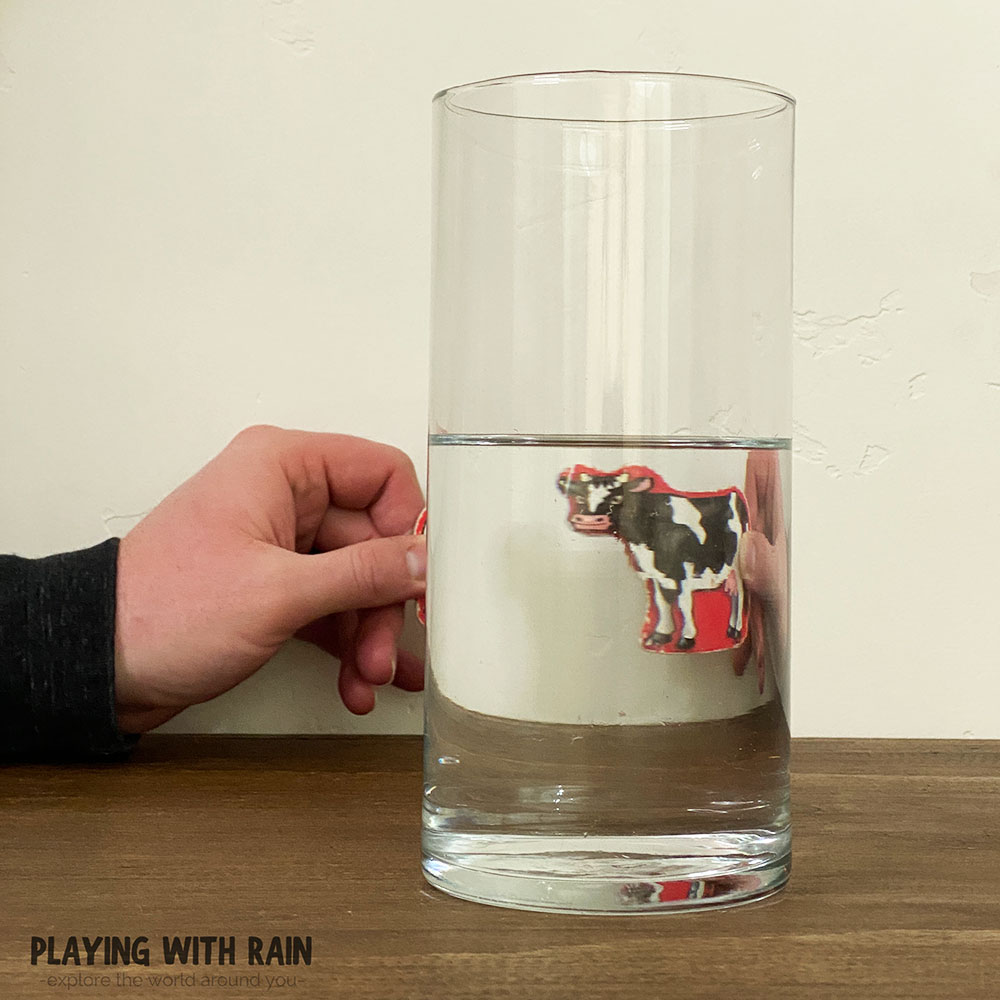
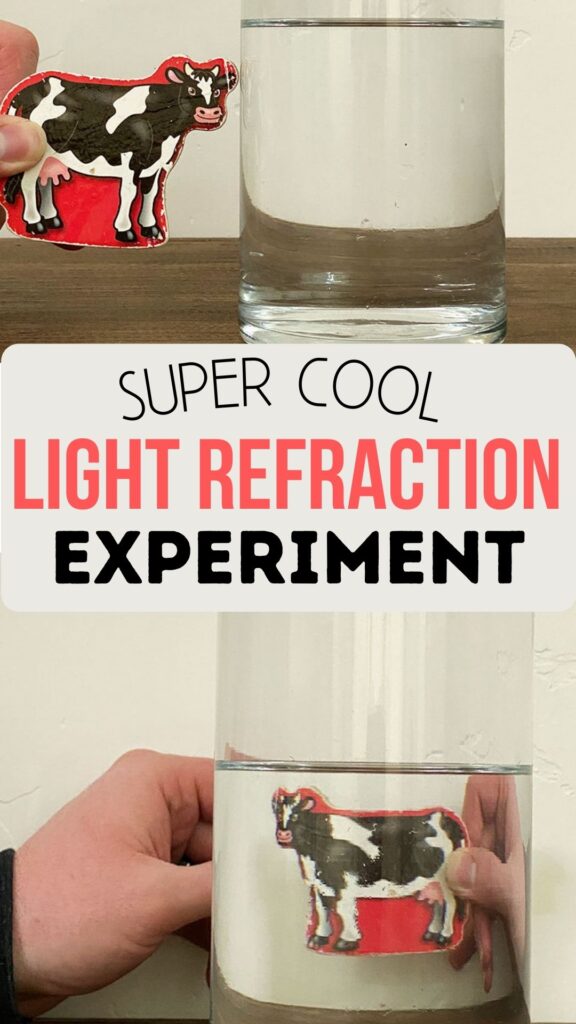
Now find some sort of image, picture, or drawing that you can slide behind the glass of water. We used one of our kid’s magnetic farm animals from the fridge along with drawing some arrows on sticky notes.
Just be creative and find things that the kids will enjoy seeing walk backward behind the glass of water! Our kids were amazed and loved watching their little cow flip around and walk backward behind the water!
After you find the object you plan to refract in the water, place it at a depth of about 6 inches behind the glass of water for the perfect refraction to take place.
It is helpful to have a solid background behind the glass and the image, just to make the image pop out and be a little more visual to see what is happening.
Step 3: Enjoy Seeing Science in Action With Your Own Eyes
Now it’s time to make the magic happen! While holding your object from the side, move the object slowly behind the glass of water.
Remember to keep the object about 6 inches behind the glass for this experiment to work properly. Any closer or further away and the image may not flip like we want it too.
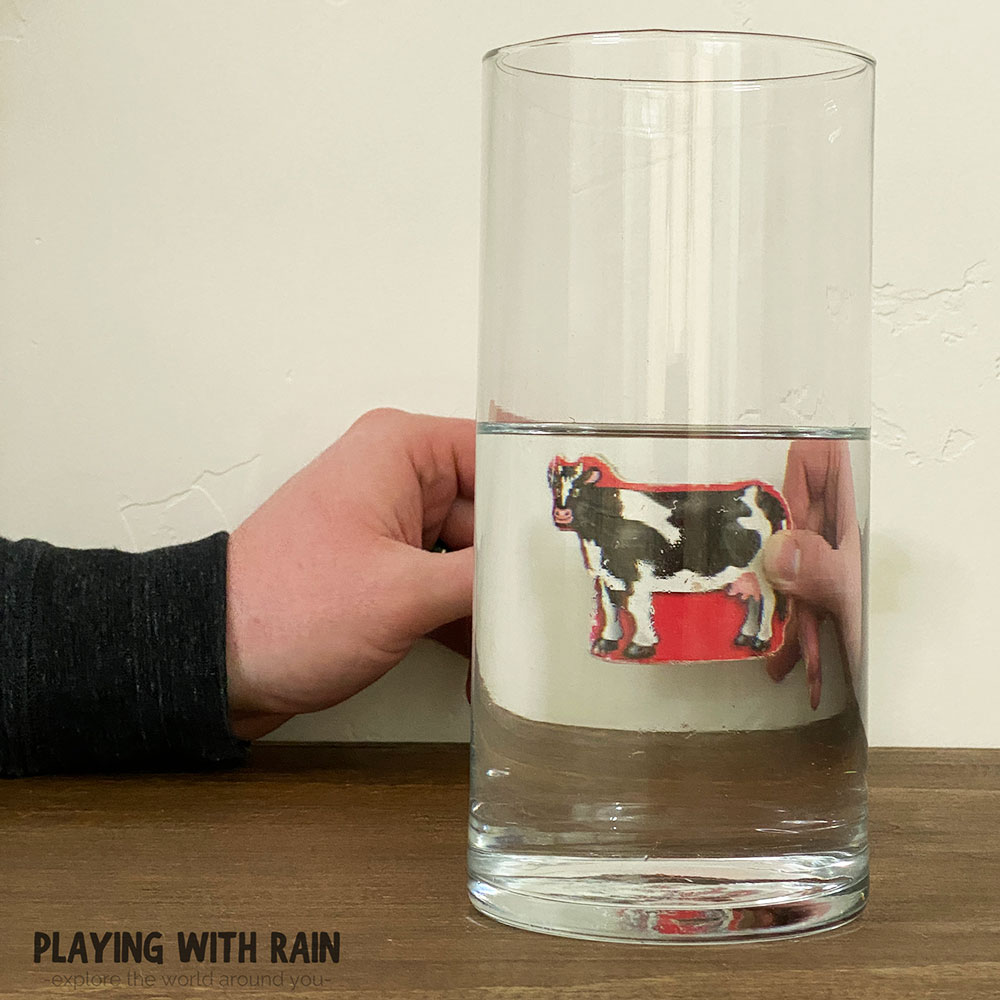
You won’t believe your eyes as the image magically flips directions as it moves behind the glass!
Variable:
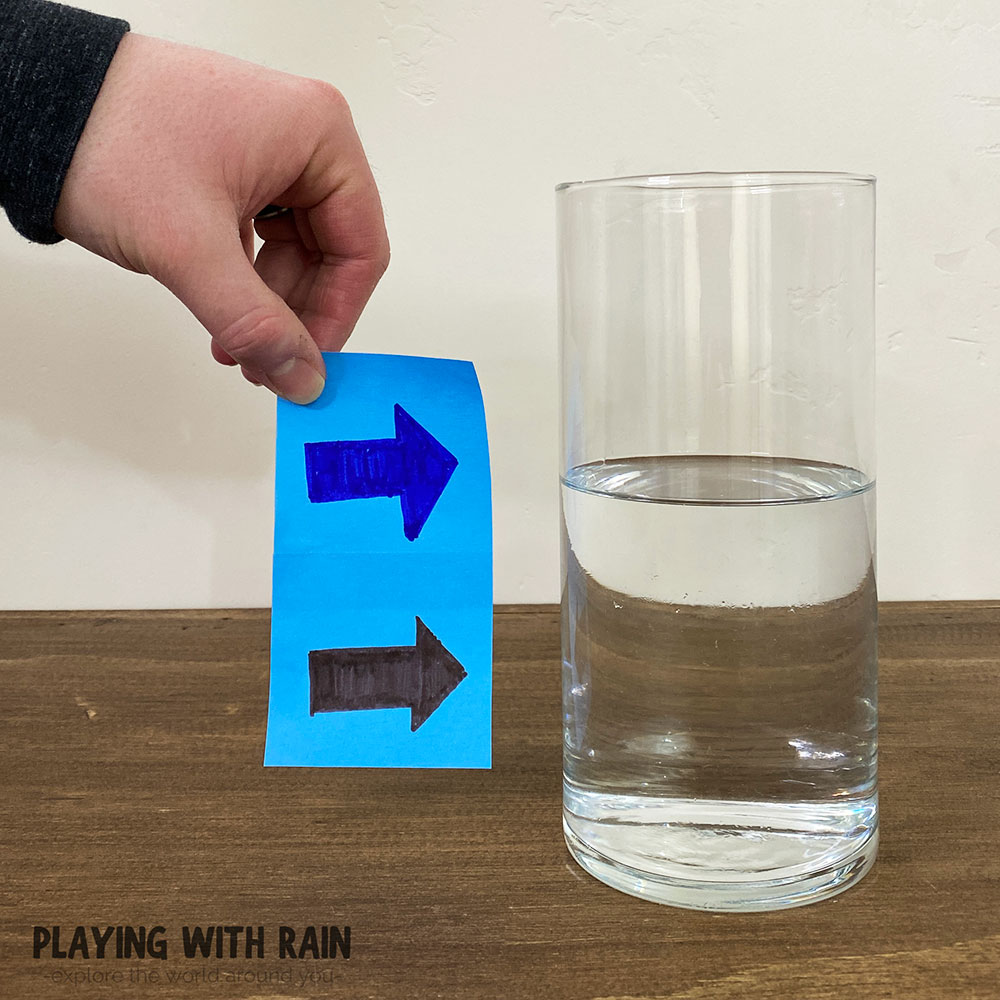
Since the glass is only half full with water, try raising the image up above the waterline while keeping it behind the glass. Does the image still flip, or stay in the same direction?
Okay so we all know it’s not really magic…but let’s dive into the science behind what really makes this happen!
Why Do Images Flip in Water?
Images appear to flip directions in water thanks to the speed that the light travels through the different materials such as air, glass, and water.
Light can travel very fast in most circumstances, but when light passes through something denser than air it slows down and does something called bending and refraction.
When the light moves through the air, it moves at a uniform angle and speed, but as soon as it reaches the glass and the water it slows down due to the denser glass and water it needs to pass through.
The light will find and take the path through the water that takes the shortest amount of time. This also leads to a magnifying effect as the light passes through the water.
As the light is magnified through the water, the light is bent towards the center. The light comes together at a place called the focal point.
Beyond the focal point (what our eyes see) the image looks reversed because the light that was on the left is now on the right side, and the light that was on the right is now on the left.
In our light refraction in water experiment, light passed through the air, one side of the glass, the water, the other side of the glass, and back into the air again before reaching the picture.
The image that our eyes see is the picture appearing to be reversed after the light has gone through this refraction and bending process.
That is how we ended up with a cow walking backward and arrows reversing directions in our case!
PIN THIS EXPERIMENT FOR LATER
This is very cool!