If you have always wanted to make it rain, then you have come to the right place! This Rain in a Bottle Experiment uses household supplies to create a cloud and a mini rainstorm inside a bottle!
Get more fun and easy Weather Experiments for Kids here!
Your kids will absolutely love this cool science experiment and it is a great way to teach them about the water cycle.

Rain in a Bottle Experiment
This post may contain affiliate links. As an Amazon Associate, I earn from qualifying purchases.
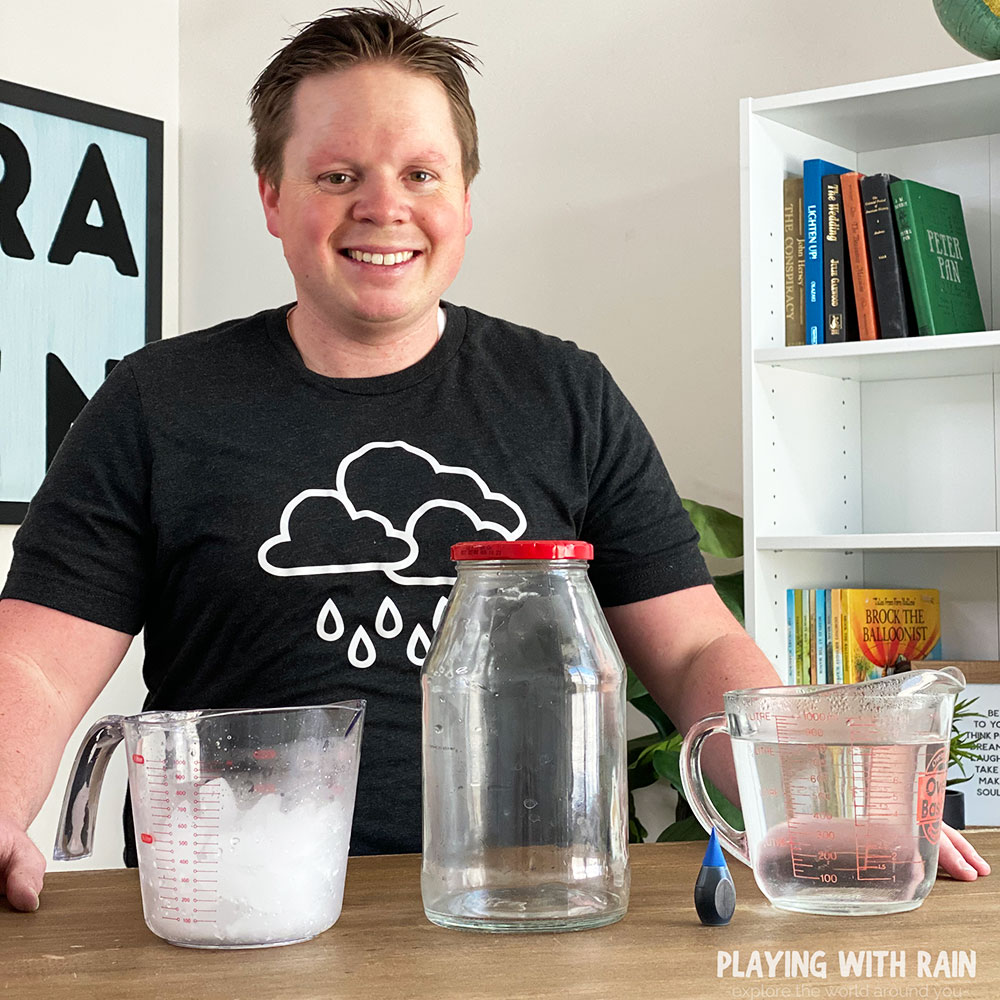
Supplies Needed:
- Largemouth glass bottle or jar
- Hot Water
- Ice
- Food Coloring (Optional)
How to Make Rain
- Very carefully heat up water to where it is steaming, but not boiling.
- Pour the hot water into a bottle and add some food coloring (optional).
- Flip the lid upside down on the top of the bottle and put some ice cubes on it.
- Let it sit for 5-10 minutes and watch as a cloud begins to form inside the bottle.
- Watch for condensation to form little water droplets that will rain down inside the bottle!
Step 1: Get Some Hot Water
Adult supervision is required for this because very hot water is needed for this rain in a bottle experiment. Go ahead and fill a large bowl or pitcher with very hot water.
My hot water heater is set high enough that the hottest water out of the tap is hot and steamy enough, but if you need to heat your water a little more, you can microwave it in a microwave-safe bowl for about 1 minute.
The trick is to get the water hot enough that it is steaming, but not so hot that it is boiling.
Step 2: Pour Hot Water Into The Bottle
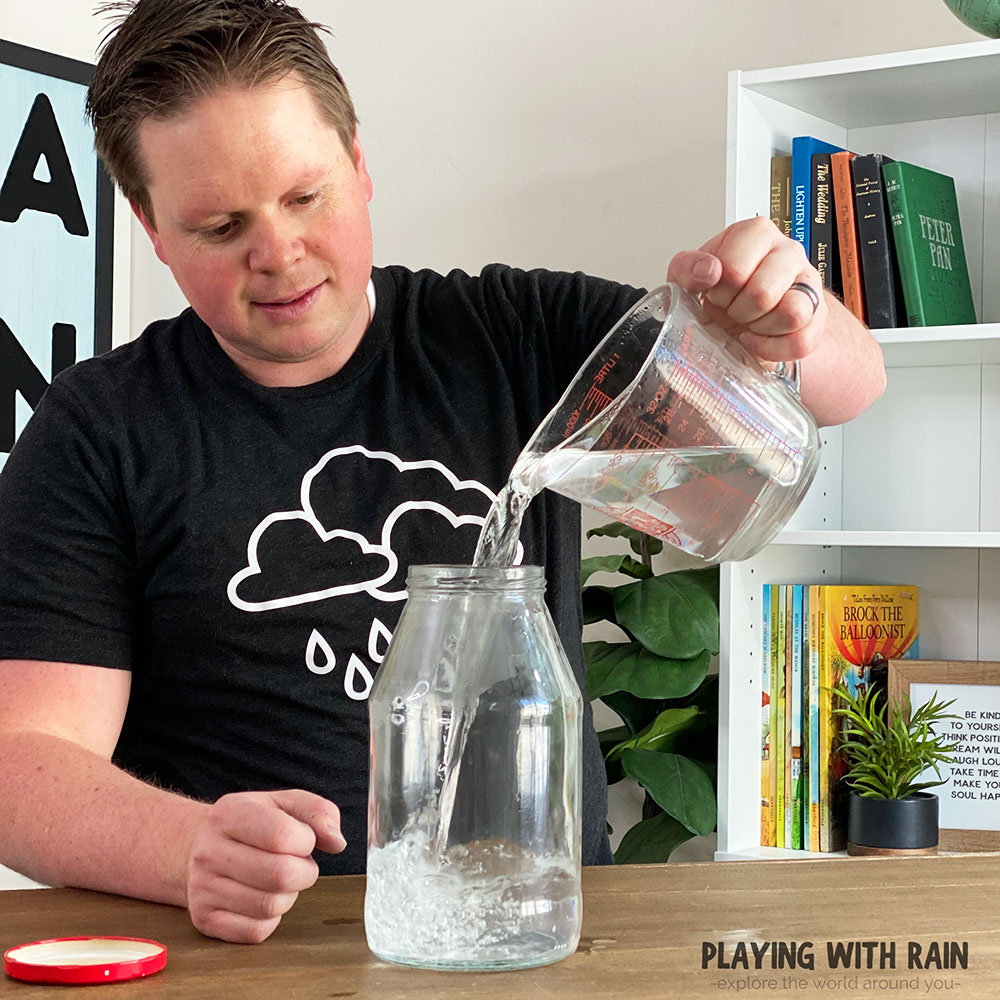
Very carefully and slowly pour the hot water from the bowl into a large mouth glass bottle or jar. You can use a funnel to make sure you don’t spill hot water on yourself too!
If you want to add a little more visual appearance of the water in the bottle, this is when you should add a few drops of food coloring into water inside the bottle.
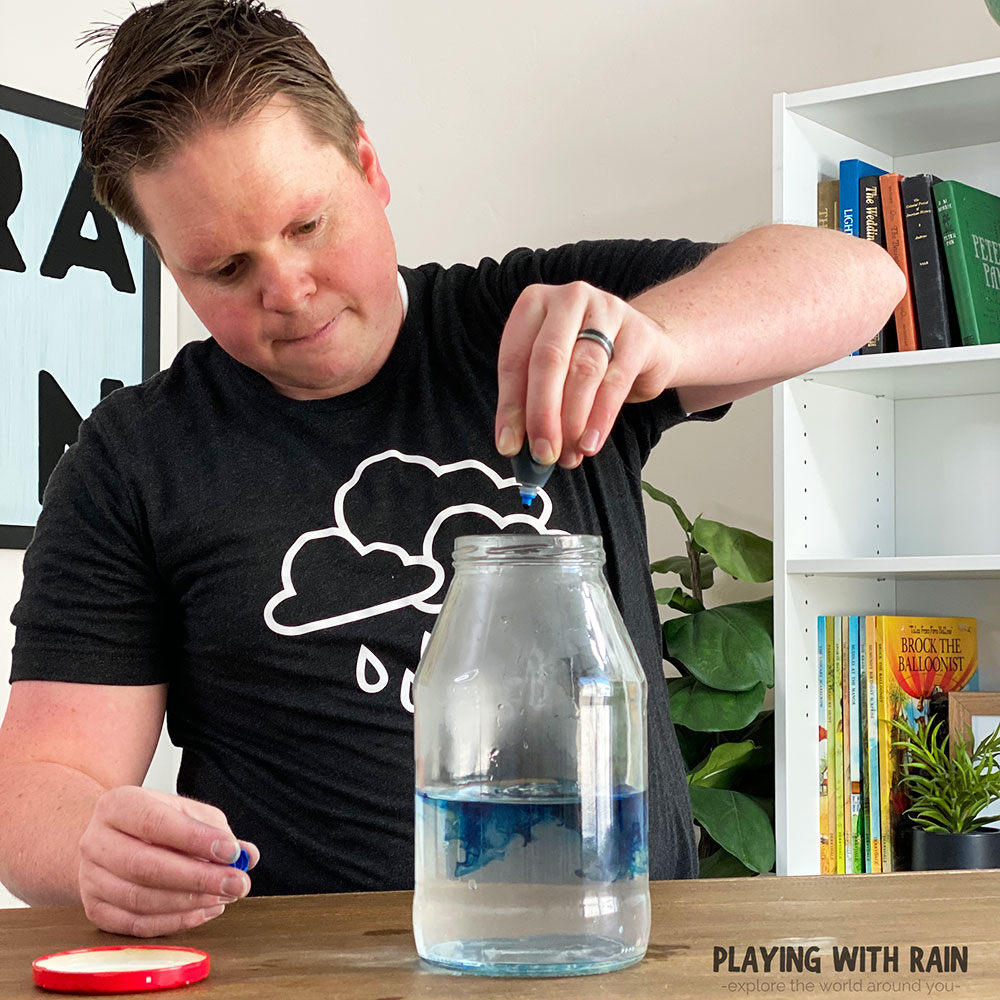
With the cap on the bottle, swish the water around inside the bottle for a few seconds. This will help warm up the glass sides of the bottle, which is an important process in this experiment.
Step 3: Put Some Ice on Top
Remove the cap and flip it upside down on the top of the bottle. The underside of the cap has a rim on it that works as a perfect ice dish when placed upside down on the bottle.
This will also allow air pressure to escape safely from the bottle while keeping the moisture we need for our cloud inside.
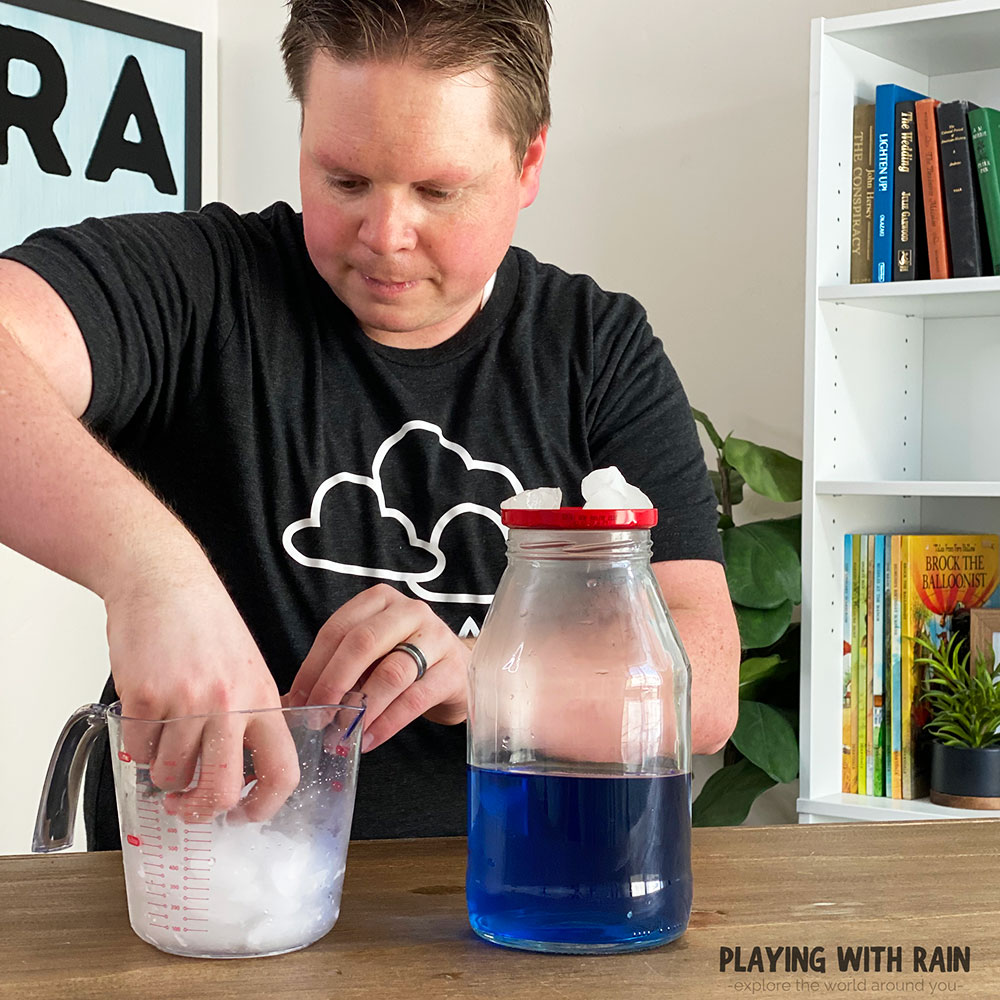
Place some ice cubes on the lid of the bottle that is now upside down on top of the bottle opening. The ice will help the warm, moist air inside the bottle start to cool and condense into a cloud eventually!
Step 4: Wait For 5-10 Minutes and Watch a Cloud Form
This part requires a little bit of patience and a few minutes of watching and waiting, but I promise it will be well worth it!
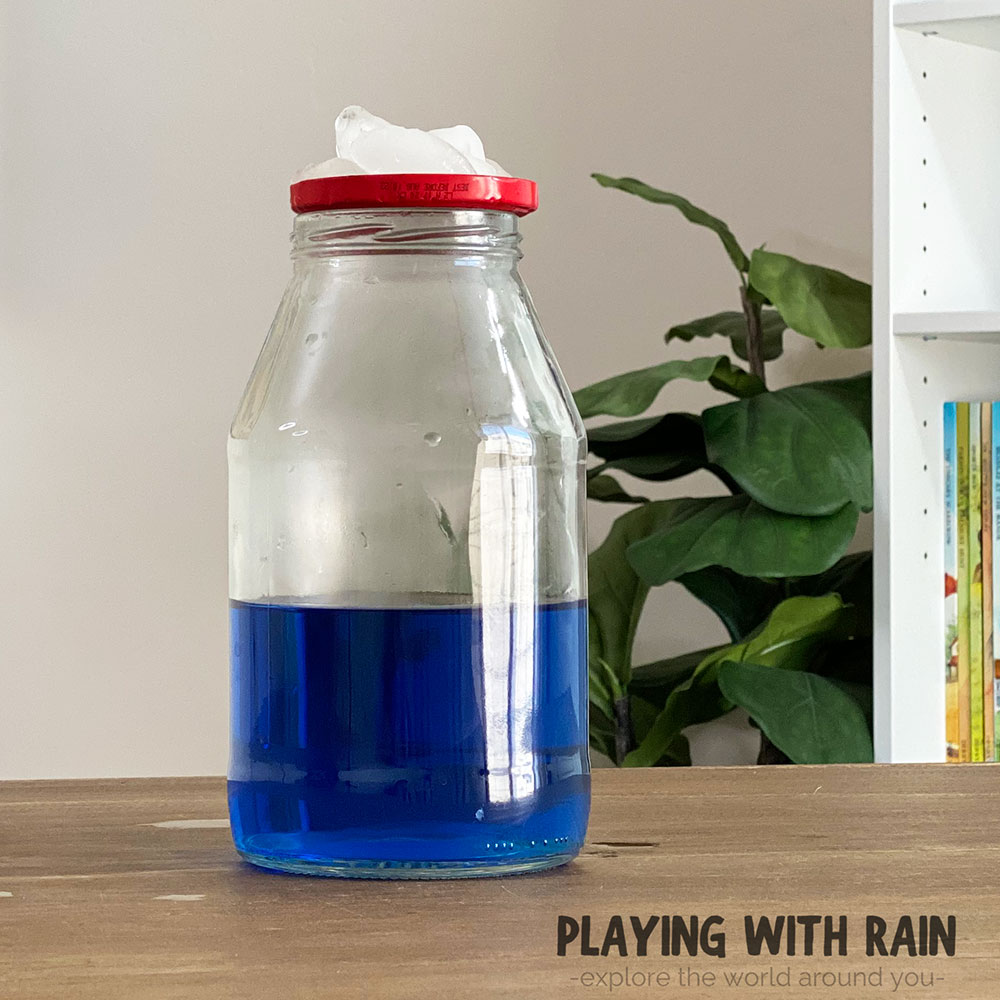
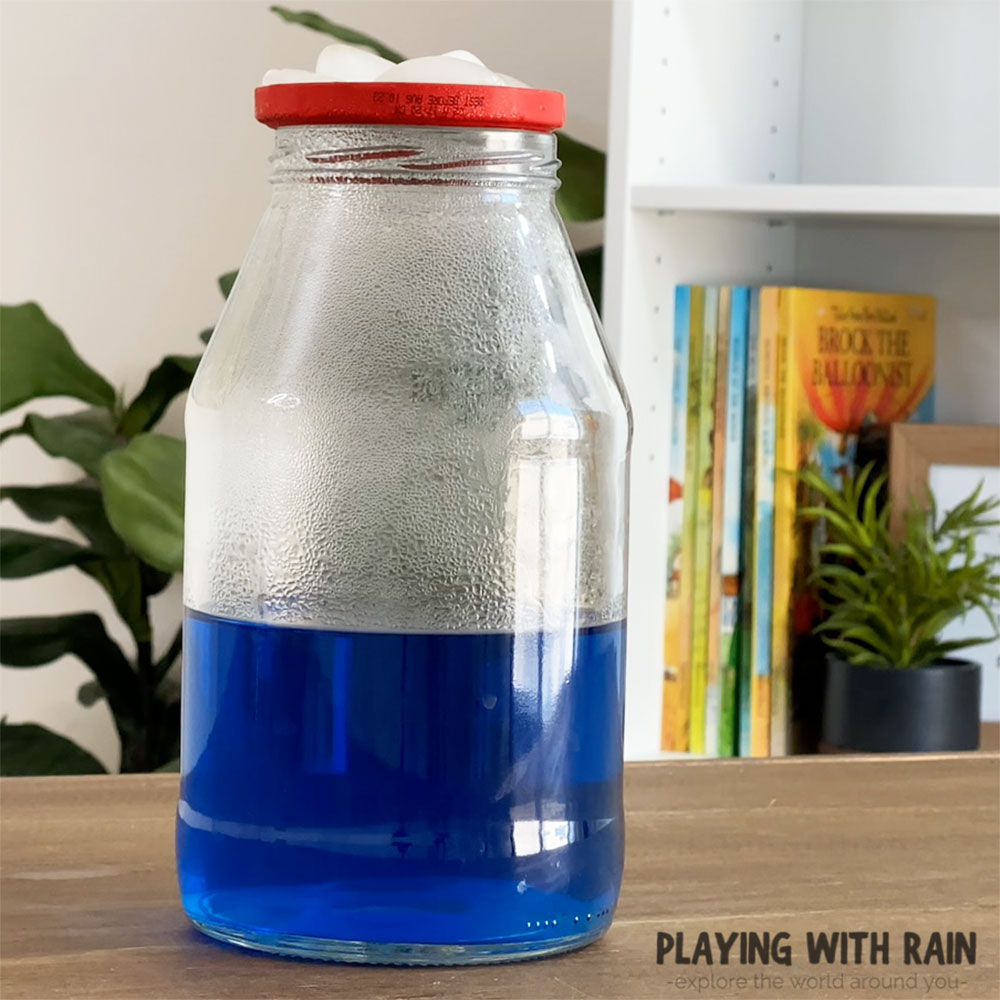
You will start to see some fog and the beginnings of a cloud forming in the bottle pretty quickly, but after about 10 minutes you should have a fully developed white and fluffy cloud in a bottle!
If you want to learn more about the process that creates clouds, check out this Cloud in a Bottle Experiment With Rubbing Alcohol. For now, we are going to focus on the rain that falls out of those clouds!
Step 5: Watch For Raindrops on The Bottle
Once the moisture in the cloud has spent a few minutes inside the bottle, you will see little tiny water droplets accumulating on the sides of the bottle.

Those little raindrops on the sides of the bottle are formed in the same way the rain forms way up high in the sky through a process called condensation!
After the water droplets get big enough and heavy enough, they will actually slide down the side of the bottle and into the water below.
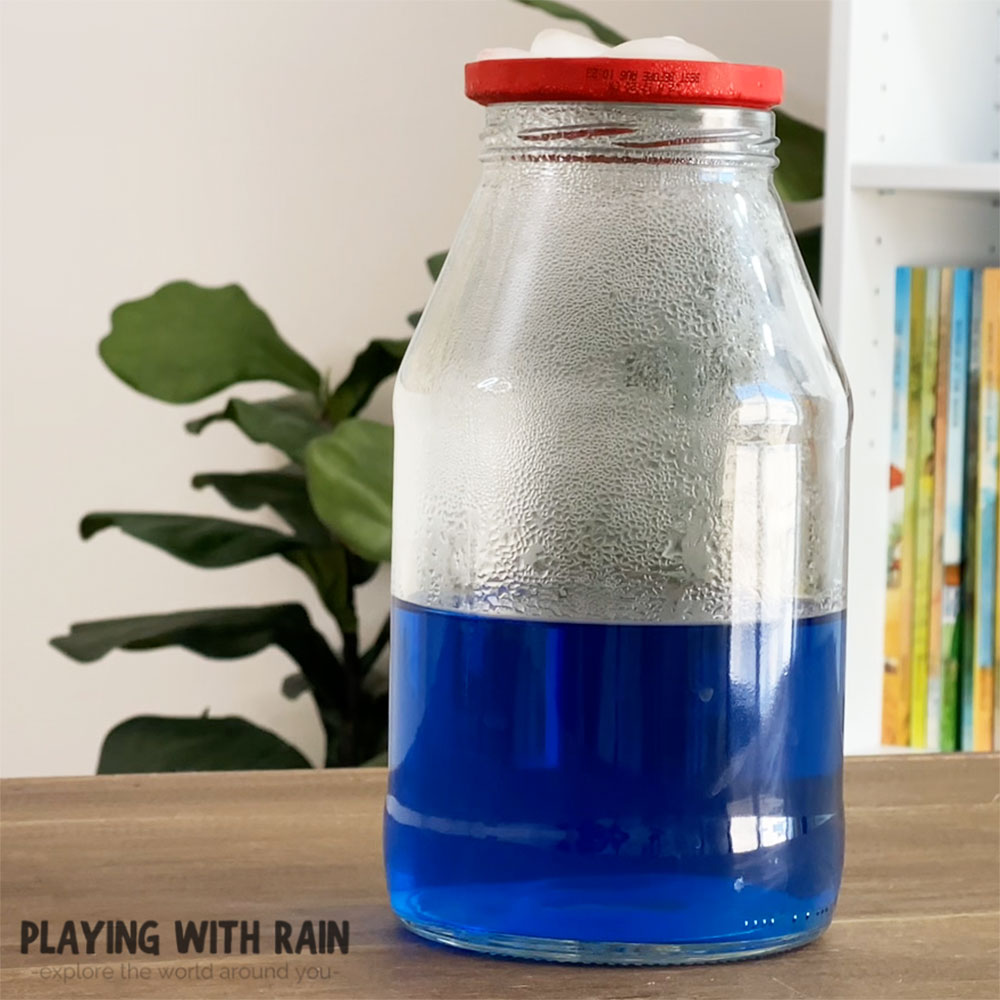
This same thing happens with clouds in the sky as water droplets grow larger and larger. Eventually, they get heavy enough to fall to the ground as raindrops! Now let’s dive a little deeper into the science of how this works!
Why Does It Rain?
Believe it or not, this rain in a bottle experiment creates rain in a very similar way as how rain forms in the wonderful world of weather…just on a much small scale.
It all begins with the warm (or hot) water in the bottle. Some of the hot, steamy water evaporates into the air in the bottle and increases the humidity in the bottle.
When the ice cubes are placed on top of the bottle, the warm, moist air inside suddenly cools down. Cold air cannot hold as much moisture as warm air, so the moisture condenses into tiny little droplets that make a cloud.
As those water droplets get bigger and stick to each other they eventually become heavy enough to slide down the side of the bottle and appear to fall as raindrops do!
Check out this other super cool way How to Make it Rain in a Jar.
The Water Cycle:
Rain forms as part of a process that is referred to as the water cycle. The water cycle is the way the Earth’s Atmosphere transports water from oceans, rivers, and lakes back into the sky and back down to the ground again!
There are 3 main steps to the water cycle: Evaporation, Condensation, and Precipitation. There is also a lesser-known step to this water cycle known as Transpiration.

As water from lakes, oceans, rivers, and even puddles on the sidewalks get heated up by the sun, they change from a liquid to a gas called water vapor. This process is called evaporation.
When water evaporates into water vapor, it rises as warm, moist air into the atmosphere. Plants also release water vapor into the atmosphere in a process called transpiration.
When this invisible moisture gets high enough into the sky and cools down and begins to form clouds in a process called condensation.
Tiny water droplets in the clouds begin to stick to tiny dust, pollution, or even smoke particles to grow bigger and bigger. Once they are heavy enough to fall they will fall out of the cloud as precipitation.
Precipitation is any type of water falling from the sky. That water could be frozen, or liquid depending on the temperature in the clouds and at the ground!
After the rain, snow, sleet, or hail falls out of the clouds and to the ground it will eventually make its way back into the sky and clouds and repeat the water cycle again and again!
PIN THIS EXPERIMENT FOR LATER
Leave a Reply