It’s common knowledge that flipping a cup or bowl of water upside down is going to leave you drenched in a soaking wet mess, but we are going to change that in this super fun Upside Down Glass of Water Experiment.
Find more Fun Water Experiments here!
PIN THIS EXPERIMENT FOR LATER
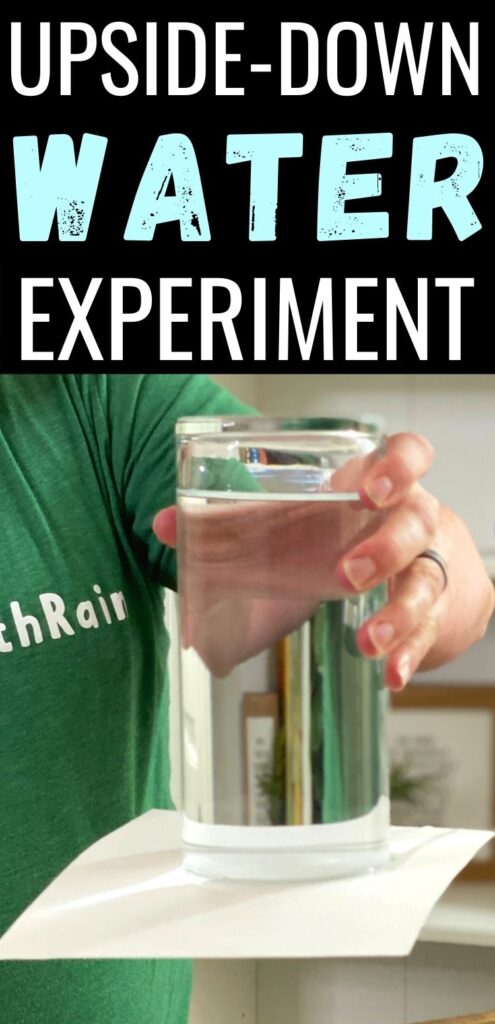
This super fun and easy science experiment will have your kids fascinated as they watch the power of air pressure hold water inside an upside-down glass!

Upside Down Glass of Water Experiment
This post may contain affiliate links. As an Amazon Associate, I earn from qualifying purchases.
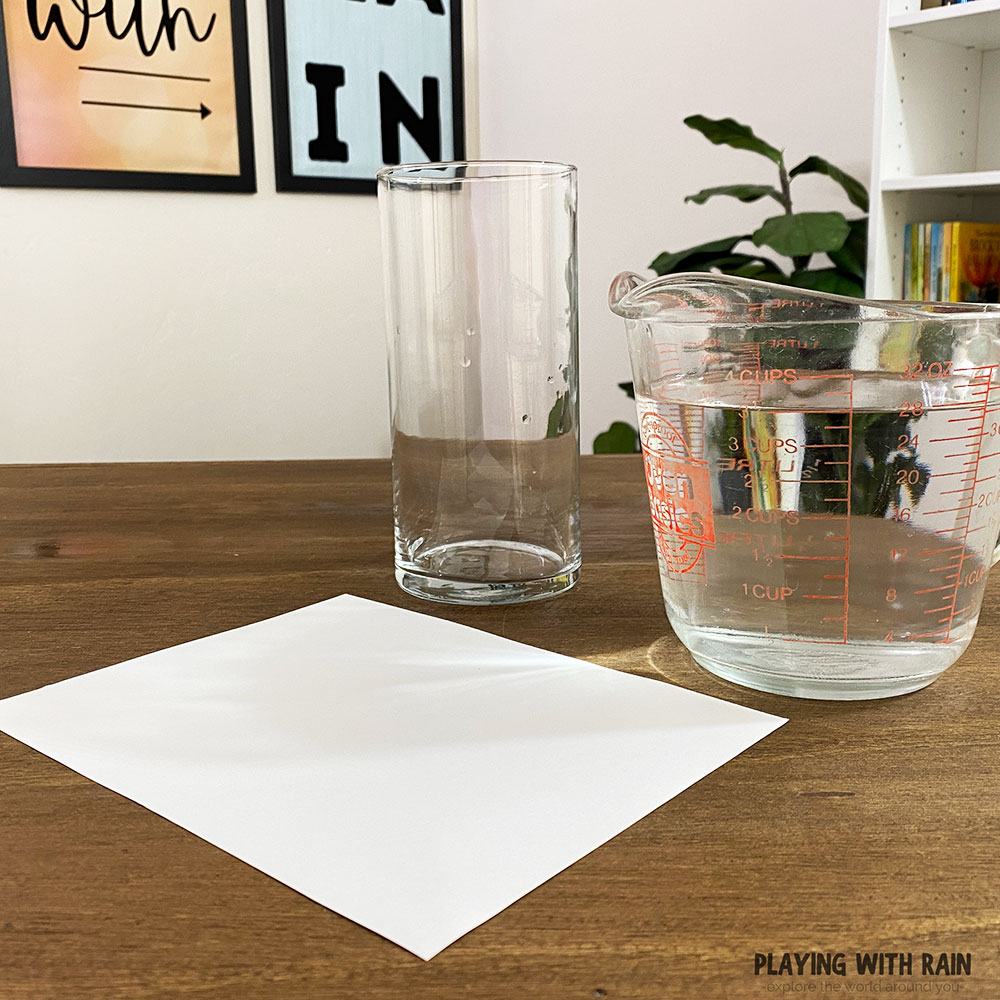
Supplies Needed:
- Tall Glass or Cup
- Water
- Piece of Cardstock Paper
- Large Bowl
Floating Water Experiment
- Fill a tall, clear glass of water all the way full to the brim.
- Cut a piece of Cardstock Paper in half and place it on the rim of the glass of water.
- Carefully tip the glass of water upside down while holding the paper against the glass rim.
- Let go of the paper while holding the glass upside down and watch as the water stays inside the glass!
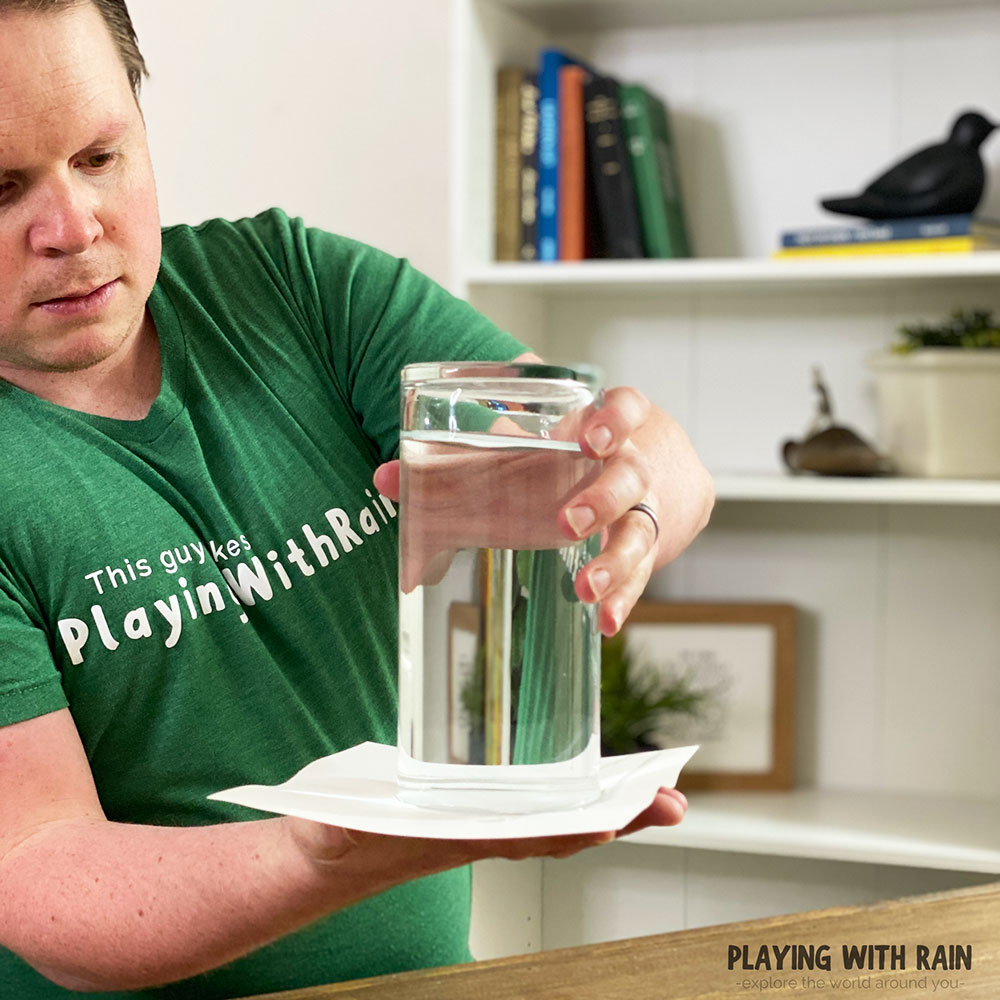
Step 1: Fill a Cup With Water
Let’s begin this super fun upside down glass of water experiment by filling a clear cup all the way to the top with water!
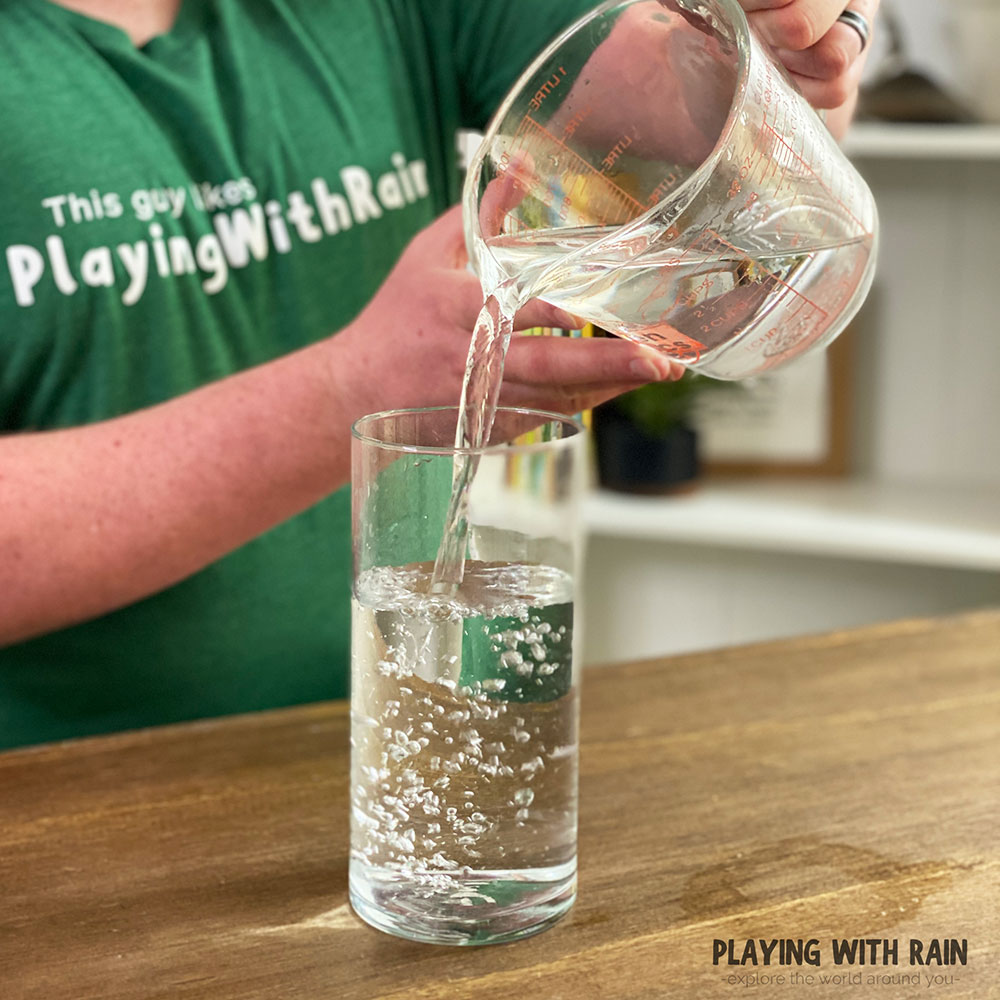
You can use glass or plastic cups for this experiment, but the real important part is that you fill the cup with as much water as possible. Believe it or not, the more water you have in your cup, the less likely you are to get wet!
Step 2: Place Cardstock on the Top of The Glass
Now get ahold of a sheet of a piece of cardstock paper and cut it in half. If you do not half cardstock you can also use a 3X5 index card or even an old playing card that you are okay with getting wet and possibly ruined.
No matter what type of paper material you choose to use, the critical thing is to make sure it is large enough to cover the entire outer rim of the cup.
Then go ahead and place the paper on top of the full glass of water while gently pushing it down. You want to make sure to create a good seal with the paper and the cup by evenly pressing it down with your fingers.
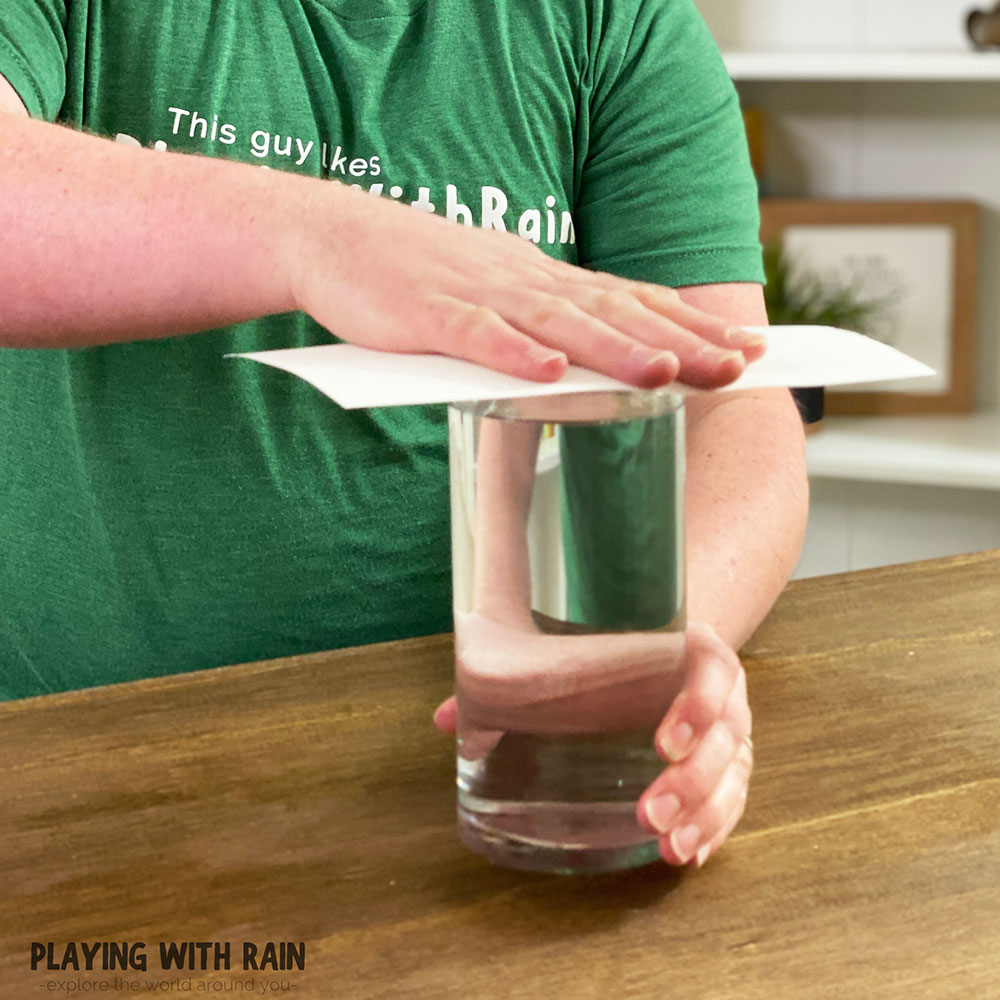
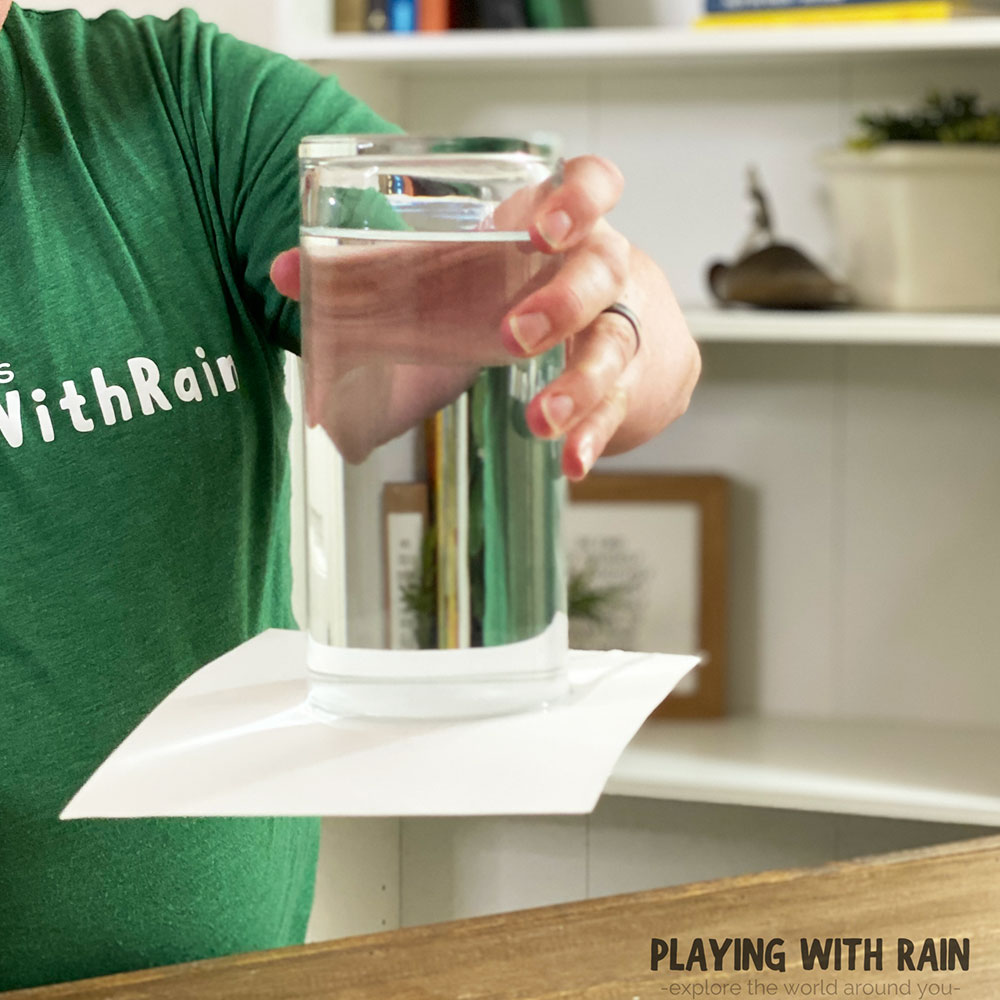
Step 3: Flip the Glass of Water Upside Down With The Paper
Okay, now we are getting closer to putting this experiment to the true test! While holding the glass of water with one hand, use your other hand to hold the paper in place on the glass while tipping the glass upside down.
During the turning upside down process and the first few seconds of being upside down you will likely see a few drops of water sneak out. This is normal but should diminish after a couple of seconds.
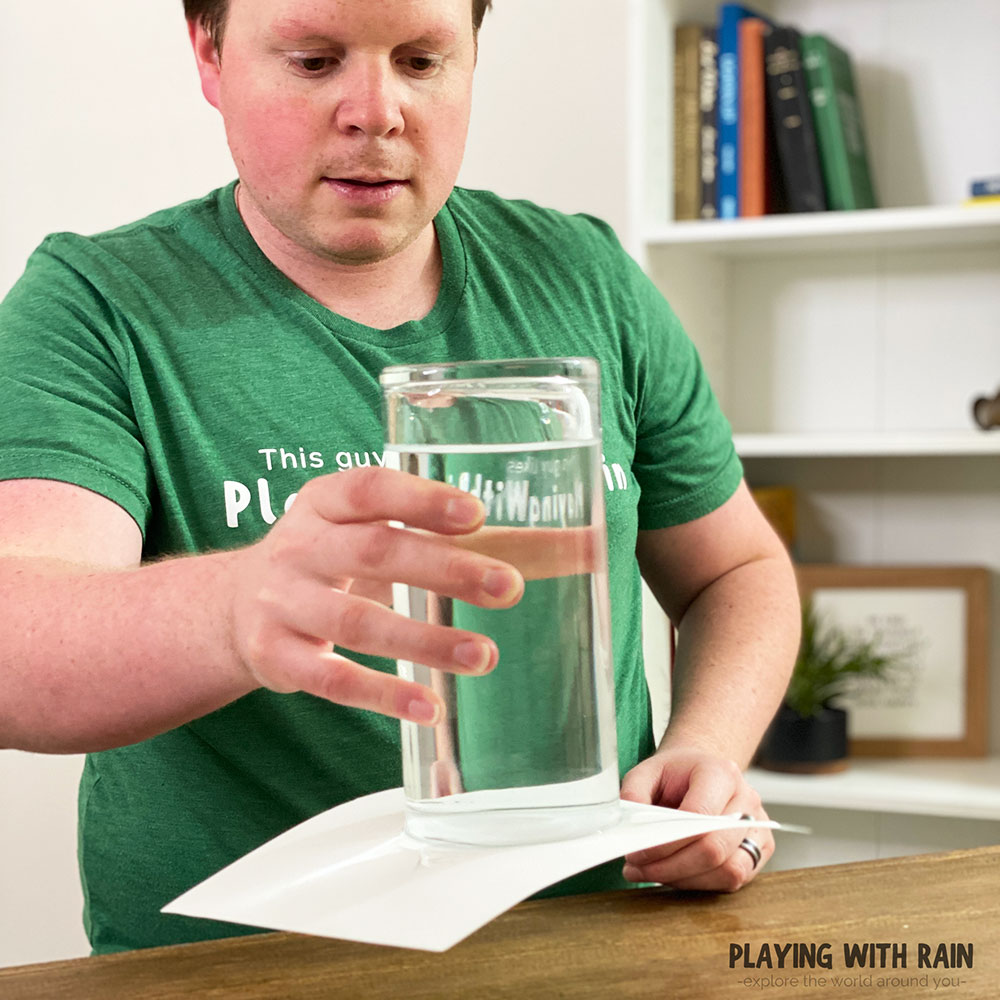
Step 4: Watch as the Water Stays In The Upside Down Glass
Here comes the scary…and exciting part! Do you trust me enough to take your hand off from supporting the paper under the glass!?
If you don’ trust me then grab a large bowl and place it underneath the glass to catch any messy mistakes! This will give you peace of mind, and may keep you from getting an unwanted shower!
Trust me I have done this successfully many times, but I have also failed many times and gotten soaking wet…but that’s half the fun of it!
Now be brave and slowly let go of the paper with your hand, while keeping the glass upside down with your other hand! Can you believe your eyes!?
If all goes well, the paper will remain stuck to the rim of the cup and the water will stay inside! Pretty cool huh!
Enjoy moving your upside down glass around for a few seconds and admiring the fact that you just successfully completed a floating water experiment!
After enjoying your upside down glass of water for a few seconds, it might be a good idea to turn the glass back right side up before pushing your luck too far.
Once the paper soaks up enough water gravity will eventually win the battle between the high-pressure outside and the low-pressure inside the glass and the water will come pouring out!
Check out this Rising Water Experiment Step by Step for another exciting way to demonstrate the power of air pressure.
Try These Variables:
Different Amounts of Water:
If you are like me and you can’t get enough of this cool experiment, then try it again in a few different ways. Give it a shot by using a little less water in the cup. Does it work as well as with the cup all the way full?
Different Sizes of Paper:
You can also try different sizes of paper to see if a larger piece holds the water in longer than a smaller piece or vice versa. Just remember that the paper always needs to be large enough to cover the rim of the cup.
Why Does the Water Stay in the Cup When Turned Upside Down?
The secret science behind this upside-down glass of water experiment is thanks to something we can’t even see with our eyes…air pressure!
With the cup very full of water, there is not much room for air inside the cup. As the cup is tipped upside down, a few drops of water leak out between the cup and the paper and allow a few air bubbles inside.
With a very low amount (volume) of air inside the cup and mostly water inside the cup, the air pressure on the outside is much greater than the air pressure inside the cup.
As a result of the higher air pressure on the outside of the cup and the lower pressure on the inside of the cup, the outside air pushes against the paper on the bottom of the cup and keeps the paper and water in place!
Eventually, the paper will absorb water and the seal between the paper and rim of the cup will be broken. This will allow gravity to win the battle in the end and water will come gushing out of your upside-down cup!
PIN THIS EXPERIMENT FOR LATER

Leave a Reply